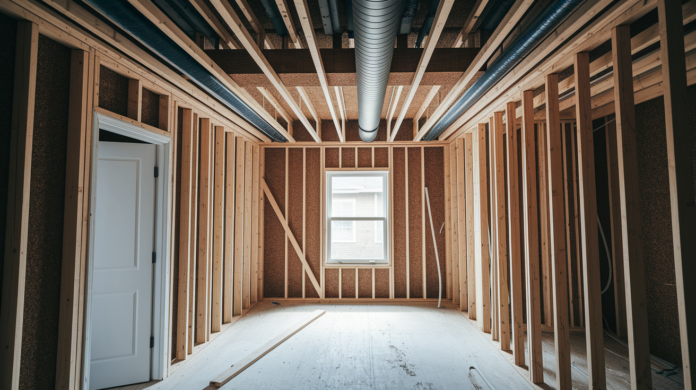

Most contractors install bathroom fans after drywall goes up, which means cutting finished ceilings, patching around housings, and repainting. That’s backwards. The right time is during rough-in, after framing but before drywall, when you can see exactly where ducts need to run and inspectors can verify your work. Install early and you avoid the patch-and-pray cycle that turns a straightforward vent job into a multi-day finishing headache. This timing also prevents trapped moisture problems that start the moment you close up walls around improperly routed ductwork.
Optimal Bathroom Fan Installation Stage: Rough-In Phase Timing
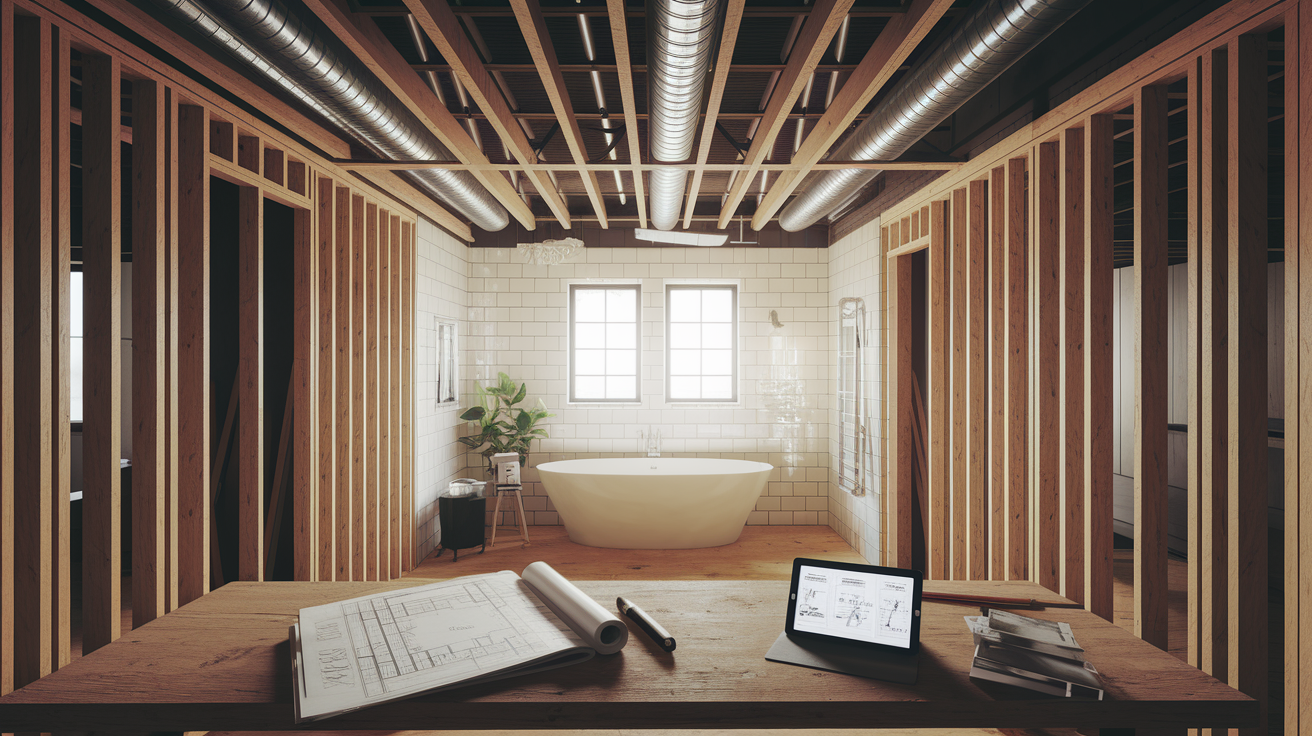
Install bathroom exhaust fans during the rough-in phase. After framing is complete but before drywall goes up. This timing gives you full access to wall cavities, ceiling joists, and routing paths without cutting into finished surfaces.
The rough-in window opens right after demolition and framing work wraps up. At this point, the bathroom skeleton is exposed: studs are visible, ceiling joists are accessible, and you can see exactly where ducts need to run. Electricians can route wiring cleanly. You can plan ductwork paths to exterior termination without guessing what’s behind drywall. This is when plumbers rough in drain lines and supply pipes, and it’s the same stage where your exhaust fan housing, electrical connections, and ductwork should go in.
Installing before drywall also keeps you code compliant. Building inspectors need to see rough-in work before walls close up. If you wait until after drywall, you’ll either skip inspection (bad idea) or tear out fresh drywall to show your work (expensive mistake). The sequence matters because once drywall, backer board, tile, and paint go on, accessing the ceiling cavity or wall cavity means cutting, patching, and refinishing.
Correct installation sequence from demolition through final trim:
- Demolition phase – Remove old fixtures, drywall, and any damaged framing to expose wall cavities and ceiling structure
- Framing completion – Build or repair wall framing, install blocking for fan mounting, confirm ceiling joist locations
- Rough-in work – Install fan housing unit, run ductwork to exterior, complete electrical wiring, install junction box and switch location
- Inspection – Pass rough-in inspection before any walls close up
- Drywall and finishing – Hang and tape drywall, install backer board, complete tile work timing and paint preparation
- Trim installation – Install final grille, mount switches, add trim pieces
- Testing and sign-off – Verify airflow, confirm fan operation, complete final inspection
Complete Rough-In Installation: Electrical, Ductwork, and Routing
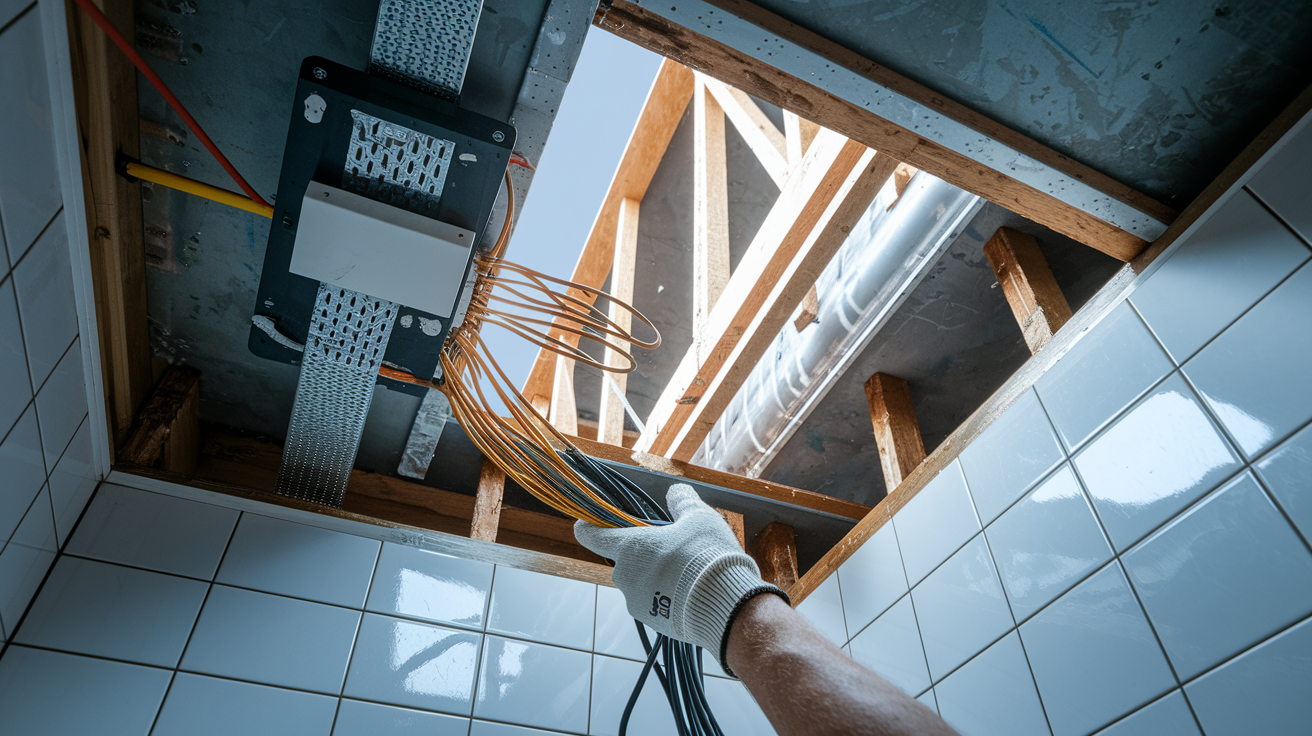
Electrical rough-in starts with mounting a junction box in the ceiling cavity near where the fan housing will sit. Use 14 gauge wire minimum for a dedicated 15 amp circuit, or 12 gauge if the fan shares a 20 amp circuit with lights. Most bathroom fans pull under 1 amp, but check your fan’s specs. Run wire from the electrical panel through ceiling joists to the junction box location, then continue a separate run down the wall to the switch location. If the fan includes a light or heater, you may need additional wire runs or a multi gang switch box. Don’t forget GFCI protection if required by local code for bathroom circuits.
Attic routing is the preferred ductwork path when you have attic access above the bathroom. Run 4 inch rigid metal duct or insulated flex duct from the fan housing up into the attic, then route it to the nearest roof penetration or soffit vent. Keep duct runs short and minimize bends. Every elbow and extra foot reduces airflow. Terminate through the roof with a proper vent cap, or exit horizontally through a soffit if your roof pitch makes that easier. Avoid terminating into the attic itself. Dumping humid air into an unconditioned attic creates moisture problems and mold risk.
When conditioned space exists above the bathroom, you’ll need to route through an exterior wall instead. One project example involved cutting through a band joist to vent below the soffit. The only option when living space sat above the bath. The process required cutting through four layers: a 2×6 band joist, Celotex insulation board, brick veneer, and 1 by trim board. Use a reciprocating saw from the outside to make the penetration, working carefully through each layer. The exit velocity on that installation was strong enough to move leaves on hedges 10 feet below, confirming good airflow despite the longer duct run.
Connect ductwork to the fan housing using zip ties and mastic for sealing. Flexible ducting is easier to maneuver through tight spaces and around obstructions, but it creates more airflow resistance than rigid metal duct. If you use flex duct, pull it taut. Sagging sections trap moisture and reduce performance. Rigid duct provides better airflow but requires more precise measurements and takes longer to install through ceiling joists. Either way, seal every joint with mastic, not just tape. Tape fails over time, especially in humid environments.
Retrofit installations in existing homes present more routing challenges than new construction. You’re working around existing structure, load bearing walls, and utilities that weren’t planned around your new fan. In older homes, you might encounter diagonal bracing, oddly spaced joists, or insulation that blocks the obvious path. Sometimes you’ll discover issues only after opening walls. One bathroom remodel revealed air leakage pathways and termite damage that changed the routing plan entirely. Be ready to adapt when the wall cavity doesn’t match what you expected.
Insulation matters on duct runs, especially when ducts pass through unconditioned spaces. Add an insulation jacket over the entire flex duct run to prevent condensation from forming on the outside of the duct. When warm, moist air travels through cold ductwork, water condenses inside the duct and drips back toward the fan or pools in low spots. Insulated ductwork keeps the air stream warm enough to carry moisture all the way to the exterior termination. In cold climates, this detail prevents ice dams at the vent cap and water stains on bathroom ceilings.
| Task | Materials Needed | Timing Notes |
|---|---|---|
| Electrical box installation | Junction box, mounting bracket, wire staples | Install before running wire; secure to ceiling joist |
| Wiring run | 14 or 12 gauge romex, wire connectors | Route after box placement, before insulation goes in |
| Attic duct routing | 4 inch duct, duct straps, roof vent cap | Complete before insulation; slope upward to exterior |
| Exterior wall routing | Reciprocating saw, wall cap, caulking | Cut penetration during rough-in; seal immediately after duct install |
| Exterior penetration | Wall cap or roof jack, flashing, sealant | Weatherproof same day as duct installation |
| Backdraft damper | Inline damper unit, mounting screws | Install in duct run before connecting to fan housing |
| Insulation jacket | Foil faced duct insulation, foil tape | Wrap duct after routing is complete, before closing ceiling |
| Housing unit mounting | Fan housing, mounting screws, blocking | Secure to joists after ductwork is connected; before drywall |
Bathroom Fan Sizing and Placement During Remodel Planning

Calculate CFM requirements based on bathroom square footage using the standard formula: 1 CFM per square foot. A 50 square foot bathroom needs a 50 CFM fan minimum. Increase that number if your bathroom includes a separate shower enclosure, oversized tub, or ceilings higher than 8 feet. High humidity climates need more exhaust capacity. Consider bumping up to 80 or 100 CFM even in smaller bathrooms to handle persistent moisture.
Here’s the reality check: fans rarely deliver their rated airflow in actual installations. One Broan 80 CFM rated unit tested at an average of 66 CFM after installation, with a range of 50 to 75 CFM depending on whether the grille was on, the door was open, and the window was closed. Ductwork configuration, duct length, number of bends, and resistance from the grille all reduce performance. Plan on fans achieving about half their rated capacity in typical installations. If you need 60 CFM of real airflow, buy a fan rated for 120 CFM.
Position the fan as close to the shower or tub as possible without mounting it directly over the fixture. Steam and moisture concentrate where hot water runs, so that’s where you need the strongest pull. Mount the fan in the ceiling near the shower corner, or between the shower and toilet if your layout allows. Avoid placing fans near supply air vents that would create cross flow and reduce exhaust effectiveness. Make sure you have solid backing at the ceiling joists where you plan to mount the housing. Retrofitting blocking after drywall goes up is a pain.
Factors affecting fan sizing decisions:
- Room square footage – Base CFM calculation starts here; larger bathrooms need proportionally more exhaust capacity
- Ceiling height – Rooms taller than 8 feet contain more air volume and need higher CFM ratings to exchange air effectively
- Shower vs tub – Enclosed shower stalls generate more concentrated steam than open tub areas; increase CFM accordingly
- Climate humidity levels – Year round high humidity requires stronger exhaust to prevent mold growth and moisture damage
- Building codes requirements – Local codes may mandate minimum CFM ratings; verify requirements before buying equipment
- Exhaust capacity needs – Consider usage patterns; master baths with double showers need more capacity than powder rooms
Building Codes and Inspection Requirements for Fan Installation

Building codes universally require bathroom exhaust fans to vent directly to exterior air. You can’t dump exhaust into the attic, a soffit cavity, or any buffer space. Moist air needs a clear path outside, and codes enforce this because dumping steam into unconditioned spaces creates mold, rots framing, and ruins insulation. Most jurisdictions also require fans to meet minimum CFM standards based on bathroom size, with intermittent ventilation rates around 50 CFM or continuous rates around 20 CFM. Some areas mandate timer controls that keep fans running for a set period after the light switches off.
Electrical codes typically require GFCI protection for bathroom circuits, though whether the fan needs GFCI depends on local interpretation. The fan housing itself usually doesn’t need GFCI if it’s ceiling mounted and hardwired, but combination fan light heater units often do. Ductwork must meet fire rating requirements if it passes through fire rated assemblies. Metal duct is safer than flex duct in this application, and some jurisdictions prohibit plastic flex duct entirely. Check your local amendments. Building codes vary more than people realize.
Permits almost always require a rough-in inspection before drywall covers the work. The building inspector wants to see electrical connections, verify ductwork is properly routed and sealed, and confirm the installation meets code. Schedule this inspection as soon as rough-in work is complete and before the drywall crew arrives. Missing this inspection creates headaches. If the inspector finds problems after walls close, you’ll cut out drywall to fix them, patch and tape the repairs, and reschedule a re-inspection. Plan ahead, coordinate with the building inspector’s schedule, and don’t let other trades push you to skip steps.
Installing Backdraft Dampers and Preventing Air Leaks

Standard bathroom fans include a cheap internal flapper that’s supposed to block outside air when the fan isn’t running. In practice, these plastic flappers seal poorly. They warp, accumulate dust and lint, and let cold air infiltrate during winter or hot air leak in during summer. One installer removed the internal fan flapper entirely because it created more resistance than sealing value. Thin plastic hinged on a friction point rarely seals tight enough to matter.
Upgrade to a separate inline backdraft damper instead of relying on the fan’s built-in flapper. The Cape Backdraft Damper from Tamarack Technologies uses grey latex material that creates an actual air seal when closed and flexes open easily when the fan runs. Install this damper in the duct run between the fan housing and the exterior termination. The latex design blocks backflow far more effectively than rigid plastic flappers, preventing drafts and reducing energy waste. It’s a small cost during rough-in that pays back in comfort and lower heating bills.
Air sealing around duct penetrations is just as important as the damper itself. Apply mastic to every joint where ductwork connects to the fan housing, where it passes through ceiling or wall penetrations, and where it meets the exterior termination cap. Use mastic, not foil tape alone. Mastic stays flexible and seals gaps that tape can’t reach. When you open walls during demolition, you’ll often discover air leakage pathways you didn’t know existed. Seal those too while access is easy. Caulk gaps around electrical boxes, seal where framing meets the subfloor, and stuff batt insulation in oversized holes before applying mastic.
Difference Between New Construction and Retrofit Fan Installation

New construction bathroom fans install on a predictable schedule with everything planned before framing begins. The HVAC coordination happens during design, duct routing is drawn on plans, and the electrician knows exactly where junction boxes go before the first stud goes up. You can run ductwork through open joist bays, locate the fan housing exactly where it performs best, and coordinate trades without working around existing finishes. There’s no demo, no surprises behind walls, and no compromises because a load bearing wall blocks the ideal duct path.
Retrofitting a fan into an existing bathroom means working within constraints. Wall cavity space is fixed, ceiling joists are where they are, and you might have limited attic access or no attic at all if conditioned space sits above. The obvious duct route might be blocked by plumbing, electrical, or HVAC that was there first. You adapt the installation to the existing structure instead of designing the structure around the installation. In one 1970 condo remodel, the fan had to exhaust through the band joist because conditioned living space occupied the attic area. Not the ideal path, but the only option that met code.
The demolition phase in a remodel creates your best installation window because it temporarily gives you new construction like access. Once you gut the bathroom down to studs, you can route ductwork through the ceiling cavity, drill through top plates, and run electrical exactly where it needs to go. This is also when you discover hidden problems. Opening walls might reveal air leakage pathways you can seal, termite damage that needs repair, or outdated wiring that should be replaced while access is open. Don’t rush through demo. What you learn when studs are exposed changes your installation plan.
Timeline flexibility differs significantly between the two scenarios. New construction follows a predictable sequence: framing, rough-in, inspection, drywall, finish work. Remodels require schedule adjustments based on what you find. If demolition uncovers structural issues, the timeline shifts while you address them. If existing ductwork is in worse shape than expected, you might need additional materials and time. Build buffer into your renovation schedule and expect the unexpected. The rough-in phase still happens before drywall, but when that phase starts depends on what the demo reveals.
DIY Installation vs Hiring Professional Contractors for Fan Work

Capable DIYers can handle ductwork installation and mounting the fan housing to ceiling joists. Cutting the exterior penetration, running flex duct through the attic, and sealing connections with mastic are straightforward tasks if you follow manufacturer instructions and work carefully. Installing the mounting bracket, connecting ductwork to the housing unit, and securing everything properly doesn’t require specialized licensing in most jurisdictions. Where DIY hits limits is electrical wiring, especially if the fan needs a new dedicated circuit or if local code requires a licensed electrician for any work beyond replacing a fixture.
Electrical hazards from improper installation are real. Using the wrong wire gauge overheats circuits. Loose connections in the junction box cause arcing and fire risk. Inadequate GFCI protection creates shock hazards in wet environments. Improper grounding compromises safety. If you don’t know how to test circuits, size breakers correctly, or verify connections meet code, hire a licensed electrician for the electrical rough-in. You can still install the ductwork yourself and have a pro handle the wiring. Splitting tasks by skill level is smarter than guessing on safety critical work.
Professional contractors bring code compliance knowledge and inspection requirements understanding that prevents expensive mistakes. They know which duct types are legal in your jurisdiction, how to route through fire rated assemblies, and what details inspectors check. They carry warranty coverage on the work performed, so if something fails or the installation doesn’t perform as expected, you have recourse. Licensed pros also coordinate better with building inspectors because they know what inspectors expect to see and can schedule inspections efficiently.
Plan contractor scheduling during the remodel sequence carefully to avoid delays. Electricians need to rough in after framing is complete but before insulation and drywall. If you’re coordinating multiple trades (plumber, electrician, HVAC, drywall crew), create a schedule that sequences work logically. The electrician might need to return twice: once for rough-in and once for final trim out when switches and the grille get installed. Book those dates early. During busy seasons, qualified contractors schedule weeks in advance, and waiting for availability can stall your entire remodel timeline.
Tasks that always require licensed professionals:
- Circuit breaker work – Adding or modifying breakers in the main panel requires electrical license and permit
- Romex cable installation through walls – Running new circuits from panel to bathroom needs licensed electrician in most jurisdictions
- Metal conduit runs – Bending, cutting, and installing EMT conduit is specialized work requiring proper tools and technique
- GFCI circuit installation – Installing or troubleshooting GFCI protection devices is electrical work, not general handy work
- Final electrical inspection sign-off – Only licensed electricians can request and pass final electrical inspections in most areas
Common Installation Mistakes and Quality Assurance Practices

Drywall crews show up early and close the ceiling before rough-in inspection happens. This is the most expensive mistake on the list. Once inspectors see closed walls, they either fail the inspection and require you to cut out sections to verify the work, or they miss the rough-in inspection entirely and catch problems later during final inspection. Either scenario costs time and money. Never let drywall go up until rough-in work passes inspection. Tell your drywall contractor the inspection date, and don’t schedule them to start until you have signed approval from the building inspector.
Improper duct sealing kills fan performance. Fans that should deliver 80 CFM end up moving 40 CFM because air leaks at connections waste half the exhaust capacity. Use mastic at every joint, not just foil tape. Mastic fills gaps and stays flexible as materials expand and contract with temperature changes. Pull flex duct tight when routing so it doesn’t sag and trap moisture. If using rigid duct, seal seams with mastic and screws. Don’t rely on friction fits. Air takes the path of least resistance, and a loose connection means humid air leaks into your wall cavity instead of venting outside.
Waiting until the finish work phase to install the fan housing makes everything harder. Once drywall, backer board, and tile work timing are complete, accessing the ceiling cavity requires cutting finished surfaces. You can’t route ductwork, secure mounting brackets, or run electrical without destroying work that’s already done. Some installers try to retrofit fans through the grille opening alone, which severely limits what duct configuration is possible and often results in suboptimal performance. Install during rough-in or accept that you’re doing the job twice. Once to cut access, once to patch and refinish.
Quality assurance starts with manufacturer instructions and ends with testing before closeup. Read the installation manual before you start, not when you hit a problem. Verify ductwork is the correct diameter, the fan housing is rated for the application, and all connections meet the manufacturer’s specifications. Test the fan before drywall goes up. Connect power temporarily and verify it runs smoothly, ductwork doesn’t leak, and airflow at the exterior termination is strong. If something’s wrong, fix it while the ceiling is still open. That 15 minute test saves days of rework later.
| Mistake | Consequence | Correct Timing |
|---|---|---|
| Installing after drywall | Cutting finished ceiling, patching, repainting, extra labor costs | Complete rough-in before any drywall installation begins |
| Skipping rough-in inspection | Failed final inspection, cutting walls to show work, project delays | Schedule inspection immediately after rough-in completion |
| Improper duct sealing | 50% airflow loss, moisture in wall cavities, mold growth risk | Apply mastic at all joints during duct installation phase |
| Waiting until trim installation phase | No access to ceiling cavity, cannot route ducts, poor performance | Install housing and ductwork during rough-in window only |
Material Selection and Tools Needed During Rough-In Stage
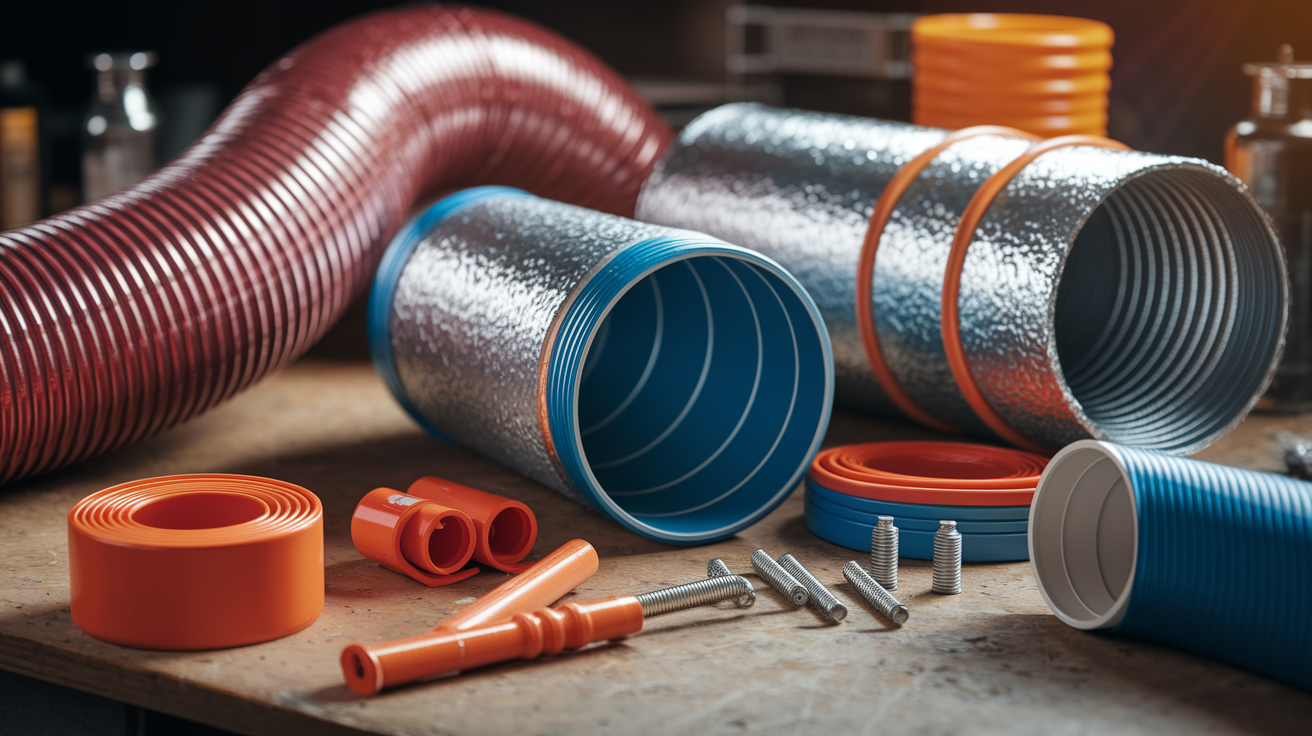
Flexible ducting installs faster and navigates around obstructions more easily than rigid metal duct, making it the go to choice for retrofit work with tight routing paths. The corrugated interior creates more airflow resistance than smooth metal, so if you use flex duct, keep runs as short and straight as possible. Flex duct also requires an insulation jacket over the entire run when passing through unconditioned spaces. Buy pre insulated flex or add a separate insulation layer after installation. On the plus side, flex duct is lightweight, easier to maneuver through ceiling joists, and forgiving if your measurements aren’t perfect.
Rigid metal duct provides better long term performance with less airflow resistance and no sagging over time. Smooth interior walls allow air to move efficiently, and metal doesn’t compress or kink like flex duct can. The tradeoff is more difficult installation. You’ll need precise measurements, multiple sections joined with slip connectors, and more time routing through the ceiling cavity. Use rigid duct when you have straight, accessible runs and want maximum airflow. In tight retrofit situations with multiple bends, flex duct might be the only practical option.
Beyond ductwork, you’ll need mounting hardware to secure the fan housing to ceiling joists, sealant application products including mastic and exterior grade caulking, heavy duty zip ties to connect flex duct to the housing and termination cap, and a backdraft damper if you’re removing the fan’s internal flapper. Don’t forget the vapor barrier if your climate requires it. Some installations need polyethylene sheeting over insulation to prevent moisture migration into wall cavities.
Essential tool list for rough-in work includes a reciprocating saw for cutting exterior penetrations through multiple layers of siding, sheathing, and framing. Wire strippers and a voltage tester handle electrical connections safely. A drill with appropriate bits installs mounting brackets and drives screws through joists. Measuring tape and a level ensure proper alignment. Add a utility knife for cutting insulation, tin snips if working with metal duct, and a caulk gun for sealant application. If you’re working in an attic, bring a headlamp. Ceiling cavities are dark.
Required materials for complete rough-in installation:
- Housing unit – Fan motor and housing rated for bathroom use, matches CFM requirements
- Appropriate duct type – 4 inch flex or rigid metal duct, sufficient length for your routing path
- Exterior wall cap – Weatherproof termination with damper and screen to prevent pest entry
- Junction box – Ceiling rated electrical box for wire connections and fan mounting
- Electrical cable – 14 or 12 gauge romex from panel to fan location and to switch
- Backdraft damper – Inline damper unit with tight sealing mechanism, superior to built-in flappers
- Mastic sealant – Duct mastic for sealing all connections, not foil tape alone
- Mounting screws – Appropriate fasteners for securing housing to joists and connecting ductwork
Project Timeline and Coordination with Other Remodel Phases

Week one covers demolition. Ripping out old fixtures, tile, drywall, and anything damaged or outdated. This reveals the wall cavities and ceiling structure you’ll work with during rough-in. Week two focuses on framing completion and any necessary repairs to studs or joists. By the end of week two, blocking should be installed where the fan housing will mount, and you should know your final duct routing path based on what the demo revealed.
Week three is rough-in week. Fan housing installation, ductwork installation, and electrical wiring all happen now. The electrician runs wire from the panel to the junction box and down to the switch location. You cut the exterior penetration, route ductwork to the termination point, and connect everything with zip ties and mastic. The fan housing gets secured to ceiling joists with the mounting bracket. Everything must be complete and ready for inspection by the end of this week. No loose ends, no “we’ll finish that later.”
Rough-in inspection happens early in week four, right after all rough-in work is complete but before any drywall goes up. Once the inspector signs off, the drywall crew can start. Drywall stage typically takes the rest of week four and into week five, depending on bathroom size and ceiling height. After drywall comes taping, mudding, and sanding. Figure another few days before surfaces are ready for tile or paint. You won’t touch the fan again during this phase except to protect the housing from drywall mud and dust.
Tile work timing and paint preparation start in week six after drywall finishing is complete. Backer board goes up in the shower area, waterproofing membrane gets applied, and tile installation begins. If you’re painting instead of tiling certain areas, priming and painting happen now. The fan housing stays covered and protected. Trim installation phase begins in week seven. This is when the final grille placement happens, the switch gets mounted in its box, and you test airflow before calling the job complete. Total timeline from demolition to final testing: roughly seven weeks for a full bathroom remodel.
Complete timeline from demolition through final fan installation:
- Demolition – Remove old fixtures, finishes, and damaged materials; expose framing and identify routing paths
- Framing completion – Repair or build framing, install blocking for fan mounting, verify structural readiness
- Fan rough-in and electrical – Install housing, route ductwork, complete wiring, seal all connections with mastic
- Inspection – Pass rough-in inspection before allowing any wall or ceiling closure
- Drywall and taping – Hang drywall, tape, mud, sand; protect fan housing during finishing work
- Tile and paint – Install backer board, waterproofing, tile; or prime and paint non tile areas
- Final trim and grille installation – Mount finish grille, install switch, test performance, complete final inspection
Testing Fan Performance After Installation During Remodel
Run a basic airflow test before closing the ceiling permanently. Turn the fan on and hold a single ply tissue near the grille opening. It should pull flat against the grille and stay there. If the tissue barely moves or falls away, airflow is weak and you’ve got a problem somewhere in the duct routing or sealing. Walk outside and check the exterior termination while the fan runs. You should feel strong airflow at the wall cap or roof vent. One installation moved leaves on hedges 10 feet below the termination point, confirming solid exhaust capacity despite a longer duct run through a band joist.
For more precise verification, measure CFM with a flow meter or hire a pro to test it during final inspection. Test different configurations to understand how the fan performs in real conditions. Run tests with the grille on and off, the bathroom door open and closed, and any bathroom window open and closed. One Broan 80 CFM fan showed a range of 50 to 75 CFM across these different configurations, averaging 66 CFM. That’s typical. Actual performance varies based on static pressure from grilles, door undercuts, and competing air paths like open windows.
Watch for signs of proper operation during daily use once the bathroom is finished. Steam should clear from mirrors within a few minutes after a hot shower. You shouldn’t see condensation issues on walls, ceiling, or windows after normal use. Air circulation should be obvious when you stand under the fan. You feel the pull, hear consistent motor noise without rattling, and don’t notice any backdrafts when the fan shuts off. If the bathroom stays damp, smells musty, or the mirror fogs for 15 minutes after a shower, something isn’t working. Recheck duct connections and verify the backdraft damper isn’t stuck closed.
Long-Term Maintenance Access and Future Upgrade Considerations
Plan for future repairs and maintenance access during rough-in, before the ceiling closes up. If your fan housing sits in an accessible attic, you’re fine. Just climb up there when service is needed. If the fan mounts in a tight ceiling cavity with no attic above, consider adding an access panel in the ceiling or an adjacent closet during drywall installation. A simple 12 inch square access panel lets you reach the fan housing, replace motors, or upgrade the unit years later without cutting into finished tile or drywall. This small detail during rough-in saves major headaches later.
Think about upgrade options while the bathroom is torn apart and installation is happening anyway. Combo units that integrate LED lighting with the exhaust fan eliminate the need for separate fixtures and wiring runs. Humidity sensing models turn on automatically when moisture hits a set threshold and shut off when the air dries out. No more forgetting to flip the switch after showers. Timer controls let you set the fan to run for 20 or 30 minutes after you leave the bathroom, providing extended moisture removal without wasting energy all day. Ultra quiet models rated under 0.5 sones run almost silently, which matters in master baths where fan noise carries into bedrooms.
Warranty coverage depends on following manufacturer instructions and using a qualified installer. DIY installations sometimes void warranties if something goes wrong, especially on electrical components. Professional installation usually includes workmanship warranty on top of the manufacturer’s equipment warranty, giving you two layers of protection. Energy efficiency considerations provide long term cost savings. Energy Star rated fans use 70% less energy than standard models and move air more efficiently. Better moisture control from a properly sized, well installed fan prevents costly mold remediation, wood rot repairs, and paint failure down the line.
Upgrade features to consider during initial installation:
- Integrated LED lighting – Combines exhaust and lighting in one fixture, reduces wiring runs and ceiling clutter
- Humidity sensing auto-on – Activates when moisture level exceeds threshold, shuts off automatically when dry
- Timer controls for extended run – Keeps fan running after you leave, ensures complete moisture removal
- Ultra quiet models – Fans rated under 1.0 sone for noise sensitive installations like master bathrooms
- Energy efficient motors – Energy Star rated units reduce operating costs and provide better long term value
Final Words
Install your bathroom fan during rough-in, right after framing but before drywall. That’s when wall cavities are open, ductwork routes easily, and electrical connections happen without cutting finished surfaces.
Get the sizing right, vent to exterior (never the attic), and don’t skip the rough-in inspection. Testing airflow before you close the walls confirms the fan actually works.
Knowing when to install bathroom fan during remodel keeps your project moving and prevents expensive do-overs later.
FAQ
Is it against code to not have a bathroom fan?
Building codes in most jurisdictions require bathroom ventilation through either a window that opens or a mechanical exhaust fan venting to the exterior. If your bathroom has no operable window, then an exhaust fan that vents outside is mandatory to meet code requirements for moisture control and air quality.
What is the labor cost to install a bathroom exhaust fan?
Labor costs to install a bathroom exhaust fan typically range from $200 to $500 for basic installation during a remodel when walls are open. Costs increase to $400 to $800 for retrofit installations in finished bathrooms where cutting through drywall and routing ductwork through closed cavities requires more work.
What is the code for venting a bathroom fan?
Code requirements for venting a bathroom fan mandate that exhaust air must discharge directly to the exterior through a roof penetration or exterior wall cap. You cannot dump exhaust air into attic spaces, crawl spaces, or other buffer areas, as this creates moisture problems and violates building codes.
How much would an electrician charge to change a bathroom fan?
An electrician typically charges $150 to $300 to replace an existing bathroom fan when the electrical wiring and junction box are already in place. If new electrical circuits or additional wiring runs are needed, costs increase to $300 to $600 depending on the complexity of routing wire through wall cavities.
When should I install a bathroom fan during a remodel?
A bathroom fan should be installed during the rough-in phase after demolition and framing are complete but before drywall goes up. This timing provides open access to ceiling joists and wall cavities for routing ductwork and electrical wiring without cutting through finished surfaces.
Can I install a bathroom fan myself or do I need a professional?
You can handle ductwork installation and mounting bracket work yourself, but electrical connections typically require a licensed electrician to meet code requirements and pass inspection. Professional installation ensures proper wire gauge, GFCI protection, and correct junction box placement that prevent electrical hazards.
How do I know what size bathroom fan I need?
Calculate bathroom fan size by multiplying room square footage by 1.1 to determine required CFM rating, then increase by 50 percent since fans achieve only about half their rated airflow in real installations. For example, a 50-square-foot bathroom needs at least an 80 CFM rated fan.
Should bathroom fan ductwork be insulated?
Ductwork running through unconditioned spaces like attics must have an insulation jacket to prevent condensation from forming inside the duct. Warm, moist air from the bathroom hitting cold duct surfaces creates water droplets that can drip back into the fan housing or leak onto ceiling materials.
What’s the difference between flexible duct and rigid metal duct for bathroom fans?
Flexible ducting is easier to route through tight spaces and around ceiling joists but needs insulation jacket and achieves lower airflow than rigid metal duct. Rigid metal duct provides better exhaust capacity and durability but requires more cutting through framing and is harder to install in retrofit situations.
When does the building inspector need to see the bathroom fan installation?
The building inspector must see the rough-in work before drywall covers the electrical wiring, ductwork installation, and housing unit mounting. Scheduling this inspection at the right time prevents having to remove drywall later if corrections are needed to meet code requirements.
How do I prevent cold air from coming back through my bathroom fan?
Install a backdraft damper at the exterior termination point to block outside air from flowing backward through the ductwork. Standard internal fan flappers have poor sealing performance, so add a quality exterior damper like the Cape Backdraft Damper that uses latex material for better air sealing.
Can bathroom fan installation wait until after drywall is up?
Waiting until after drywall installation forces you to cut through finished ceiling surfaces, makes routing ductwork much harder, and often results in suboptimal duct paths that reduce exhaust capacity. Installing during rough-in phase when wall cavities are exposed saves time and produces better fan performance.