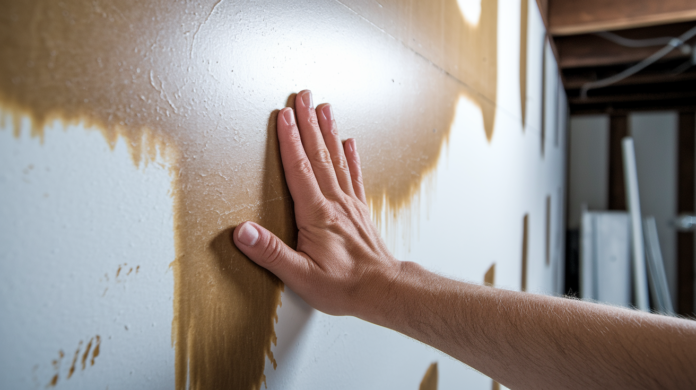

Most people cut drywall exactly at the waterline and wonder why mold shows up six months later. Here’s the problem: water wicks 12 to 24 inches higher than you can see, soaking into the gypsum core where it sits trapped and perfect for mold growth. The repair versus replace decision isn’t about saving money short-term. It’s about understanding what kind of water hit your walls, how long it’s been wet, and whether the material can actually dry safe enough to keep.
Immediate Assessment: When to Repair vs Replace Flood-Damaged Drywall
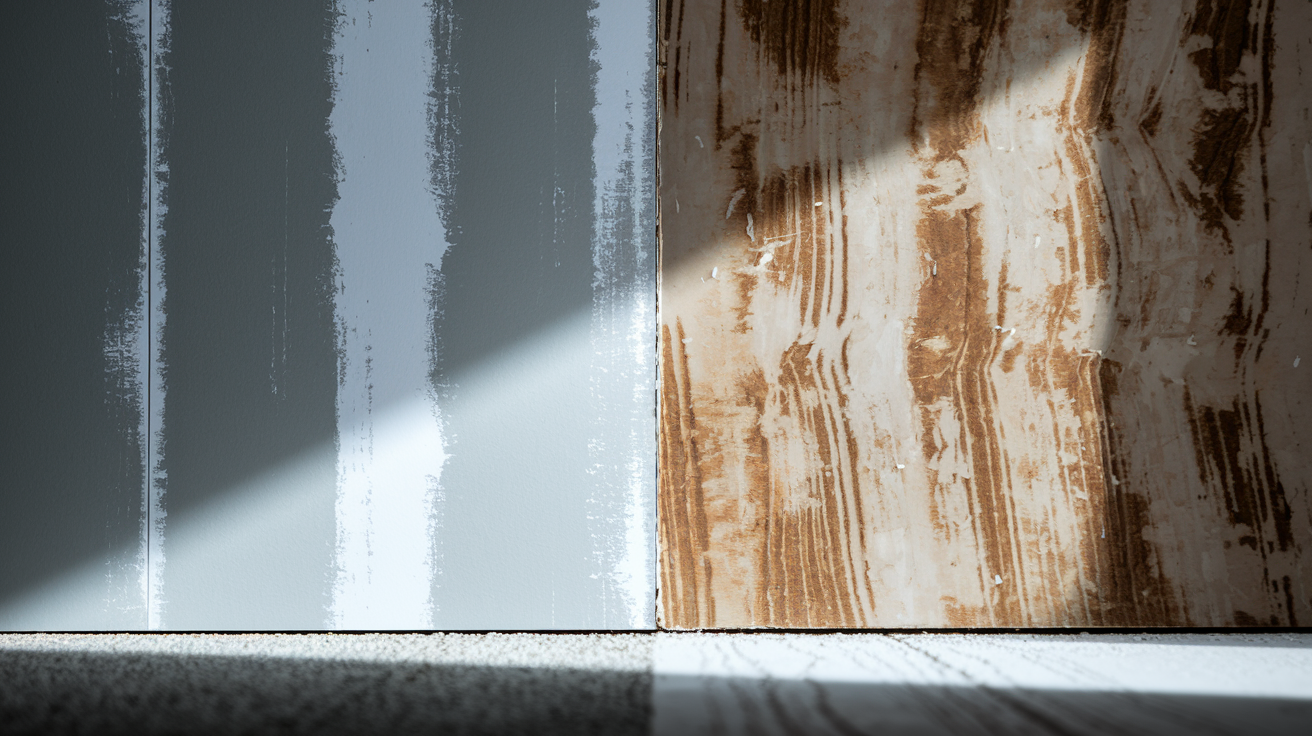
The repair or replace decision comes down to three things you need to check together: what kind of water hit the drywall, how long it’s been wet, and what the material looks like now. These factors work together to tell you whether you can save the drywall or need to rip it out to protect your home and family.
| Water Category | Source Examples | Exposure Duration | Physical Condition | Required Action |
|---|---|---|---|---|
| Category 1 Clean | Burst pipes, supply lines | Under 24 hours | Firm, minimal staining | Possible repair if dried immediately |
| Category 1 Clean | Burst pipes, supply lines | Over 48 hours | Soft spots, warping | Replacement required |
| Category 2 Gray | Appliance overflow, toilet tank | Any duration | Any moisture present | Flood cut partial replacement |
| Category 3 Black | Sewage, river flooding | Any duration | Any exposure | Complete replacement mandatory |
You’ve got 24 to 48 hours max to save wet drywall if the water’s clean. That’s your window. Professional drying equipment needs to start working within that timeframe or mold’s probably going to show up. After 48 hours? Doesn’t matter what the water source was, you’re looking at replacement because mold becomes pretty much guaranteed.
Physical signs tell you replacement’s needed even when timing looks okay. Press on the drywall. If it feels soft or crumbly, the gypsum core’s toast. Sagging sections, gaps where it’s pulled away from studs, warping, moisture that won’t go away after 72 hours, musty smells, visible mold along seams or baseboards… any of these mean drying won’t fix the problem.
Contaminated water from Categories 2 and 3 soaks into the porous gypsum and paper backing, carrying bacteria and chemicals deep into places you can’t clean. Doesn’t matter how long it was wet or whether you dry it. Replacement’s the only safe choice.
How Water Damages Drywall: Absorption Mechanics and Timing
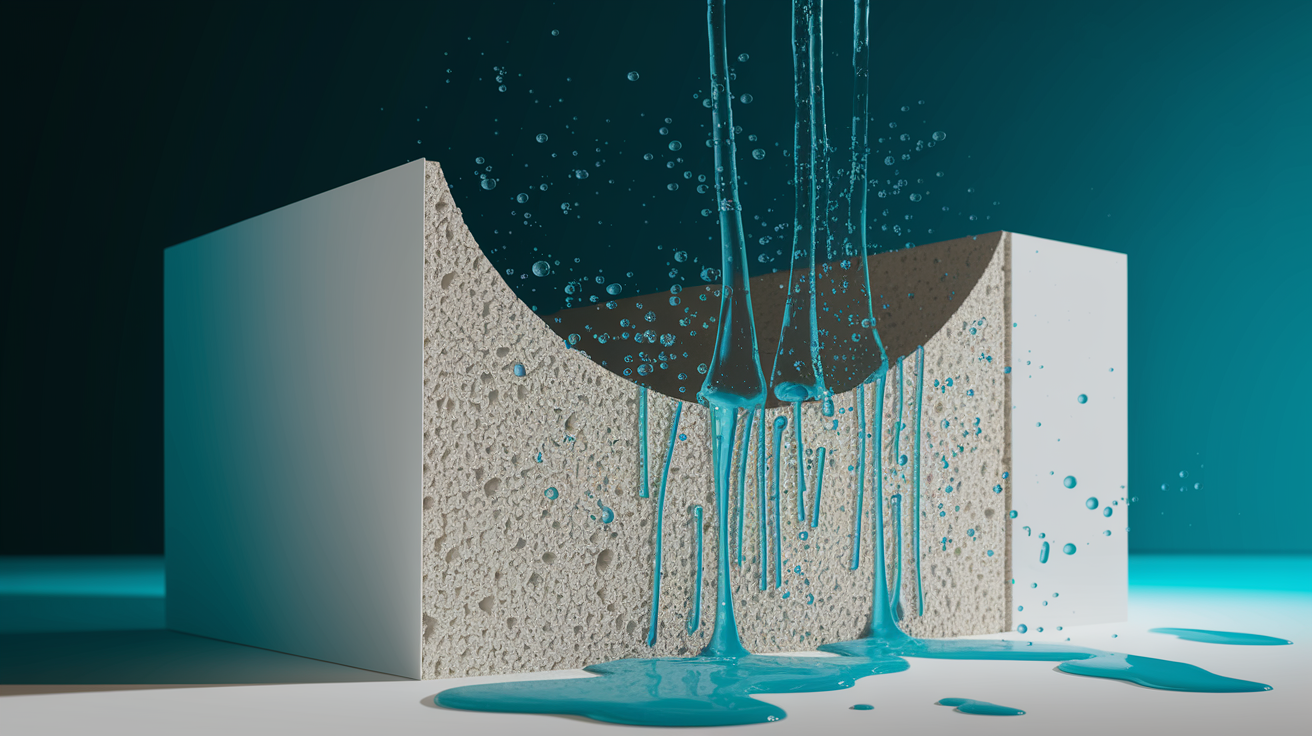
Drywall starts losing strength within hours of getting wet. The gypsum core and paper facing soak up moisture through capillary action, basically wicking water through tiny spaces. The paper acts like a sponge, pulling water into the compressed gypsum powder. This causes swelling, warping, and loss of strength. The paper separates from the core, creating bubbles and ripples you can see on the surface.
Here’s the tricky part. Water wicks 12 to 24 inches above the visible waterline through capillary action. So that brown stain you see at 3 feet might mean saturation reaching 4 or 5 feet up behind the surface. People who cut only to the visible line often find mold growing in the “dry” section months later because moisture stayed trapped inside.
Mold starts growing within 24 to 48 hours once moisture’s present. That’s your action window.
Drying time depends heavily on equipment and conditions. With professional gear (commercial dehumidifiers and air movers), water damaged drywall usually hits safe moisture levels (under 1 percent for gypsum) in 3 to 5 days. Without pro equipment, drywall can take weeks to dry, and mold almost certainly grows during that extended period. Humid summers slow evaporation big time. Cold basements and winter conditions hold moisture longer because cooler air can’t carry as much water vapor. Seasonal temperature swings add damage when water freezes and expands in cracks, pushing fasteners loose and cracking saturated drywall and framing.
Critical Warning Signs Your Drywall Must Be Replaced
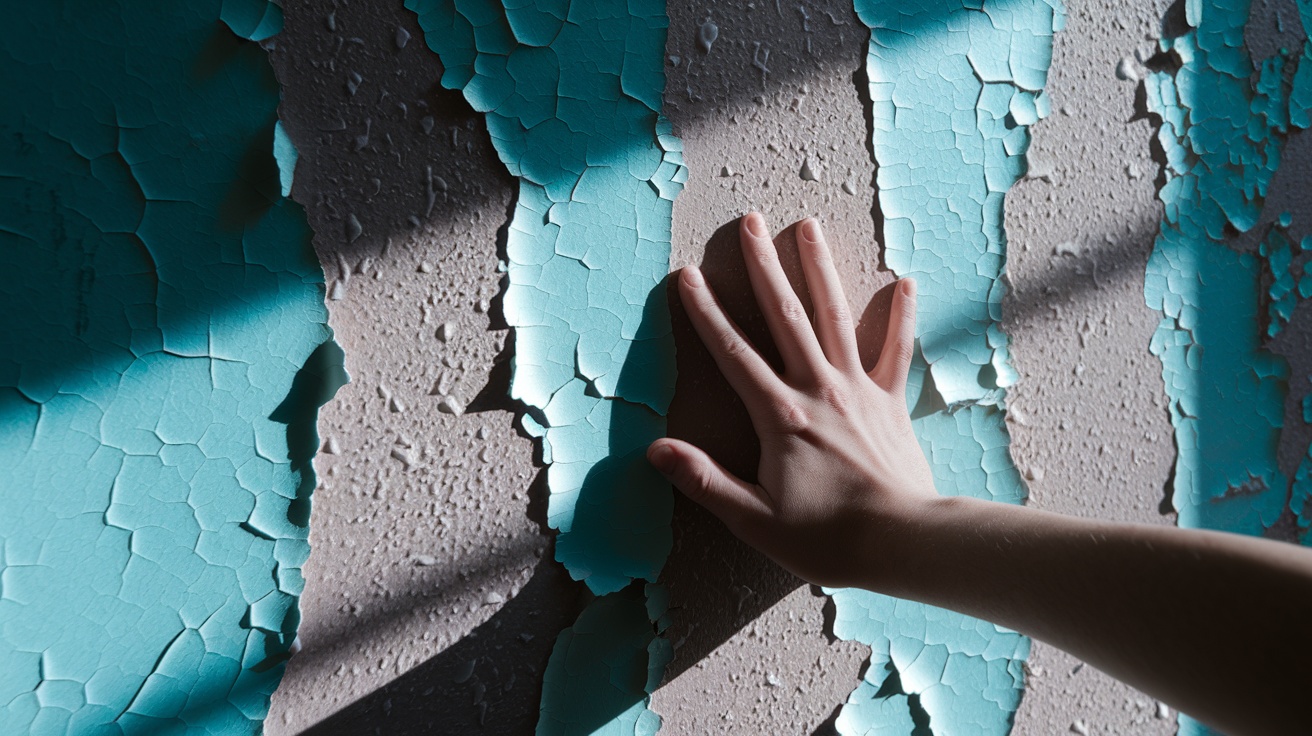
Press gently on affected areas with your palm. Firm drywall compresses slightly and springs back. Damaged drywall feels spongy, stays compressed, or crumbles under light pressure. Check texture changes, especially near baseboards and corners where water sits longest.
Pros use moisture meters that measure exact moisture content in gypsum and infrared cameras that spot hidden wet areas you can’t see. These tools show temperature differences that indicate moisture trapped in wall cavities, behind trim, in ceiling spaces that would go undetected until mold appears weeks later.
Warning signs that mean replacement:
Persistent discoloration or brown/yellow stains that don’t fade as drying happens. Bubbling or peeling paint and texture showing the layers are separating. Warping, swelling, or buckling that creates waves you can see along the wall. Sagging panels or sections pulling away from studs under their own weight. Soft, spongy, or crumbly texture when pressed, especially near baseboards. Musty or moldy smells near walls even after visible surfaces look dry. Visible mold along seams, baseboards, or corners appearing as dark spots. Fastener failure or drywall separation from framing with visible gaps at edges.
Any combination of these means replacement’s safer and more cost effective than trying to repair. A single soft spot might seem minor, but it tells you moisture’s compromised the gypsum core throughout that whole panel.
Mold Risks and Safety Protocols in Water-Damaged Spaces

Mold spores start colonizing moisture saturated drywall within 24 to 48 hours. Species like Aspergillus and Cladosporium love dark wall cavities where air doesn’t move much and humidity stays high. These often start growing on the hidden backside of drywall where you can’t see development, which makes early action critical before colonies get established.
The EPA warns that mold exposure can trigger allergies, respiratory irritation, asthma attacks, and other health problems. Kids, seniors, and people with existing respiratory conditions face bigger dangers from airborne spores released during demo work. Even people without known sensitivities can develop reactions after prolonged exposure to heavy mold found in flood damaged buildings.
Safety measures when working with water damaged materials:
Wear protective gloves, safety goggles, and N95 or better respirator masks during all work. Turn off electrical power to affected areas before entering water damaged spaces. Keep continuous ventilation with fans exhausting outdoors, never recirculating air. Don’t touch standing water until you know the contamination level through testing. Use HEPA air filtration equipment during demo and drying to capture released spores. Seal the work area with plastic sheeting to stop spore migration to clean rooms.
Drywall’s porous nature won’t let you clean it effectively when mold’s present. Surface wiping removes visible growth but can’t reach colonies embedded in the paper backing and gypsum core. Professional removal with containment barriers and HEPA filtration is required when mold shows up because you can’t sanitize the material adequately.
Pro remediation teams follow containment protocols that prevent contamination spread to clean areas and use industrial HEPA systems that DIY equipment can’t match. This protects both workers and building occupants from exposure during removal.
Professional Assessment and Moisture Detection Technology

Moisture meters measure exact moisture content in gypsum, giving readings that tell you whether material’s reached safe levels (typically under 1 percent). These devices use pins or sensors that penetrate the surface to measure electrical resistance, which changes based on water content. You can’t identify saturation hidden beneath intact paint or texture by looking.
Infrared thermal cameras show temperature differences that indicate moisture trapped in wall cavities, behind baseboards, in ceiling areas. Wet materials appear cooler than surrounding dry areas, creating color coded maps showing exactly where moisture remains. Professional assessment prevents incomplete drying that leads to hidden mold growth months after repair work looks finished.
When you need professional help:
Damage covering more than 10 square feet or affecting multiple rooms. Any ceiling damage because of collapse risks and overhead work difficulty. Exposure to Category 2 or 3 contaminated water requiring specialized disposal. Visible mold growth or musty odors indicating hidden colonies. Insurance claim involvement requiring documentation and certified restoration for coverage.
When DIY might work:
Small cosmetic damage under 2 square feet with no structural problems. Clean water source (Category 1) from recent minor leak fixed immediately. Drywall confirmed completely dry with moisture meter readings under 1 percent. No mold present and no musty odors detected anywhere in affected area. You’ve got prior drywall finishing experience and proper tools available.
The decision between professional and DIY depends on damage extent, contamination level, and your skill level. Safety’s always the primary consideration. Attempting repairs beyond your capability or on contaminated materials creates long term health risks that far outweigh the cost of proper restoration.
The Flood Cut Removal Technique for Partial Drywall Replacement
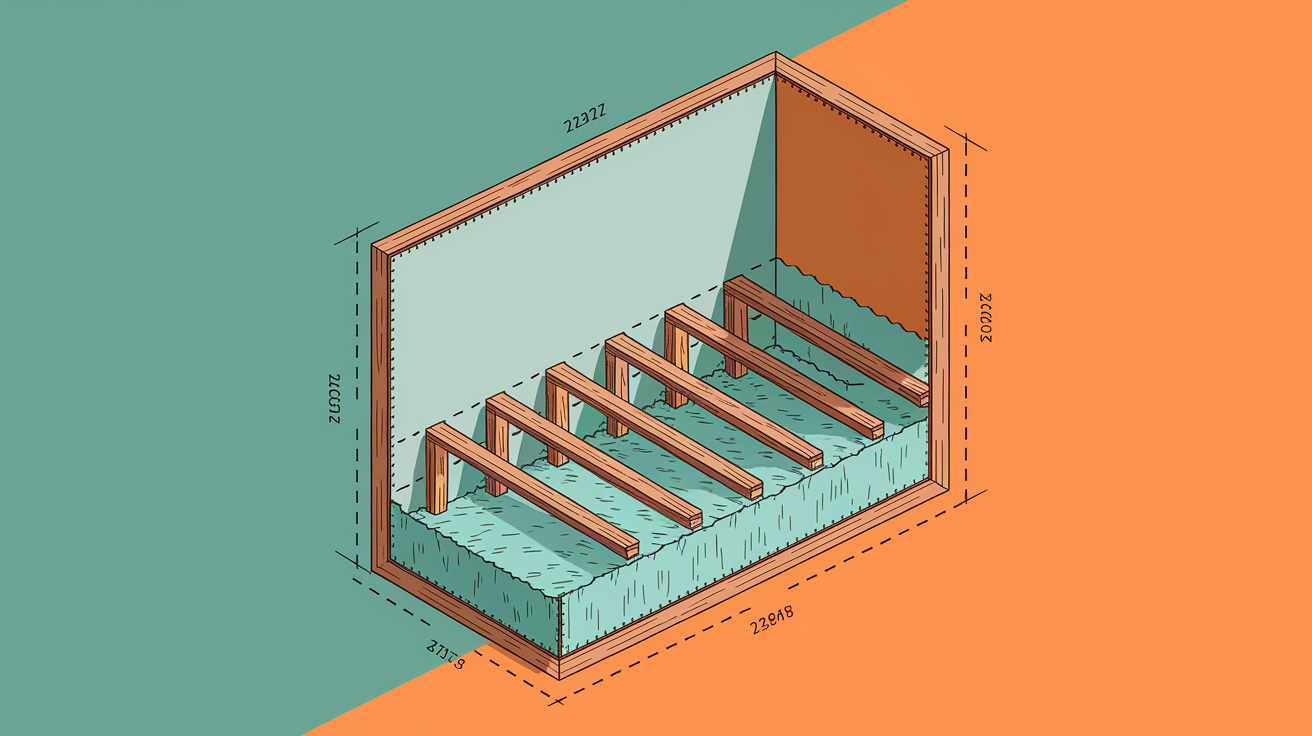
The flood cut technique means strategic horizontal removal of drywall from floor level to 12 to 24 inches above the highest moisture point. This balances cost savings with thorough cleanup by keeping dry upper wall sections while removing all saturated material in the lower portion.
Cut height gets determined by moisture meter readings above the highest point of moisture penetration, not just visible waterlines. Since wicking draws water far above stain lines through capillary action, cuts based only on visible damage leave saturated material trapped behind intact surfaces.
Benefits of flood cuts:
Exposes wall cavities for thorough drying of insulation, framing, and hidden spaces. Lets you inspect studs, wiring, and plumbing for structural or mechanical damage. Reduces material and labor costs by keeping undamaged upper wall sections. Enables mold inspection and cleanup before closing walls permanently.
Flood cuts work best for Category 2 gray water damage from appliance overflows or sink backups where the upper wall sections test completely dry and structurally sound. Professional moisture mapping identifies the exact cut line, typically 12 inches above the highest reading to give you a safety margin. The exposed cavity then gets professional drying for 3 to 5 days with verification readings before new drywall goes in. This approach works well in basements and first floor spaces where flooding reaches predictable heights, letting you preserve upper cabinets, shelving, and intact finishes.
Complete Drywall Replacement Process and Best Practices
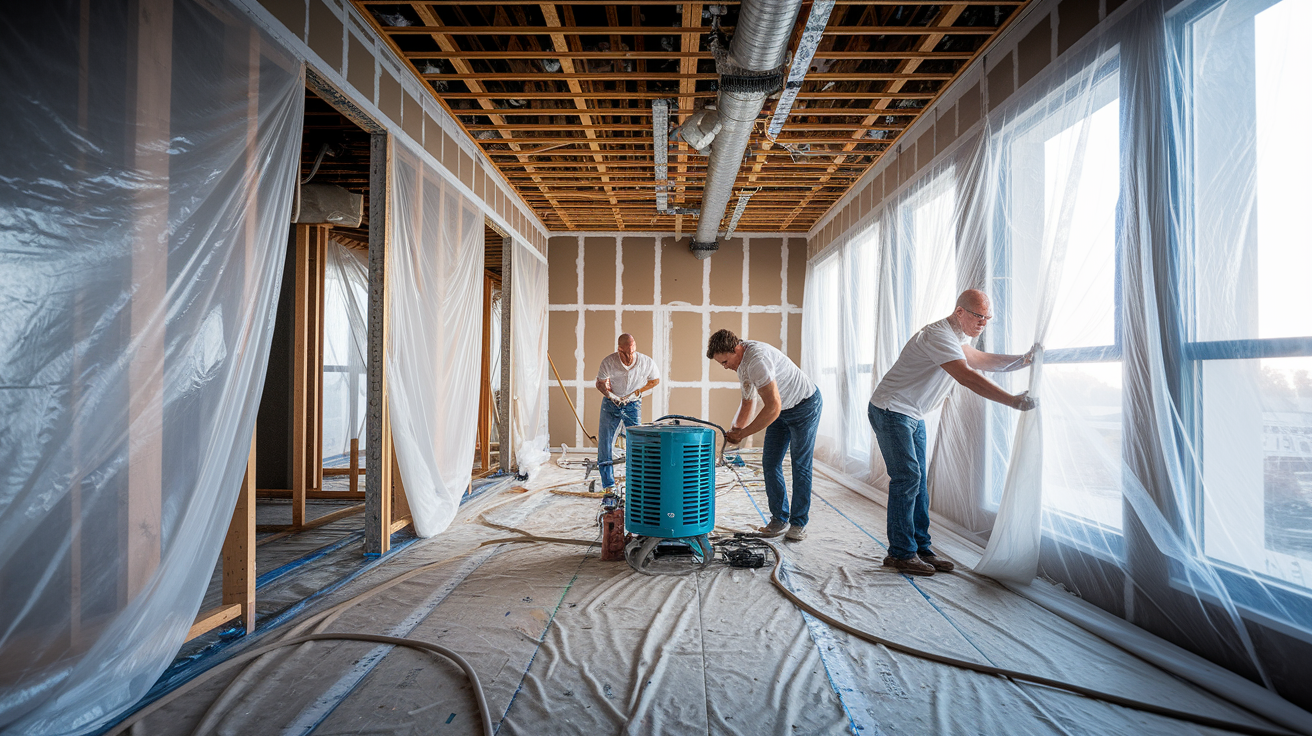
Professional replacement follows EPA and IICRC S500 standards, making sure you get safe, lasting results that meet insurance requirements and building codes.
The six phase process starts with containment setup using plastic barriers and negative air pressure to prevent contamination spread to unaffected areas. Removal of damaged materials follows with proper disposal according to contamination category. Structural drying and disinfection using industrial dehumidifiers and air movers brings framing and cavities to safe moisture levels. Thorough inspection of studs, wiring, and insulation identifies hidden damage needing repair before closing walls. Installation of appropriate drywall type for each location follows, with panels cut to fit and fasteners placed correctly. Final moisture verification readings confirm all materials meet safe levels before finishing work starts.
Drywall options for reinstallation:
Standard gypsum drywall for dry interior areas with no moisture history. Green board (moisture resistant) for bathrooms and kitchen areas with occasional humidity. Purple board (mold and moisture resistant) for high humidity spaces like shower surrounds. Paperless drywall for maximum mold resistance in flood prone basements and utility rooms. Cement board for areas with persistent moisture concerns requiring tile or waterproof finish.
Panels must be properly anchored to studs with drywall screws spaced 16 inches on center along edges and 12 inches in the field. Moisture resistant options prevent future damage in vulnerable areas, making the small additional cost worthwhile in locations with recurring humidity or previous water events.
Finishing Work: Taping, Mudding, and Texture Matching
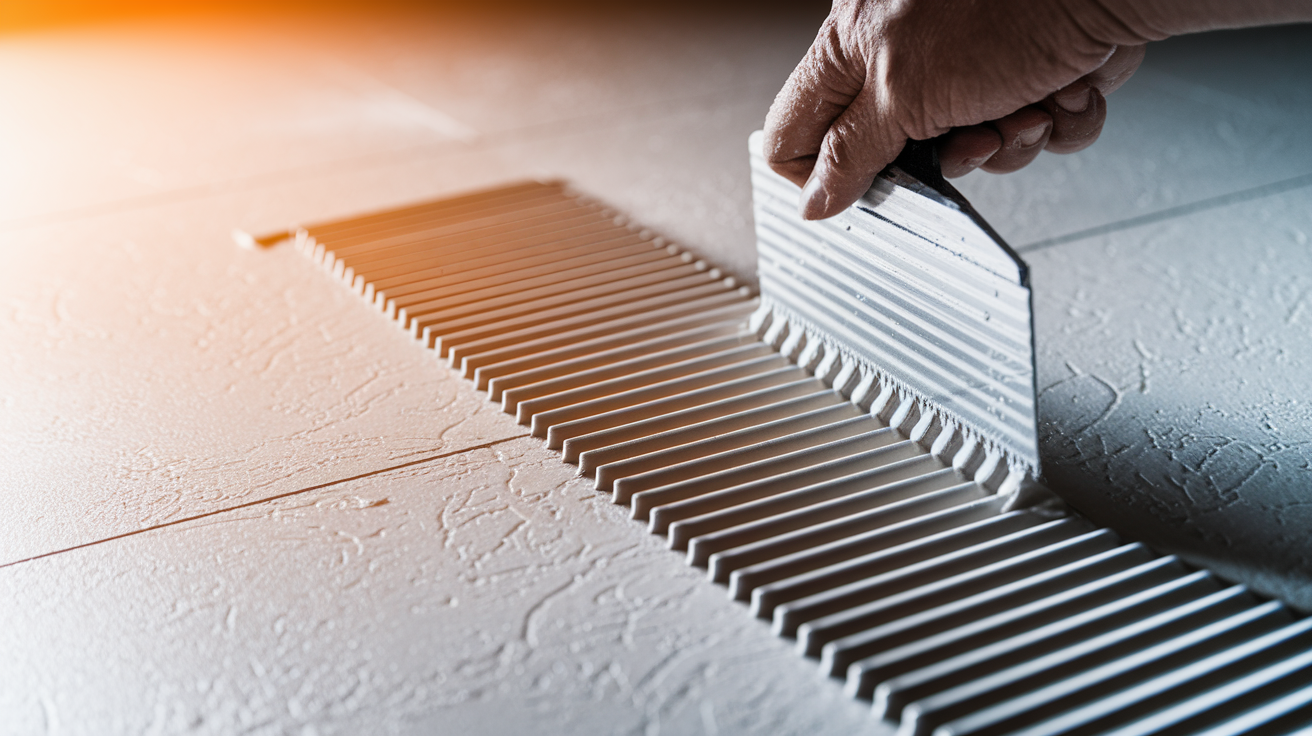
Joint compound and drywall tape create sealed seams that prevent future moisture getting in at panel edges. The tape bridges the gap between panels while compound fills and levels the joint, creating a continuous surface.
Stain blocking primer’s essential on any water affected areas because standard paint lets tannins and discoloration bleed through, leaving visible marks even after multiple paint coats. Primer seals these stains, stopping them from reaching the finish paint layer.
Never paint over mold or try to seal it with primer. Mold keeps growing and releasing spores beneath surface coatings, creating health risks and eventual paint failure as colonies expand.
Finishing steps in correct sequence:
Apply drywall tape to all joints and screw indentations using thin compound layer. Apply three coats of joint compound with drying time between each layer (coat 1 at 6 inches wide, coat 2 at 10 inches, coat 3 at 12 inches for proper feathering). Sand smooth when compound fully cures, typically 24 hours after final coat application. Apply stain blocking primer to entire repaired area, extending 6 inches beyond repair edges. Paint with texture matching to blend with existing wall surface using appropriate technique.
Protecting Structural Elements During Drywall Restoration

Water saturated wooden studs and framing lose structural capacity as moisture swells wood fibers and reduces load bearing strength. Prolonged saturation leads to rot if studs aren’t properly dried before closing walls. Moisture readings in framing must reach acceptable levels (typically 15 to 19 percent depending on wood species) before drywall installation goes forward.
Wet insulation loses thermal performance and becomes a mold habitat. Fiberglass batts compressed with water lose their air trapping ability, which provides insulation value. They also dry very slowly and hold moisture against wooden framing, speeding up rot. Water damaged insulation typically needs removal and replacement even when drywall above can be salvaged, adding to project costs but preventing long term structural problems.
Electrical wiring and plumbing need thorough inspection after water events. Power must stay off until wiring’s confirmed dry and insulation intact, since wet wire insulation can cause shorts or shock hazards. Corroded pipes may look intact but fail shortly after water events as oxidation weakens metal at connection points. Licensed electricians and plumbers should inspect affected systems before restoration work closes walls, preventing expensive callback repairs when hidden damage causes failure weeks later.
Cost Comparison: Repair Versus Replacement Economics

Cost decisions need to balance immediate expense against long term safety and durability. Improper repairs that trap moisture or leave contamination lead to mold growth requiring full replacement later, often costing three times the original proper cleanup expense. The cheap fix rarely stays cheap.
Professional labor typically runs $40 to $100 per hour depending on region and contractor certification level. Square footage is the primary pricing factor for replacement projects, with material costs relatively consistent but labor varying based on ceiling height, access difficulty, and finish complexity.
| Project Type | Materials Cost | Labor Cost Range | Total Estimate |
|---|---|---|---|
| Small patch repair (under 2 sq ft) | $40-80 | $50-150 | $100-250 |
| Medium repair (2-10 sq ft) | $80-150 | $150-350 | $250-500 |
| Flood cut partial replacement | $150-400 | $300-800 | $450-1,200 |
| Full room replacement | $400-900 | $600-2,000 | $1,000-3,000 |
These estimates vary by region and complexity factors, with urban areas typically running 20 to 40 percent higher than rural locations. Insurance claims may cover replacement costs for sudden water damage events like burst pipes, making proper documentation critical for cost recovery.
Insurance Claims and Documentation for Flood Damage Recovery
Most homeowner policies cover sudden water damage events like burst pipes but exclude gradual damage from long term leaks or flooding (requiring separate flood insurance through NFIP or private carriers). Review your policy immediately after discovering damage to understand coverage limits and requirements.
Take photos immediately showing damage extent, affected areas, and water source before any cleanup begins. Take wide shots showing room layout and close ups of damaged materials, visible waterlines, and contamination. Photograph the source of water and any failed components like burst pipes or overflowing appliances. This visual record backs up claims and prevents disputes about damage extent.
Professional restoration estimates provide detailed scope of work, moisture readings at discovery, and itemized costs that insurance adjusters require for claim approval. Certified restoration companies document findings using industry standard forms that adjusters recognize, speeding the approval process. These estimates typically include drying logs showing moisture levels over time, proving that proper protocols were followed.
Contact your insurance company before beginning major work beyond emergency mitigation (stopping active water flow and removing standing water). Keep all receipts, moisture readings, contractor invoices, and correspondence for claim documentation throughout the restoration process.
Preventing Future Water Damage to Drywall and Interior Walls
Prevention’s way less expensive than repeated repairs. Most water damage is preventable through routine maintenance and awareness of common failure points.
Eight prevention strategies:
Keep gutters and downspouts clear, extending drainage 6+ feet from foundation to prevent basement seepage. Install and maintain dehumidifiers in basements, keeping humidity between 30 to 50% to prevent condensation. Insulate pipes in unheated spaces to prevent winter freeze bursts in attics, crawlspaces, and exterior walls. Seal foundation cracks and apply exterior waterproofing in flood prone areas before problems develop. Repair plumbing leaks immediately when detected, even minor drips that seem insignificant. Install water detection alarms near water heaters, washing machines, and sump pumps for early warning. Add vapor barriers behind drywall in bathrooms, basements, and moisture prone areas during remodeling. Schedule annual inspections with certified professionals for roof, plumbing, and foundation systems.
Small roof leaks left alone for just two days can cause drywall rot, insulation damage, and mold growth requiring thousands in repairs. Early detection through routine inspection prevents extensive damage requiring full replacement. Walk your property after heavy rains checking for signs of water getting in, and fix problems while they’re small and manageable rather than waiting until major damage forces expensive emergency repairs.
Final Words
Choosing between flood damaged drywall replacement or repair comes down to three critical factors: water contamination level, how long moisture stayed in the walls, and what the material feels like when you press on it.
If the drywall is soft, sagging, or exposed to sewage or gray water, replacement isn’t optional.
Clean water caught early might be salvageable, but only if drying starts immediately and moisture readings confirm success within that 24-48 hour window.
When in doubt, err on the side of replacement. It’s cheaper than fighting mold six months later.
FAQ
Q: Does drywall need to be replaced after a flood?
A: Drywall needs to be replaced after a flood when exposed to contaminated water (gray or black water), when moisture remains longer than 48 hours, or when physical damage like soft spots, warping, or mold growth is present.
Q: Can water damaged drywall be repaired?
A: Water damaged drywall can be repaired only if exposed to clean water for under 24 hours, dried immediately with professional equipment, shows no soft spots or warping, and moisture meter readings confirm complete drying under 1%.
Q: Is it better to repair or replace drywall?
A: It is better to replace drywall when moisture has been present over 48 hours, contaminated water was involved, or physical damage like sagging or soft texture exists, as repair attempts often lead to mold growth requiring later replacement.
Q: How much does it cost to repair water damage drywall?
A: Water damage drywall repair costs range from $100 to $250 for small patches under 2 square feet, $250 to $500 for medium repairs, $450 to $1,200 for flood cuts, and $1,000 to $3,000 for full room replacement.
Q: What is Category 1 clean water and can drywall be saved?
A: Category 1 clean water comes from burst pipes or supply lines and drywall can potentially be saved if exposure is under 24 hours, drying begins immediately, and moisture meters confirm complete drying with no soft spots.
Q: What is the flood cut technique?
A: The flood cut technique removes drywall horizontally from floor level to 12-24 inches above the highest moisture reading, exposing wall cavities for drying while preserving undamaged upper sections to reduce replacement costs.
Q: How long does it take for mold to grow in wet drywall?
A: Mold grows in wet drywall within 24 to 48 hours of moisture exposure, with species like Aspergillus and Cladosporium colonizing dark wall cavities, often starting on the hidden backside where homeowners cannot see development.
Q: What moisture level is safe for drywall?
A: Safe moisture levels for drywall are under 1 percent for gypsum as measured by professional moisture meters, and readings above this indicate continued drying is required before closing walls or applying finishes.
Q: When should I hire a professional for water damaged drywall?
A: You should hire a professional for water damaged drywall when damage exceeds 10 square feet, involves ceiling areas, includes contaminated water exposure, shows visible mold or musty odors, or requires insurance claim documentation.
Q: What type of drywall should I use after flood damage?
A: After flood damage, use purple board (mold and moisture-resistant) for high-humidity spaces, paperless drywall for flood-prone basements, green board for bathrooms and kitchens, or cement board for areas with persistent moisture concerns.
Q: Why can’t I just paint over water stains on drywall?
A: You can’t just paint over water stains because standard paint allows stains to bleed through, requiring stain-blocking primer first, and painting over mold is never acceptable as it continues growing beneath surface coatings.
Q: Does wet insulation need to be replaced with drywall?
A: Wet insulation needs to be replaced even when drywall is salvageable because saturated insulation loses thermal performance and becomes a mold habitat that cannot be adequately dried once moisture has penetrated the material.