
Most primers labeled “mold resistant” fail in the exact spots you need them, like bathroom ceilings and basement walls. They lack the antimicrobial punch to stop spores in high-humidity conditions, which means you’re repainting over black spots within two years. Real mold resistant primers use EPA registered ingredients that create a protective film spores can’t colonize, even when humidity spikes during showers or laundry cycles. This guide breaks down which primers actually work, where to use them, and how to apply them so they last.
Top Mold Resistant Primers for Drywall Protection
Drywall in bathrooms, basements, and laundry rooms sits right where mold spores love to set up shop. Standard primers won’t fight back, which means you’re looking at peeling paint and black spots faster than you’d think. Mold resistant primers create a protective film with antimicrobial properties that actually stop spores from taking hold.
Here’s what works:
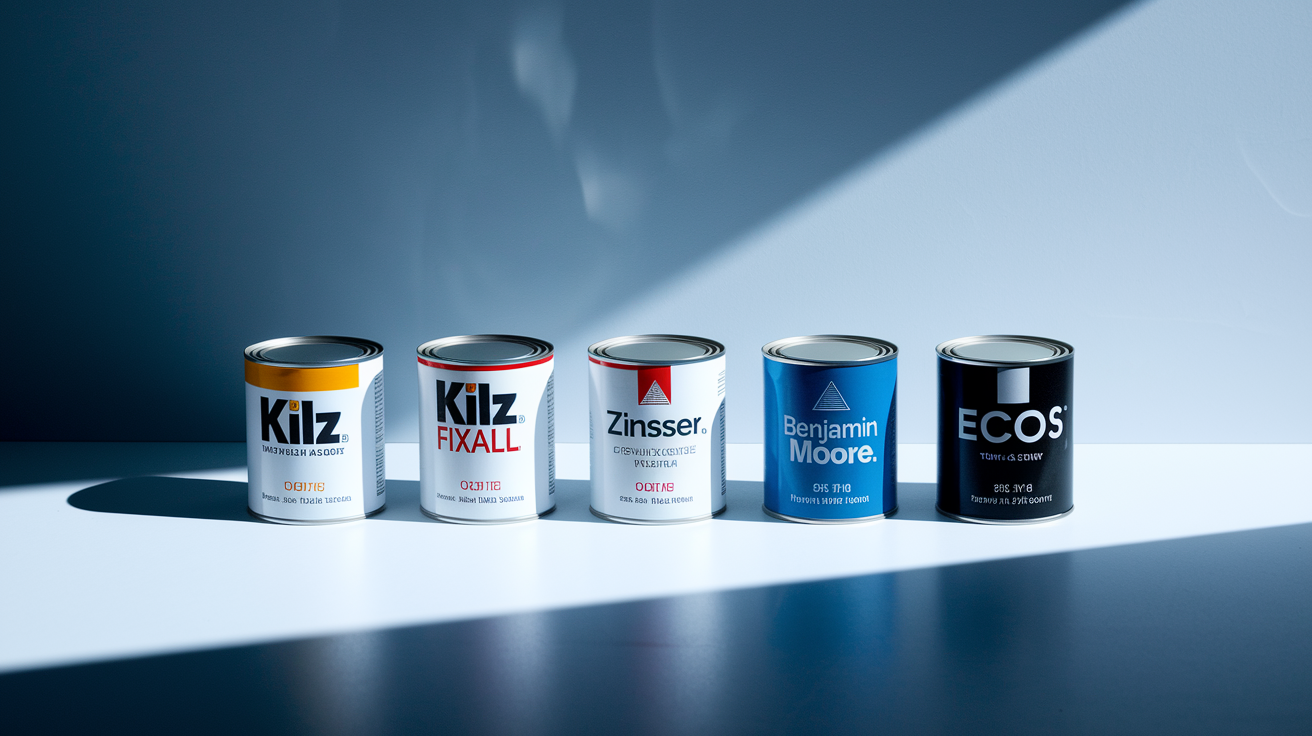
KILZ MOLD & MILDEW Primer comes as a water-based primer, sealer, and stain blocker with EPA registered ingredients that create a mold and mildew resistant film. VOC content sits under 5 grams per liter. It blocks medium to heavy stains like water damage, tannin, grease, and ink. You can grab it in quarts, gallons, or 5-gallon containers.
FixALL Mold Barrier Primer & Topcoat is 100% acrylic and combines primer and topcoat in one product, so you skip separate painting steps. Contains special anti-microbial additive that creates a moisture resistant barrier. You can tint it, and it hides stains well.
Zinsser Mold Killing Primer uses an oil-based formula designed for surfaces with existing mold stains after you’ve cleaned them properly. Sticks well to difficult substrates and handles extreme moisture conditions.
Benjamin Moore Kitchen & Bath Primer is water-based and formulated for high-humidity interior spaces. Lower VOC content than oil-based alternatives while maintaining strong mildew resistance.
ECOS Interior Drywall Primer hits zero VOC at 0.0 grams per liter with no biocides, fungicides, or solvents. Safe for chemically sensitive individuals and children. First North American paint manufacturer to complete Health Product Declaration certification.
Prices run $25 to $60 per gallon depending on brand and container size. Water-based formulas dry faster with lower odor and easier cleanup using soap and water, making them better for occupied spaces and DIY work. Oil-based primers give you superior stain blocking and adhesion on problem surfaces like smoke damaged drywall or areas with persistent moisture issues, but you’ll need mineral spirits for cleanup and deal with stronger fumes during application. Go water-based for routine bathroom and basement protection. Save oil-based formulas for challenging substrates or post-remediation applications where you need maximum stain sealing and durability.
High-Humidity Applications and Room-Specific Recommendations

Moisture accumulation changes dramatically by room based on water use, ventilation, and temperature swings. High-humidity environments consistently maintain relative humidity above 60%, creating conditions where mold spores germinate within 24 to 48 hours on untreated surfaces. Bathrooms hit 70 to 80% humidity during showers, basements trap ground moisture without adequate dehumidification, and laundry rooms get steam surges during drying cycles.
| Room/Area | Moisture Risk Level |
|---|---|
| Full Bathrooms with Shower/Tub | High – 70-90% humidity during use |
| Basements | High – Ground moisture and poor ventilation |
| Laundry Rooms | Medium-High – Steam from dryers and washers |
| Kitchens | Medium – Cooking steam and sink use |
| Powder Rooms | Medium – Less moisture than full baths |
| Shower Enclosures | Very High – Direct water contact and trapped steam |
| Bathroom Ceilings | High – Heat and moisture rise, poor air circulation |
| Crawl Spaces | High – Ground vapor without proper barriers |
| Garage Interior Walls | Medium – Temperature swings cause condensation |
| Exterior Wall Cavities | Medium-High – Condensation from temperature differential |
These areas benefit most from antimicrobial primer protection because they get sustained exposure to conditions that promote fungal growth. Bathroom ceilings and shower enclosures face repeated cycles of high humidity followed by incomplete drying, which lets mold spores colonize surfaces before the next moisture event. Basements deal with ground moisture wicking through concrete foundations, creating persistent dampness even without visible water intrusion. Laundry rooms trap steam that condenses on cooler wall surfaces, especially on exterior walls during winter. Poor ventilation amplifies all these risks by preventing moisture from escaping, which keeps relative humidity elevated long after the initial water source stops.
Mold resistant primers maintain their antimicrobial properties when exposed to these harsh conditions by creating a surface film that inhibits fungal colonization. The EPA registered active ingredients in products like KILZ MOLD & MILDEW remain effective through repeated steam exposure and temperature swings between 50 and 90°F. In bathrooms where walls experience daily shower steam reaching 100 to 110°F, the primer’s moisture resistant barrier prevents water from penetrating into the drywall face paper where mold would typically establish colonies. Laundry rooms benefit from the same protection during dryer venting cycles that can push indoor humidity above 70% for extended periods.
Adequate ventilation works alongside primer protection to manage moisture levels and prevent conditions where any surface, regardless of primer, would struggle to resist mold growth. Exhaust fans rated at 50 to 80 CFM for bathrooms and 100 to 150 CFM for laundry rooms remove humid air before it condenses on wall surfaces. Open windows during and after high-moisture activities further reduce humidity buildup.
Long-term effectiveness of mold resistant primers depends on maintaining the protective film integrity and addressing underlying moisture problems. Primers typically maintain antimicrobial properties for 5 to 10 years in properly ventilated high-humidity areas, but performance degrades faster when subjected to persistent water leaks, inadequate ventilation, or relative humidity consistently above 75%. During renovation projects, reapplication becomes necessary when the existing primer shows signs of failure like peeling, bubbling, or visible mold growth on the primer surface itself. Realistic expectations recognize that primer alone can’t overcome severe moisture problems. Leaking pipes, missing exhaust fans, or basement water intrusion require correction before primer can provide meaningful protection. Dehumidification targeting 40 to 50% relative humidity gives primers the best chance of long-term performance, while areas maintaining 65% plus humidity will challenge even the best antimicrobial formulas.
Surface Preparation Before Applying Primer
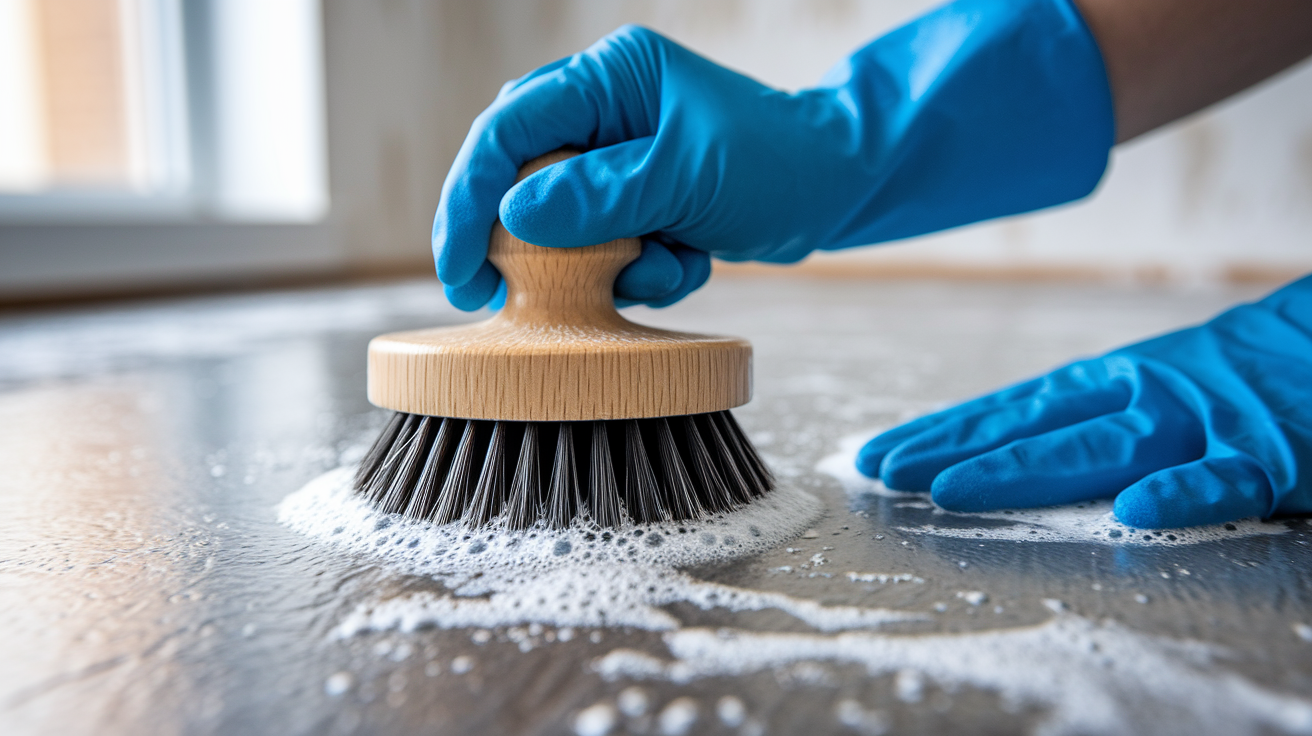
Surface preparation determines whether your primer bonds properly and delivers the mold protection you’re counting on. Skip the prep work and you’re essentially painting over dirt, grease, and potential mold food sources that compromise adhesion within months.
Follow this complete preparation sequence for optimal results:
Remove existing mold or mildew. Use a proper mildew remover or a 1:10 bleach to water solution on visible growth. Scrub with a stiff brush until all discoloration disappears. If you’re seeing black or green growth, the surface has active contamination that must be eliminated before priming.
Wash surfaces thoroughly. Clean with TSP (trisodium phosphate) cleaner mixed according to package directions, or use a bleach solution for surfaces with mildew concerns. This removes soap scum, body oils, cooking grease, and other contaminants that prevent primer adhesion.
Allow complete drying. Wait at least 24 to 48 hours after cleaning before priming. Use a moisture meter to confirm readings below 16% on drywall. Damp surfaces trap moisture under the primer film, creating ideal conditions for mold to grow between the drywall and primer layer where you can’t see it developing.
Repair cracks and holes. Fill with joint compound, feathering edges smooth. Let repairs dry completely per compound manufacturer instructions, typically 24 hours for small patches. Sand repairs flush with surrounding surface.
Sand glossy areas. Scuff sand any glossy paint or finish with 120 grit sandpaper. The primer needs texture to grip, and slick surfaces lead to adhesion failure. This applies to previously painted bathrooms where semi-gloss or satin finishes are common.
Remove sanding dust. Vacuum thoroughly, then wipe surfaces with a tack cloth or slightly damp microfiber cloth. Dust particles prevent direct contact between primer and drywall, compromising the bond.
Verify surfaces are contaminant free. Check for remaining chalk, wax, polish, loose paint, or oil residue. Run your hand across the surface. If it feels slick, greasy, or leaves residue on your fingers, additional cleaning is required.
New masonry surfaces like concrete block foundations in basements require at least 30 days of curing time before primer application. Fresh concrete contains excess moisture and alkalinity that interferes with primer adhesion and can cause efflorescence (white salt deposits) to push through the primer film. Address moisture sources before priming by fixing leaking pipes, improving ventilation, installing dehumidifiers, or correcting exterior drainage problems. Primer prevents mold growth on the primer surface itself but can’t stop moisture from behind the wall, which will eventually cause failure regardless of primer quality.
Application Techniques for Mold Resistant Primer

Choosing the right application tool affects coverage, finish quality, and how much material you waste fighting the drywall texture.
Brush Application
High quality Nylon/Polyester brushes work best for cutting in edges around trim, corners, and ceiling lines. Use 2 to 2.5 inch angled sash brushes for tight detail work and 3 inch flat brushes for larger cut-in areas. Synthetic bristles hold their shape in water-based primers better than natural bristles, which absorb water and go limp during extended use.
Roller Application
Nap size determines how well the roller pushes primer into the drywall surface texture. Use 3/8 to 1/2 inch nap roller covers for smooth or lightly textured drywall found in most modern construction. Switch to 1/2 to 3/4 inch nap for semi-rough or porous surfaces like older plaster walls, knockdown texture, or light orange peel finishes. The deeper nap carries more primer and forces it into surface valleys that shorter naps skip over. Standard 9 inch roller frames with sturdy cages prevent cover slippage during application.
Spray Application
Airless spray delivers the fastest coverage for large open walls or new construction projects. Use .015 to .021 inch tip sizes depending on primer viscosity and surface texture. Smaller tips for smooth surfaces, larger tips for textured walls. Install a 60 mesh filter in the spray gun to catch debris that clogs tips. Run spray pressure between 1600 and 3000 PSI based on the specific primer formula. KILZ products typically spray well at 2500 to 3000 PSI, while thinner formulas like ECOS work at 1600 to 1800 PSI. Thin primers with up to 1/2 pint of water per gallon maximum for spray applications, but only when necessary to achieve proper atomization. Over-thinning reduces the primer’s solid content and weakens its protective properties.
Coverage rates range from 260 to 400 square feet per gallon depending on application method and surface porosity. Smooth sealed drywall in good condition reaches 375 to 400 sq ft per gallon with roller application. Rough or porous surfaces like bare drywall face paper, textured walls, or concrete block drop coverage to 260 to 300 sq ft per gallon as the primer soaks into the substrate. Spray application generally provides coverage on the higher end of the range since it atomizes the primer into fine particles that spread evenly without the material loss that occurs with roller splatter and drips. Calculate square footage by multiplying wall height times width for each wall section, then subtract window and door areas. Add 10 to 15% extra material to account for waste, touchups, and coverage variations.
Most surfaces require only one coat application when properly prepared, though heavily stained areas or extremely porous substrates benefit from a second coat after the first dries completely. High-humidity rooms with previous mold problems should receive two coats for maximum protection.
Common mistakes that compromise primer performance:
Skipping surface cleaning leaves contaminants that prevent proper adhesion. Applying in temperatures outside 50 to 90°F range slows drying and reduces film formation quality. Over-thinning formula by exceeding 1/2 pint water per gallon weakens the protective barrier. Neglecting to sand glossy surfaces causes adhesion failure within months. Insufficient drying time between coats traps solvents and moisture in the film. Applying on damp surfaces (above 16% moisture content) creates mold growth under the primer. Using incompatible application tools like natural bristle brushes or foam rollers that break down in water-based formulas.
Troubleshooting poor adhesion starts with checking surface preparation. If the primer peels or chips easily, contaminants or glossy finish remain on the substrate. Uneven coverage with visible thin spots or pinholes indicates wrong roller nap size for the surface texture or insufficient material applied. Premature topcoat failure where paint peels but primer stays intact points to inadequate drying time before painting or topcoat incompatibility with the primer base. Technical data sheets from manufacturers provide specific guidance for spray settings, thinning ratios, and application conditions that ensure optimal results.
Drying Time and Recoat Guidelines for Primer
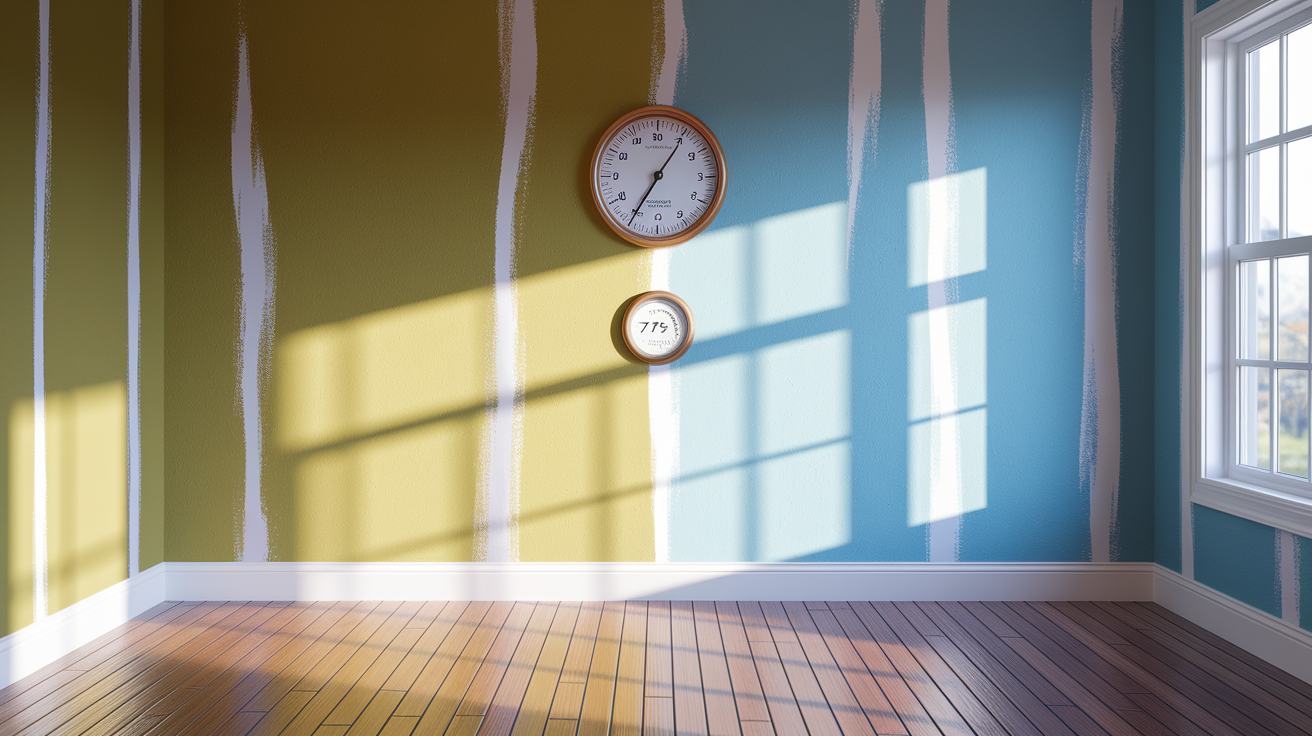
Temperature and humidity determine how quickly solvents evaporate from the primer film and allow the protective barrier to form properly. Cooler temperatures and higher humidity slow drying significantly, while warm dry conditions accelerate cure times.
Different primer brands show substantial variation in drying timelines:
KILZ MOLD & MILDEW dries to touch in 30 minutes at 77°F and 50% relative humidity. Ready for recoat or topcoat after 1 hour minimum. Fast drying makes it practical for tight timeline renovations.
ECOS Interior Drywall Primer requires 4 hours to dry to touch with a full 24 hour minimum cure time before sanding or applying topcoat. The longer cure period reflects the zero VOC formula that dries through water evaporation alone without solvent flash-off.
FixALL Mold Barrier typically dries to touch in 1 to 2 hours with recoat capability after 2 to 4 hours under normal conditions. Being both primer and topcoat eliminates waiting for a separate paint application.
Temperature impacts on all formulas. Every 10°F drop below 77°F adds roughly 25 to 50% more drying time. At 60°F, primers that dry in 1 hour at 77°F may require 90 to 120 minutes. High humidity above 70% further extends cure times by slowing moisture evaporation.
Application season considerations. Summer applications in climate controlled spaces provide ideal drying conditions. Winter applications in unheated basements or garages often fail because temperatures drop below the 50°F minimum threshold where water-based primers can’t form proper film.
Temperature requirements strictly enforce a 50 to 90°F application range for most water-based mold resistant primers. Below 50°F, the primer may appear to dry but film formation is incomplete, leaving a weak barrier vulnerable to adhesion failure. Above 90°F, primers dry too quickly, preventing proper flow and leveling, which creates a rough surface with reduced protective qualities. Maintain application temperature throughout the entire drying period, not just during application. If you prime at 70°F but temperature drops to 45°F overnight, film formation stops and the protective barrier remains incomplete.
Proper ventilation during drying removes moisture laden air and brings in drier air that accelerates cure times. Run bathroom exhaust fans or position box fans to move air across primed surfaces without blowing directly on wet primer, which can cause surface defects. Adequate airflow becomes critical in basements and enclosed spaces where humidity naturally runs higher and air circulation is limited.
Complete cure before applying paint topcoats ensures maximum mold protection and adhesion between layers. Painting too early traps solvents and moisture in the primer film, weakening its structure and antimicrobial properties. The primer surface should feel completely dry to touch with no tackiness or soft spots. When pressed firmly with a clean thumb, properly cured primer shows no fingerprint impression or surface disturbance. Following manufacturer minimum recoat times provides the best long-term performance.
Compatible Topcoat Options Over Mold Resistant Primer
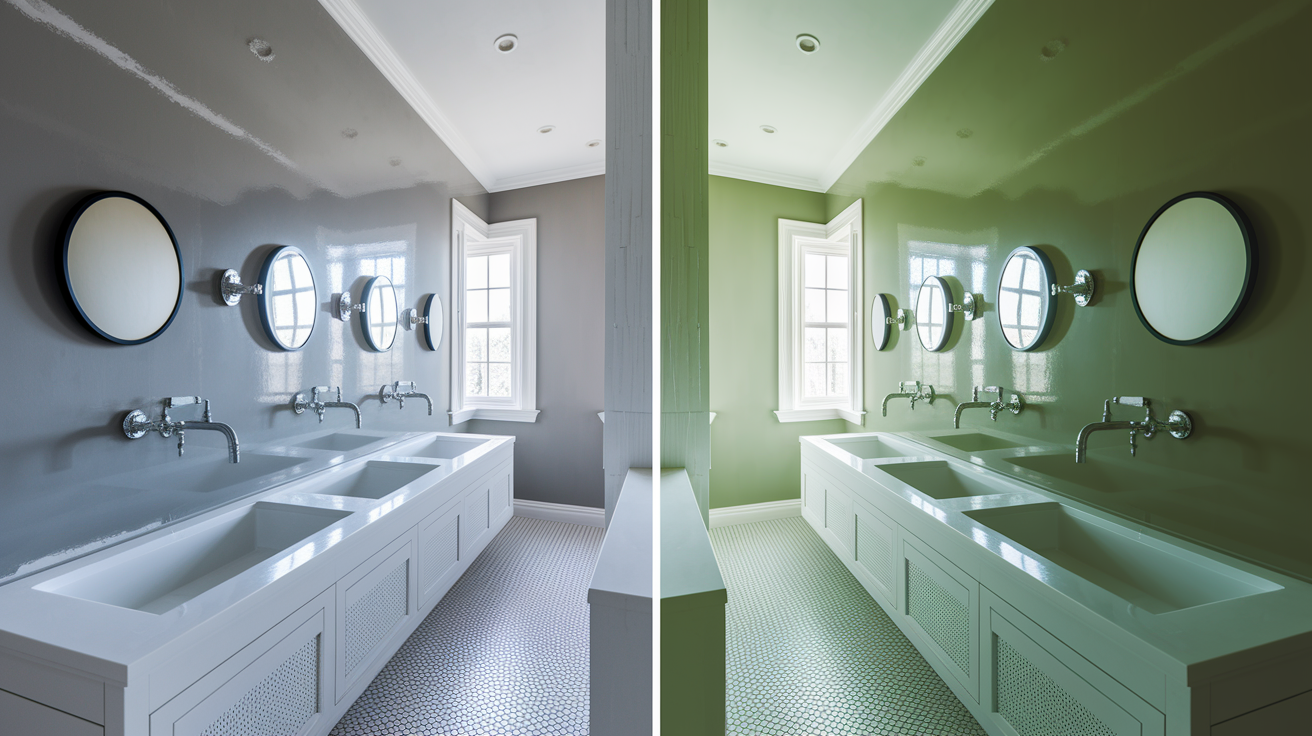
The relationship between primer and topcoat determines whether your mold prevention system performs for years or fails within months. Primer creates the antimicrobial barrier, while topcoat provides the cleanable surface and additional moisture resistance.
Flat and eggshell finishes work well in low-moisture areas like powder rooms, laundry rooms, and basement walls away from direct water exposure. These finishes offer good coverage and touch-up capability, making them practical for walls that receive occasional humidity exposure but not direct water contact. Flat finishes provide the best coverage for hiding surface imperfections but show every mark and clean poorly, limiting their usefulness in true high-moisture environments. Eggshell adds slight sheen with better cleanability while maintaining low light reflection that hides wall texture variations.
Semi-gloss and satin finishes handle high-moisture bathrooms and kitchens where surfaces need regular cleaning and face direct steam exposure. Semi-gloss creates a harder, more moisture resistant surface that wipes clean easily and resists mildew growth on the topcoat itself. Bathroom walls around tubs and showers, kitchen backsplash areas, and laundry room walls near washers benefit from semi-gloss durability. Satin provides a middle ground with better cleanability than eggshell but less sheen than semi-gloss, making it suitable for full bathroom walls that don’t receive direct water spray. The harder finish on these sheens bonds well to properly cured mold resistant primer and adds another layer of moisture protection over the antimicrobial base.
Tinting options allow you to add up to 2 ounces of universal colorant per gallon to mold resistant primers, letting you tint them gray or light colors to reduce the number of topcoat applications needed for coverage. Tinting works particularly well when using white/tint base formulas like FixALL Mold Barrier. Gray tinted primer reduces the number of topcoats required when painting walls dark or medium colors, saving time and material costs.
Combination primer-topcoat products eliminate separate painting steps entirely. FixALL Mold Barrier Primer & Topcoat combines 100% acrylic primer with topcoat in one application, providing both antimicrobial protection and finished surface. This approach works well for utility areas, rental turnovers, or budget renovations where you need functional protection without premium aesthetics. The tradeoff is less control over final sheen and color compared to separate primer and topcoat applications.
Ensuring paint compatibility starts with matching base chemistry. Water-based mold resistant primers accept any latex or acrylic topcoat. Oil-based primers work under both oil and latex topcoats but require longer cure times before latex application. Check topcoat manufacturer recommendations for use over specialty primers, especially when working with zero VOC or low-odor formulas that may have unique surface characteristics affecting topcoat adhesion.
Antimicrobial Technology and Moisture Barrier Science

Moisture creates ideal conditions for mold spores to colonize drywall by providing the water activity level that triggers spore germination and hyphal growth. Relative humidity above 60% combined with organic material like drywall face paper gives spores everything needed to establish colonies within 24 to 48 hours.
EPA registered active ingredients in products like KILZ MOLD & MILDEW create a mold and mildew resistant film through controlled-release antimicrobial agents embedded in the primer matrix. These compounds slowly migrate to the primer surface where they disrupt cellular processes in mold spores attempting to colonize the coating. The EPA registration indicates the active ingredients have undergone testing to verify their effectiveness against specific mold and mildew species without posing unreasonable risk to human health when used as directed. The protective film prevents fungal growth on the primer surface itself by creating an environment hostile to spore germination. The antimicrobial additives interfere with the spore’s ability to develop the root-like hyphae that anchor colonies and extract nutrients from substrates.
The difference between primers with fungicides versus those using alternative antimicrobial technologies affects both effectiveness and safety for chemically sensitive individuals. Traditional fungicide based primers like KILZ MOLD & MILDEW use EPA registered biocides that actively kill mold spores on contact and provide residual protection through ongoing chemical release. These formulas offer strong, proven performance in harsh high-humidity environments where mold pressure remains constant. Alternative technologies like the special anti-microbial additive in FixALL Mold Barrier create physical and chemical barriers that prevent colonization without traditional biocides, using mechanisms like surface modification that makes the primer film inhospitable to fungal attachment. ECOS Interior Drywall Primer takes a different approach entirely by containing no biocides, fungicides, or solvents. Instead it relies on its film forming properties and surface characteristics to resist mold growth, making it suitable for chemically sensitive individuals and children who react to traditional antimicrobial agents. Both approaches create mold resistant barriers, with fungicide formulas generally providing more aggressive protection under severe moisture conditions, while biocide free options offer safety advantages for sensitive populations in properly ventilated environments.
These primers work as moisture barriers by forming a low permeability film between humid air and the drywall face paper. The film reduces the rate at which water vapor transmits through to the drywall substrate, lowering moisture content at the surface where mold spores would otherwise find ideal conditions. Their role in managing condensation involves creating a surface less prone to moisture accumulation when warm humid air contacts cooler wall temperatures. The primer film itself doesn’t prevent condensation but protects the drywall from moisture damage when condensation does occur.
Critical limitations define what mold resistant primers can and can’t accomplish. They prevent growth on the primer film itself but don’t replace proper waterproofing membranes, drainage systems, or vapor barriers required by building codes in wet areas and high-moisture assemblies. A primer can’t stop water infiltration from leaking pipes, roof damage, or basement seepage. It only protects the surface it covers from airborne moisture and incidental humidity exposure. These products can’t treat or eliminate active mold infestations. Existing colonies must be properly removed through remediation before priming, because primer applied over active growth simply traps the contamination where it continues developing underneath the coating and eventually breaches the surface. Primer effectiveness depends entirely on addressing the moisture source and maintaining the environment within the product’s design parameters of normal high-humidity residential use rather than standing water or continuous leaks.
Stain Blocking Capabilities of Mold Resistant Primers

Stain blocking properties complement mold resistance in moisture prone areas where water damage, previous mold growth, or other contamination has left marks that bleed through standard paint. The same primer that prevents future mold growth also seals existing stains so they don’t reappear through your topcoat.
Common stains these primers seal effectively:
Water stains. Yellow brown marks from roof leaks, plumbing failures, or condensation that leave tannin and mineral deposits in drywall face paper.
Tannin bleed-through. Discoloration from wood framing, cedar, or oak that leaches through drywall in high-moisture conditions.
Grease marks. Kitchen splatter and cooking residue that standard primers don’t fully encapsulate.
Ink stains. Permanent marker, pen marks, and art project mishaps on walls.
Felt marker. Including Sharpie and similar solvent-based markers that penetrate porous surfaces.
Pencil marks. Graphite drawing and scuff marks that show through light-colored paint.
Smoke damage. Nicotine staining and soot deposits from candles or minor fire incidents (though not fire restoration applications).
Odor sealing capabilities handle musty basement smells by encapsulating the source of odor causing compounds in concrete, old wood framing, or previously water damaged drywall. The primer film traps volatile organic compounds responsible for persistent musty odors, preventing them from off-gassing into living spaces. This works particularly well for basement renovations where concrete foundations retain moisture and develop that characteristic damp smell even after the space dries out. The sealing effectiveness lasts as long as the primer film remains intact.
Application limitations require attention to ensure realistic expectations. These primers aren’t recommended for fire restoration projects involving heavy smoke damage, creosote deposits, or structural charring. Those situations require specialized shellac-based sealers like BIN or oil-based products formulated specifically for fire remediation. Extremely heavy stains from severe water damage, pet urine, or extensive mold growth may require multiple primer coats or switching to a dedicated stain blocking primer before applying mold resistant primer as a topcoat. When specialized stain blocking becomes necessary, apply the stain blocker first, allow proper cure time, then follow with mold resistant primer to gain both stain sealing and antimicrobial protection.
Safe Application: VOC Levels and Indoor Air Quality
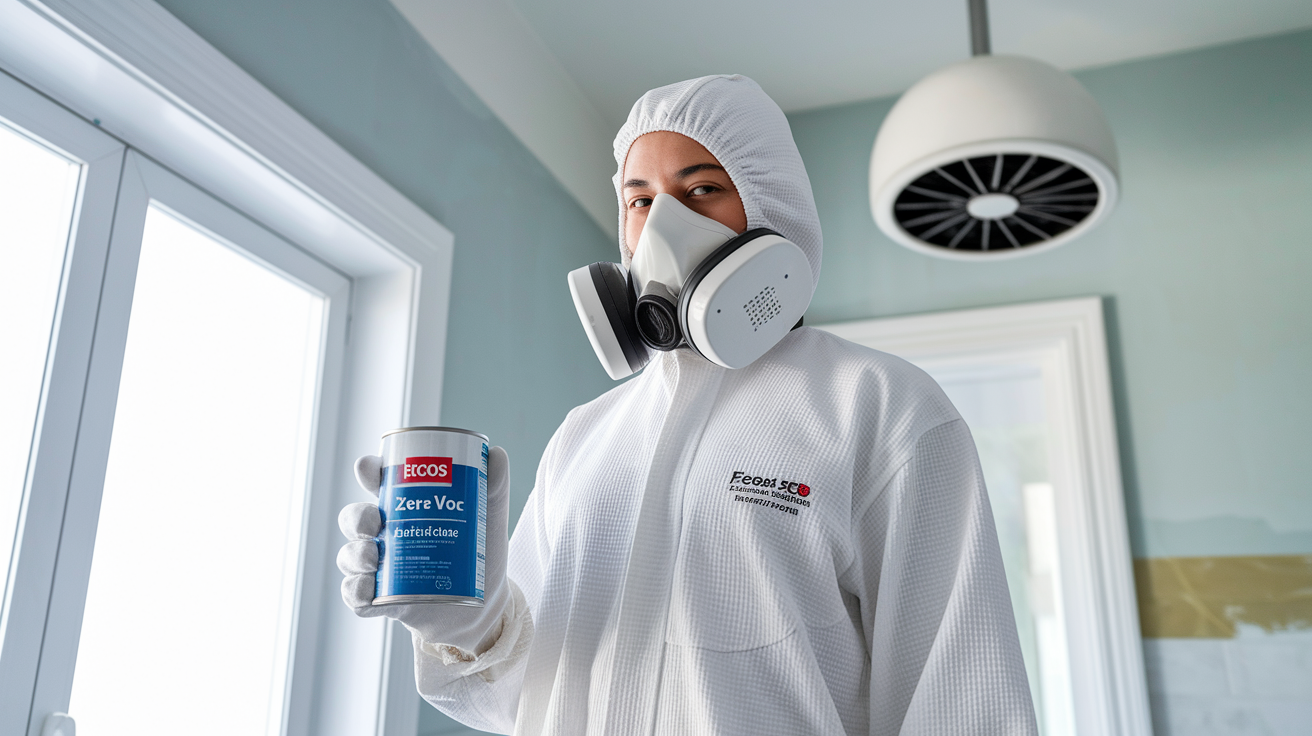
VOC levels matter for indoor air quality because volatile organic compounds off-gas from primer during application and curing, contributing to respiratory irritation, headaches, and long-term health concerns in poorly ventilated spaces. Bathrooms and basements where these primers typically get applied often have limited air exchange, concentrating fumes during the critical drying period.
VOC levels across brands show significant variation affecting both immediate application comfort and ongoing indoor air quality:
KILZ MOLD & MILDEW. Very low VOC formula at less than 5 grams per liter, meeting California CARB 2 requirements for low-emitting materials.
ECOS Interior Drywall Primer. Zero VOC content at 0.0 grams per liter with no biocides, fungicides, or solvents, certified to ASTM D-4236 for non-toxicity.
ECOS certifications. First North American paint manufacturer to complete Health Product Declaration certification, only paint manufacturer with Living Building Challenge Declare Labels showing Red List Free status, LEED V4 compliant, CDPH 01350 compliant.
FixALL Mold Barrier. 100% acrylic water-based formula with low VOC content suitable for occupied spaces.
Benjamin Moore products. Generally meet strict Green Seal and other third-party certifications for indoor air quality standards.
Zinsser oil-based products. Higher VOC content typical of solvent-based formulas, requiring more ventilation and respiratory protection during use.
Protective equipment recommendations depend on formula type and application conditions. Water-based primers with VOC content under 5 g/L require basic protection: nitrile gloves to prevent skin contact and irritation, safety glasses for overhead work, and adequate ventilation through open windows or exhaust fans. Oil-based formulas and primers with biocides require upgraded respiratory protection. Use N95 respirator masks minimum, preferably organic vapor respirators with P100 filters for enclosed spaces or extended application periods. Airless spray application of any formula demands full respiratory protection regardless of VOC level due to aerosol particle inhalation risk. Ensure adequate ventilation during application by running bathroom exhaust fans, opening windows to create cross-ventilation, or positioning box fans to exhaust fumes outdoors rather than circulating them within the room.
Green building standards provide objective benchmarks for product selection in health-conscious and environmentally responsible construction. LEED V4 compliance indicates products meet strict criteria for low-emitting materials that contribute to healthy indoor environments. Living Building Challenge Red List Free status verifies absence of chemicals known to bioaccumulate, disrupt endocrine systems, or cause cancer or other serious health impacts. Products suitable for chemically sensitive individuals and children include ECOS formulas certified by Healthy Child Healthy World nonprofit and carrying ASTM D-4236 non-toxicity certification. These formulas eliminate traditional fungicides and solvents while maintaining mold resistant properties through alternative technologies.
Long-term health benefits of choosing low-VOC formulas extend beyond application day. Standard primers continue off-gassing VOCs for days to weeks after application as the film fully cures, contributing to poor indoor air quality in spaces with limited ventilation. Zero VOC formulas like ECOS eliminate ongoing emissions, making them appropriate for bedrooms, nurseries, and homes where occupants have asthma, allergies, or chemical sensitivities. The modest cost premium for low-VOC products typically amounts to $5 to 15 per gallon, a worthwhile investment for maintaining healthy indoor air in living spaces where moisture control already presents challenges.
Mold Remediation: When to Use Primer After Treatment

Primer is a preventative measure, not a treatment for active mold growth. Attempting to paint over existing mold contamination without proper remediation traps colonies under the coating where they continue growing and eventually breach the surface despite antimicrobial properties in the primer film.
The proper sequence after professional mold removal or DIY cleanup follows strict steps to ensure contamination is eliminated before sealing surfaces. First, complete professional mold removal for affected areas larger than 10 square feet, involving water damage, or located in HVAC systems where spores spread throughout the home. Professionals use containment barriers, HEPA filtration, and proper disposal methods that prevent cross-contamination during removal. Second, perform thorough surface cleaning using EPA registered mildew removers or 1:10 bleach solutions that kill remaining spores and remove mold staining. Scrub until all visible discoloration disappears and the surface returns to its original color. Third, allow complete drying with confirmation via moisture meter readings below 16% on drywall and wood framing. This typically requires 48 to 72 hours with fans and dehumidifiers running to remove moisture that supported the original growth. Fourth, conduct surface inspection checking for soft spots, delamination, or structural damage that indicates replacement is required rather than cleaning and priming. Finally, proceed with primer application only after the surface passes inspection and moisture readings confirm the substrate has returned to normal dry conditions.
When professional help is required versus DIY remediation depends on contamination extent and health risks. Small areas less than 10 square feet (roughly a 3×3 foot section) generally qualify for DIY treatment when the mold results from minor moisture problems like temporary condensation or small leaks that have been corrected. Wear N95 respirator, gloves, and eye protection even for small cleanup projects. Professional remediation becomes necessary for areas larger than 10 square feet, any contamination involving sewage or black water, mold growth inside wall cavities or HVAC systems, situations involving immunocompromised occupants, or when occupants experience health symptoms potentially related to mold exposure. Professional help also applies when you can’t identify and correct the moisture source. Remediation without fixing the cause simply leads to recurrence within months. For more guidance on proper mold removal procedures, see Understanding Mold Remediation Process.
Renovation projects involving previously moldy drywall require careful evaluation of whether to replace versus treat the material. Drywall that remained wet for more than 48 hours, shows visible signs of delamination or soft spots when pressed, or has persistent musty odor after cleaning should be replaced rather than treated. The face paper and gypsum core have likely absorbed enough moisture to compromise structural integrity, and hidden mold growth inside the gypsum layer will continue developing even after surface treatment. Replace affected sections by cutting at least 12 inches beyond visible damage into clean dry material, allowing the area to dry completely, then installing new drywall. Surface-only contamination on drywall that dried quickly and shows no structural damage can be treated through proper cleaning, drying, and priming.
Inspection requirements to verify successful remediation include visual confirmation that no discoloration or staining remains, moisture meter readings consistently below 16%, no musty odor detectable when smelling the cleaned surface, and firm texture when pressing on the drywall or wood with no soft or spongy areas. Some projects benefit from post-remediation mold testing through air sampling or surface samples to confirm spore levels have returned to normal background levels before sealing surfaces with primer. Testing costs $300 to 700 but provides documentation that remediation succeeded before you invest in repairs and finishing. Seal surfaces with mold resistant primer only after confirming all inspection points pass. Premature priming locks in moisture and contamination that will cause failure regardless of primer quality.
Cost Analysis: Primer Pricing and Coverage Calculations
Typical price ranges per gallon vary based on quality level, brand recognition, and specialized features. Basic water-based mold resistant primers start around $20 to 25 per gallon for store brands and value options. Mid-range products from major manufacturers like KILZ MOLD & MILDEW run $28 to 40 per gallon. Premium formulas including zero VOC options like ECOS or combination primer-topcoat products reach $45 to 60 per gallon. Professional grade oil-based primers can exceed $50 per gallon due to superior stain blocking and the higher raw material costs of solvent-based formulas.
Calculate square footage for accurate material estimates:
Measure each wall. Multiply height times width in feet. For an 8 foot ceiling and 12 foot wall, that’s 96 square feet per wall.
Add all wall sections. Total the square footage from step 1 for the complete room or project area.
Subtract openings. Deduct window and door areas from the total. Standard door is roughly 21 square feet, windows vary by size.
Determine coverage. Use 300 square feet per gallon for porous or textured surfaces like bare drywall or concrete block. Use 375 to 400 square feet per gallon for smooth sealed surfaces or previously painted walls. Spray application typically achieves coverage on the higher end of the range.
Select container size. For projects under 300 square feet, quarts ($8 to 15) provide sufficient material without excess. Gallons ($20 to 60) suit single rooms or areas of 300 to 400 square feet. Five-gallon buckets ($90 to 250) make sense for whole-house projects, new construction, or when priming multiple rooms with consistent square footage over
Final Words
Mold resistant primer for drywall isn’t magic, but it’s a proven layer of protection when you pair it with proper ventilation and moisture control.
The right product matters. Pick based on your room’s humidity level, your VOC tolerance, and whether you need serious stain blocking on top of antimicrobial protection.
Prep the surface right, apply at the correct temperature, and let it cure fully before topcoating. Skip those steps and you’re just painting over future problems.
Done correctly, you’re buying years of protection and peace of mind in the rooms that need it most.
FAQ
Q: What is the best primer to prevent mold?
A: The best primer to prevent mold is one with EPA-registered antimicrobial ingredients, such as KILZ MOLD & MILDEW Primer or Zinsser mold-killing products. These primers create a protective film that inhibits mold and mildew growth on surfaces in high-humidity areas like bathrooms and basements.
Q: Is Kilz a mold killing primer?
A: KILZ MOLD & MILDEW Primer is a mold-resistant primer, not a mold-killing product. It contains EPA-registered active ingredients that prevent future mold growth on the primer film itself, but existing mold must be removed with a dedicated mildew remover before applying this primer.
Q: How to make drywall mold-resistant?
A: To make drywall mold-resistant, apply a primer containing antimicrobial additives after proper surface preparation. Clean the surface thoroughly, remove any existing mold, allow complete drying, then apply mold-resistant primer followed by a moisture-appropriate topcoat like semi-gloss paint in high-humidity rooms.
Q: Can Zinsser Mold Killing Primer be used on new drywall?
A: Zinsser mold-killing primer can be used on new drywall after ensuring the surface is clean, dry, and dust-free. New drywall provides an ideal substrate for primer adhesion, and applying mold-resistant primer before painting helps prevent future fungal growth in moisture-prone areas.
Q: What surfaces are compatible with mold-resistant primer?
A: Mold-resistant primers work on standard gypsum drywall, Sheetrock, hard plaster, concrete block, masonry, primed metal, and wood framing. They cannot be used on Greenboard or tannin-rich woods like cedar, oak, or walnut. New masonry must cure for 30 days before application.
Q: How long does mold-resistant primer take to dry?
A: Mold-resistant primer drying time varies by brand and conditions. KILZ products dry to touch in 30 minutes at 77°F with a 1-hour recoat window, while ECOS primers require 4 hours to touch and 24 hours before topcoating. Temperature and humidity affect these timelines.
Q: What is the coverage rate for mold-resistant primer?
A: Mold-resistant primer typically covers 260-400 square feet per gallon for a single coat, depending on application method and surface porosity. Rough or porous surfaces require more primer than smooth drywall. Calculate your square footage to determine how many gallons you need for your project.
Q: Do mold-resistant primers have low VOC levels?
A: Many mold-resistant primers offer low or zero VOC formulas. KILZ MOLD & MILDEW contains less than 5 grams per liter, while ECOS Interior Drywall Primer has zero VOC at 0.0 g/L. Low-VOC options improve indoor air quality and are safer for chemically sensitive individuals.
Q: Can you apply mold-resistant primer over existing mold?
A: You cannot apply mold-resistant primer over existing mold. Existing mold or mildew must be completely removed with a mildew remover, the surface thoroughly cleaned and dried, and moisture readings confirmed below 16% before priming. Primer prevents future growth but doesn’t treat active mold.
Q: What topcoat paint works best over mold-resistant primer?
A: Semi-gloss and satin finishes work best over mold-resistant primer in high-moisture bathrooms and kitchens because they resist moisture better than flat paint. Flat and eggshell finishes are suitable for low-moisture areas. Ensure your topcoat is compatible with water-based primers.
Q: How does antimicrobial technology in primer prevent mold?
A: Antimicrobial technology in primer prevents mold by using EPA-registered active ingredients or special additives that create a protective film on the primer surface. This barrier inhibits mold and mildew spores from colonizing the primer itself, though it doesn’t replace proper waterproofing or ventilation solutions.
Q: What rooms benefit most from mold-resistant primer?
A: Bathrooms, basements, laundry rooms, kitchens, and shower enclosures benefit most from mold-resistant primer because they experience sustained high humidity above 60%. Crawl spaces, garage walls, and ceilings in humid areas also gain protection from primers designed for moisture and temperature fluctuations.
Q: What application method provides best coverage for mold-resistant primer?
A: Roller application with 3/8-1/2 inch nap for smooth surfaces or 1/2-3/4 inch nap for porous drywall provides consistent coverage for most projects. Airless spray with .015-.021 inch tip at 1600-3000 PSI works for large areas. Brush application suits cutting in edges and detailed work.
Q: Does mold-resistant primer also block stains?
A: Most mold-resistant primers also block medium to heavy stains including water stains, tannin bleed-through, grease, ink, felt marker, and pencil marks. This dual-purpose capability makes them useful in moisture-prone areas where both mold prevention and stain sealing are needed.
Q: How much does mold-resistant primer cost per gallon?
A: Mold-resistant primer typically costs $20-$60 per gallon depending on quality level and brand. Professional-grade options with advanced antimicrobial technology cost more than basic DIY formulas. Coverage of 260-400 square feet per gallon helps determine how many gallons your project requires.
Q: When should you reapply mold-resistant primer?
A: You should reapply mold-resistant primer during renovation projects or when you notice paint failure signs like peeling, bubbling, or discoloration. In high-humidity environments, primers typically provide protection for 5-10 years. Annual inspections help identify when the protective barrier has been compromised.