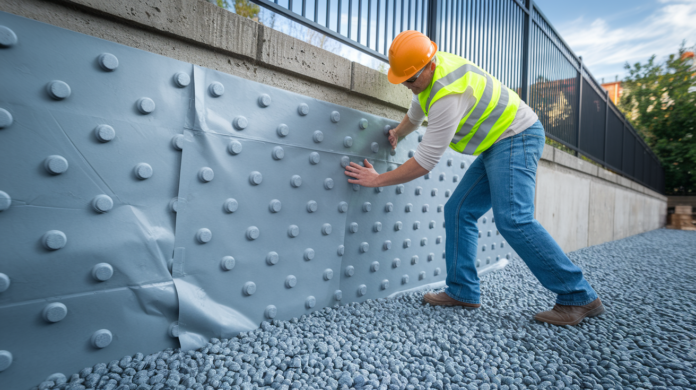

Most basement waterproofing advice tells you to dig up your foundation and fix moisture from outside. That’s great if you’ve got unlimited budget and access. But what if you don’t? Interior waterproofing membranes stop water where it tries to enter your living space, without excavation or landscaping damage. You can pick from sheet systems, liquid coatings, or dimpled drainage membranes depending on your moisture source and installation skills. This guide breaks down which type works for your situation and how to install it so it actually holds water back instead of trapping it in your walls.
Essential Guide to Interior Waterproofing Membranes

Interior basement waterproofing membranes are barrier materials you apply to inside basement walls and floors to stop moisture from getting into living spaces. You’ve got three main types to choose from. Sheet membranes are rolled materials like polyethylene and rubberized asphalt. Liquid membranes are paint on coatings, usually polyurethane based. Dimpled membranes are plastic sheets that create drainage gaps between the foundation and interior space. Each one installs differently and performs better in specific moisture conditions.
These membranes create a physical barrier between concrete surfaces and your interior living space. When you install them correctly, they intercept moisture trying to move from the foundation into the basement. Either they stop it completely or channel it to drainage systems. Think of the membrane as your last line of defense before water reaches your finished walls, floors, and belongings.
Interior membranes tackle three primary moisture sources. Hydrostatic pressure happens when water from saturated soil pushes against basement walls, forcing moisture through cracks and joints. Capillary action moves water through tiny pores in concrete like a sponge soaking up liquid. This leads to moisture buildup on interior wall surfaces. Condensation forms when warm humid air meets cooler basement surfaces, creating water droplets on walls and floors.
What makes it worse? Improper grading that slopes toward the foundation, poor drainage systems, clogged gutters overflowing near the house, and existing foundation cracks that give water easy entry points.
Interior membranes make the most sense for existing basements where you can’t practically dig up the exterior. Maybe you’ve got limited exterior access because of landscaping or structures. Or you’re protecting finished basement spaces from moisture intrusion. They work well for minor to moderate moisture issues that don’t need full exterior remediation. Installation typically wraps up in 2 to 3 days without disturbing landscaping or requiring heavy excavation equipment.
Types of Waterproofing Membranes for Basement Applications

Picking the right membrane depends on your basement’s specific moisture conditions, climate requirements, how you want to apply it, and your budget. Each type has distinct advantages and limitations.
Sheet Membrane Systems
Sheet membranes come in rolls and stick directly to basement walls using special adhesives. These materials include polyethylene sheeting, rubberized asphalt sheets, and self adhering options that don’t need separate adhesive. WM40 waterproofing membrane is 40 mils thick and self adhering, ideal for insulated concrete forms and various foundation types. It gives you reliable protection against hydrostatic pressure. The 650 Sheet Membrane is rubberized asphalt designed for both vertical wall applications and horizontal floor installations.
Sheet membranes create a continuous barrier when you properly overlap and seal the seams. The thickness gives you good puncture resistance and long term durability. Installation needs careful attention to overlap specs and complete seam sealing to keep waterproof integrity. These systems work well when you need a robust physical barrier that can handle occasional contact or minor impacts during construction.
Liquid Membrane Coatings
Liquid applied membranes include polyurethane based sealants you can apply like paint using brushes or rollers. This makes them accessible for DIY installations without specialized equipment or training. Liquid Rubber Foundation Sealant is polyurethane based, nontoxic, VOC free, and pet safe. You can use it in occupied homes during application.
You’ll need 2 to 3 heavy coats to build adequate thickness for effective moisture protection. Each coat must dry completely before you apply the next layer. The liquid format lets these membranes flow into small cracks and surface irregularities, creating continuous coverage that sheet membranes might miss. This seamless application eliminates the weak points that can happen at sheet membrane seams when those aren’t sealed correctly.
Dimpled Drainage Membranes
Dimpled plastic sheets create air gaps between foundation walls and the membrane surface. The raised dimple pattern lets water channel downward by gravity rather than being held against the wall. These membranes work particularly well in high water table areas where you’ve got continuous moisture pressure against foundation walls.
The air gap from the dimples gives you a secondary benefit. It creates a drainage plane that reduces direct moisture contact with the foundation. When water enters the dimple space, it flows down to the basement floor level where drainage systems can capture it and direct it to sump pumps. This approach manages moisture rather than trying to completely stop it at the membrane surface.
| Membrane Type | Temperature Tolerance | Lifespan | Application Method |
|---|---|---|---|
| Synthetic | Above 60°F only | 5-10 years | Rolled sheet with adhesive |
| Rubber | All climates | 15-25 years | Rolled sheet with adhesive |
| Polyurethane | All climates | 20+ years | Liquid brush or roller application |
Preparing Basement Surfaces for Membrane Installation
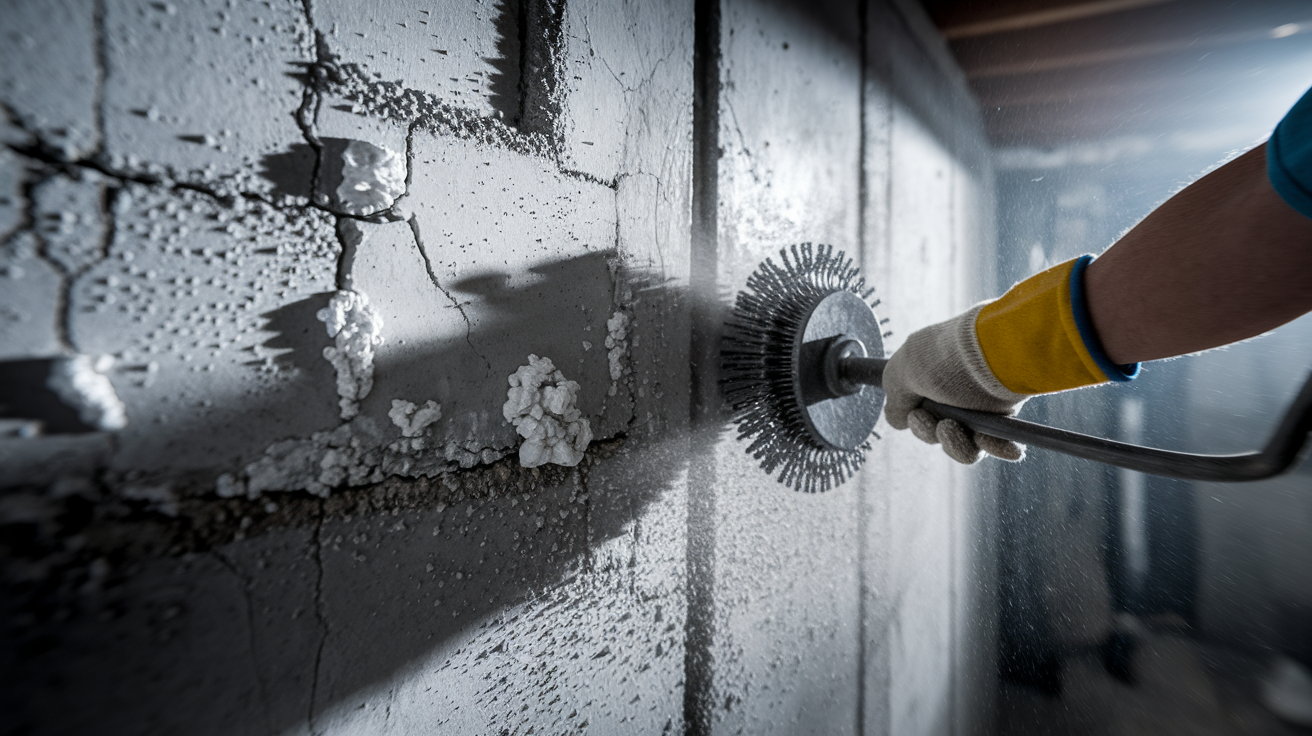
Proper surface prep determines whether your membrane actually works and how long it lasts. A membrane applied to a dirty, damp, or damaged surface will fail no matter how good the material quality is.
Start by inspecting all basement wall and floor surfaces for cracks, spalling, efflorescence, and structural damage. Clean surfaces thoroughly to remove dirt, dust, oil, old paint, and white crystalline efflorescence deposits using wire brushes and pressure washing. Identify all cracks and figure out whether they’re structural or surface level. Measure width and length.
Fill cracks using hydraulic cement for smaller non structural cracks less than 1/4 inch wide. Use epoxy injection for structural cracks that indicate foundation movement. Smooth any rough concrete areas, removing loose material and protruding aggregate that could puncture membranes. Allow complete drying with basement humidity below 50% for at least 48 hours before you apply membrane.
Hydraulic cement works for smaller non moving cracks in floors and walls. The cement expands slightly as it cures, filling the crack tightly. For structural cracks wider than 1/4 inch or showing signs of ongoing movement, epoxy injection provides flexible strength that moves with minor foundation shifts without breaking the seal. Don’t skip this step thinking the membrane will bridge the gap. Cracks continue to move and will eventually compromise any membrane you apply over them without proper repair.
You can’t overstate the importance of allowing adequate drying time before membrane application. If you trap moisture behind the membrane during installation, you’ve just created a perfect environment for continued deterioration and membrane adhesion failure. Use a moisture meter on concrete surfaces to confirm readings below manufacturer specifications before you proceed.
Step by Step Interior Membrane Installation Process
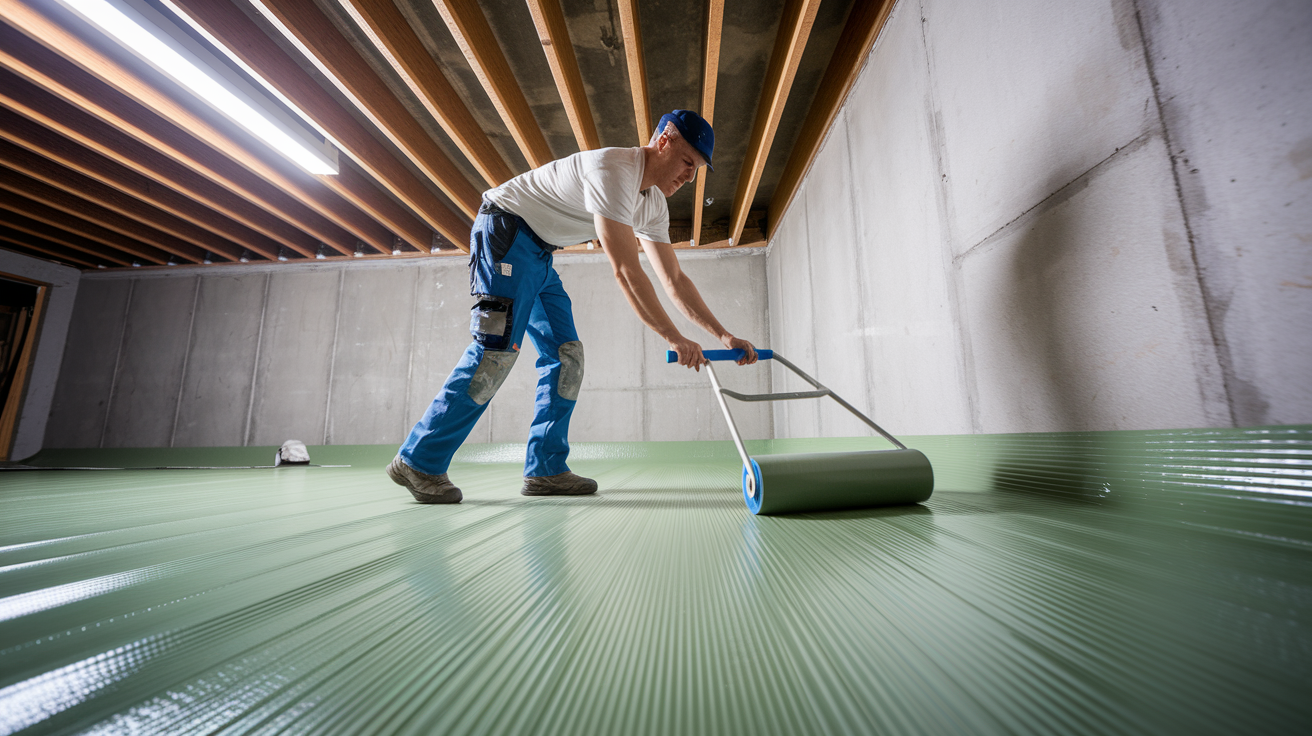
DIY friendly installations include liquid membrane coatings that only need basic painting skills and sheet membranes in small areas without complex details. You’ll want professional installation for large basement areas, projects needing drainage system integration, or situations where building codes require licensed contractor work and permits.
Sheet Membrane Application
Apply primer to the concrete surface according to manufacturer specs, making sure you get complete coverage and allowing proper drying time. Measure and cut membrane sections to appropriate lengths, adding extra for overlaps at seams and around obstacles.
Start at the lowest point of the wall where it meets the floor, working upward. This ensures water flows down over seams rather than behind them. Apply adhesive to the wall surface in sections you can cover before the adhesive begins to set, typically 10 to 15 minute working windows.
Press the membrane firmly against the wall while removing air bubbles by working from center outward with a hand roller or squeegee. Overlap seams by the minimum specified distance, typically 4 to 6 inches. Make sure the upper sheet overlaps the lower sheet like roof shingles. Seal all seams with detail tape such as Home Stretch Detail Tape. This provides extra protection at transitions and ensures a continuous watertight seal at the most vulnerable points.
Liquid Membrane Application
Stir the product thoroughly before and during application to maintain consistent viscosity and proper ingredient distribution. Apply the first coat with a brush or roller, working in manageable sections and maintaining a wet edge to avoid lap marks.
Allow the specified drying time between coats, typically 4 to 6 hours depending on temperature and humidity conditions. Apply 2 to 3 heavy coats to build adequate thickness, usually achieving 20 to 30 mils total dry film thickness for effective moisture protection. Make sure you get complete coverage without gaps, paying extra attention to corners, joints, and areas where walls meet floors.
Quality verification means checking that the membrane adheres firmly with no loose edges or bubbles. Coverage should be continuous without gaps or thin spots where the concrete shows through. All seams need to be properly sealed with detail tape forming watertight transitions. Run your hand over the installed membrane feeling for any irregularities. If sheet membranes lift easily at edges, adhesive application was inadequate. If liquid membranes show pinholes or thin coverage, you need additional coats.
Drainage Systems That Work with Interior Membranes
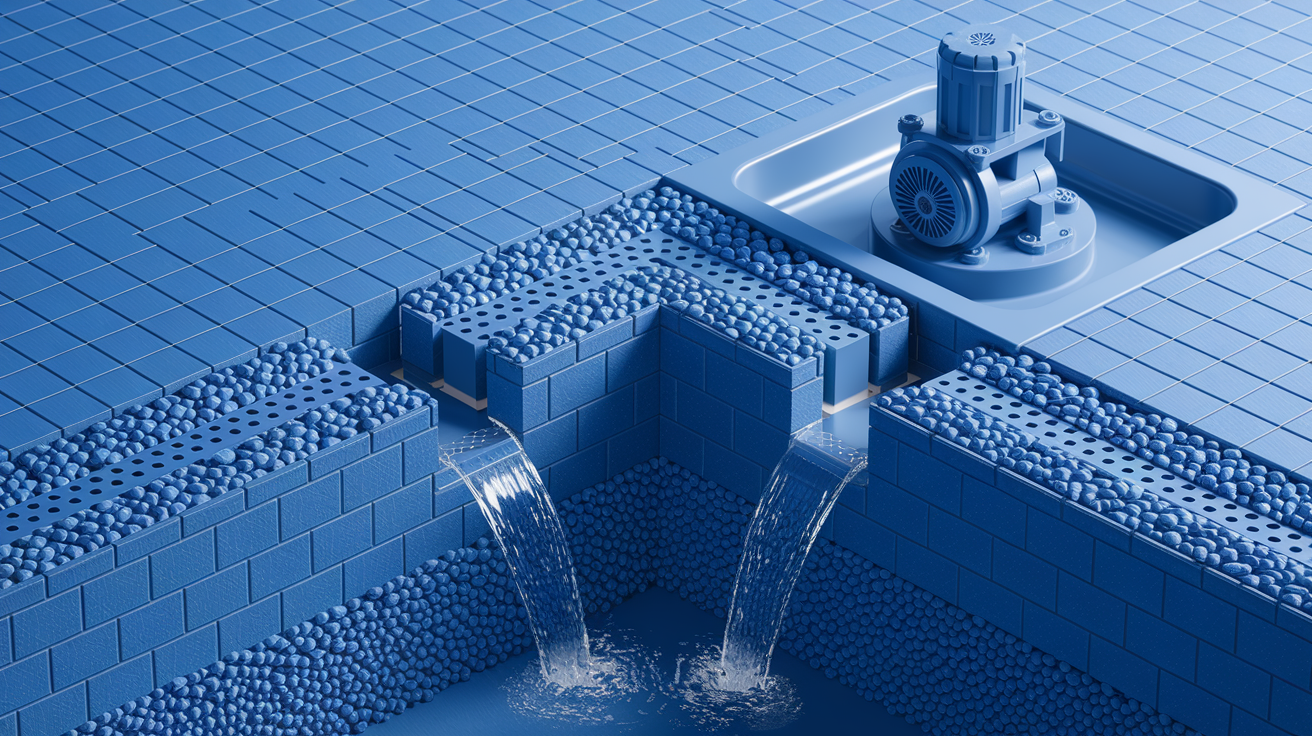
Interior membranes work most effectively when paired with proper drainage systems that manage water beneath the basement floor. The membrane stops moisture from moving through walls into living space. The drainage system captures water that accumulates at the foundation level and removes it before pressure builds. This two part approach addresses both moisture intrusion and the hydrostatic pressure driving it.
Interior French drain systems get installed around the basement floor perimeter. This involves cutting a trench into the concrete along the walls. The trench captures water that seeps to the wall floor joint, which is often the weakest point in basement waterproofing. Perforated pipe in the trench collects this water and channels it by gravity toward the sump pump location. Crushed stone surrounds the pipe to filter out sediment while allowing water to flow freely into the drainage system.
Your sump pump collects water from French drains or direct basement floor infiltration in a basin, then evacuates thousands of gallons per hour through discharge pipes that carry it away from the foundation. The pump activates automatically when water reaches a set level, typically controlled by a float switch. Quality sump pumps include backup battery systems for operation during power outages when flooding risk is often highest. Discharge pipes must carry water at least 10 feet from the foundation and discharge onto ground that slopes away from the house.
Advanced systems feature gravity fed drainage with sensors that automatically identify and eliminate surplus water before it reaches problem levels. Multiple pumps provide redundancy. Alarm systems alert you to pump failures or unusually high water volumes that might indicate a new problem requiring attention.
Interior Waterproofing Methods Compared to Exterior Approaches
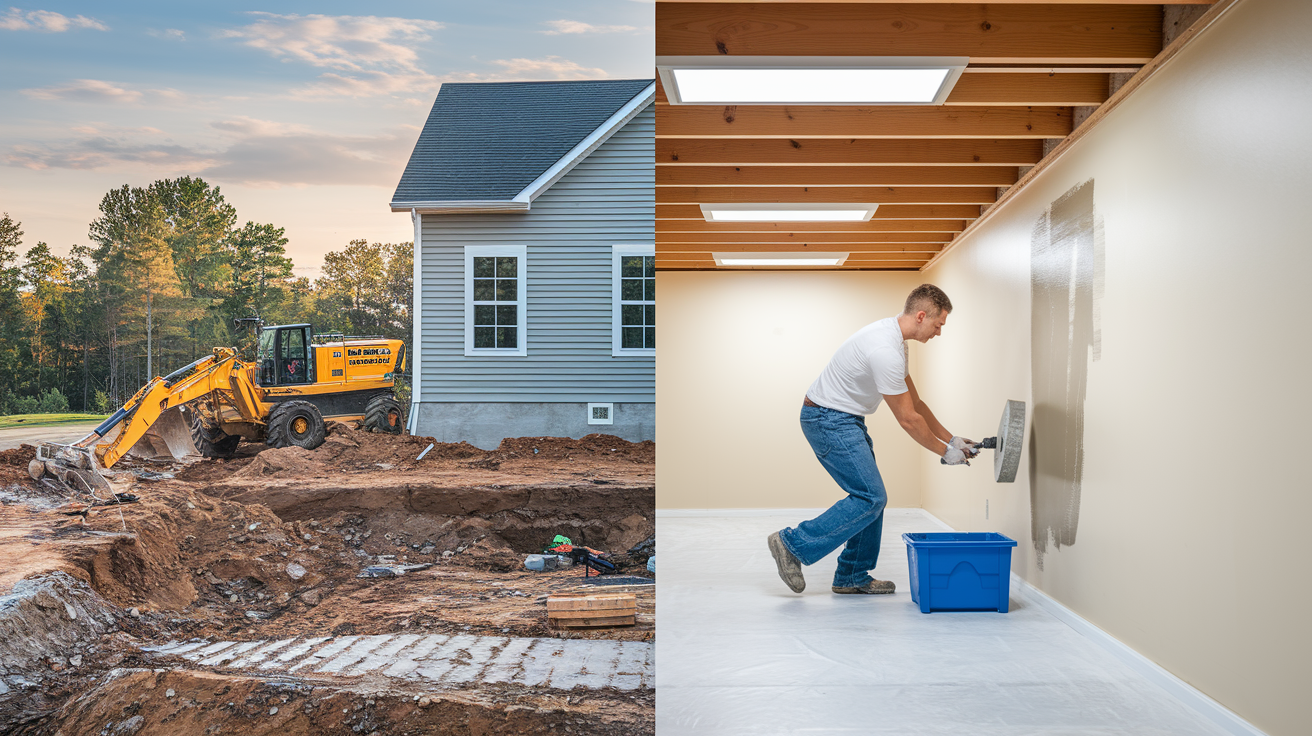
Positive side waterproofing treats the outside of foundation walls to stop water at the source before it contacts the foundation. Negative side waterproofing manages water from inside after it’s already penetrated partway through the wall. Interior methods offer advantages including no excavation requirements, 2 to 3 day installation timeframes without heavy equipment, no landscaping disruption or restoration costs, and protection from soil movement that can damage exterior waterproofing layers during freeze thaw cycles.
| Factor | Interior Method | Exterior Method |
|---|---|---|
| Installation Time | 2-3 days | 1-2 weeks |
| Cost Range | Lower to moderate | High due to excavation |
| Landscape Impact | None | Complete removal and replacement |
| Longevity | 15-25 years with proper maintenance | 5-10 years before soil movement causes damage |
| Accessibility | Works in any location | Requires clear perimeter access |
| Maintenance | Simple inspection and minor repairs | May require regrading after 8-10 years |
Membrane Compatibility with Finished Basement Spaces

Interior membranes must be compatible with finished basement assemblies including wall framing, insulation, and drywall installations.
Proper sequencing starts with membrane application directly to foundation walls, creating the moisture barrier first. Wall studs are then installed over the membrane, typically using construction adhesive or powder actuated fasteners that penetrate through the membrane into the concrete. The membrane remains between the foundation and the stud wall, intercepting moisture before it reaches the insulated wall cavity. Insulation and vapor barrier considerations depend on your climate. In most cases, you’ll install insulation between studs without an additional interior vapor barrier since the membrane already controls moisture movement.
Reinforced wall liners work with drainage systems and can be concealed behind finished walls while channeling water downward to floor level drainage systems. These liners feature a dimpled surface facing the foundation wall, creating an air gap and drainage plane. The smooth interior surface serves as a backing for stud walls and can be directly finished with framing and drywall. Water that enters the air gap flows down by gravity to the perimeter French drain rather than being held against the wall where it could cause problems. This approach is particularly valuable in high water table areas where continuous moisture pressure exists but you still want to finish the basement for living space.
Cost Factors for Interior Basement Membrane Projects

Interior membrane costs vary significantly based on membrane type, basement size, and whether drainage systems are included. A simple liquid membrane coating application in a small basement might run a few hundred dollars in materials for DIY work. A complete system with sheet membranes, French drains, and sump pump installation can reach several thousand dollars with professional installation.
Material costs show clear tiers. Sealants and coatings represent the most affordable options, with coverage costing roughly $0.50 to $1.50 per square foot for materials alone. Sheet membranes fall at mid range pricing from $2.00 to $4.00 per square foot including adhesives and detail tape. Polyurethane membranes command premium pricing at $3.00 to $6.00 per square foot due to their superior durability and all climate performance, but this higher initial cost often proves justified by longer service life.
Long term cost effectiveness favors rubber membranes despite their higher upfront expense compared to synthetic options. Rubber membranes lasting 15 to 25 years mean you won’t face replacement costs during the typical homeownership period. Cheaper synthetic membranes may require replacement within 5 to 10 years, effectively doubling the lifetime cost. Factor in installation labor for that second application and the true cost difference becomes even more significant.
Cost variables include basement square footage, with larger areas reducing per square foot costs due to efficiency of scale. Membrane material type ranges from budget synthetic to premium polyurethane systems. Surface preparation requirements, including crack repair and extensive cleaning, add labor hours. Drainage system integration needs, with French drain and sump pump installation, add substantial costs. DIY versus professional installation matters too, with labor typically doubling total project costs. Complementary waterproofing additions like dehumidifiers, exterior grading improvements, or gutter repairs also factor in.
DIY Installation vs Professional Contractor Services
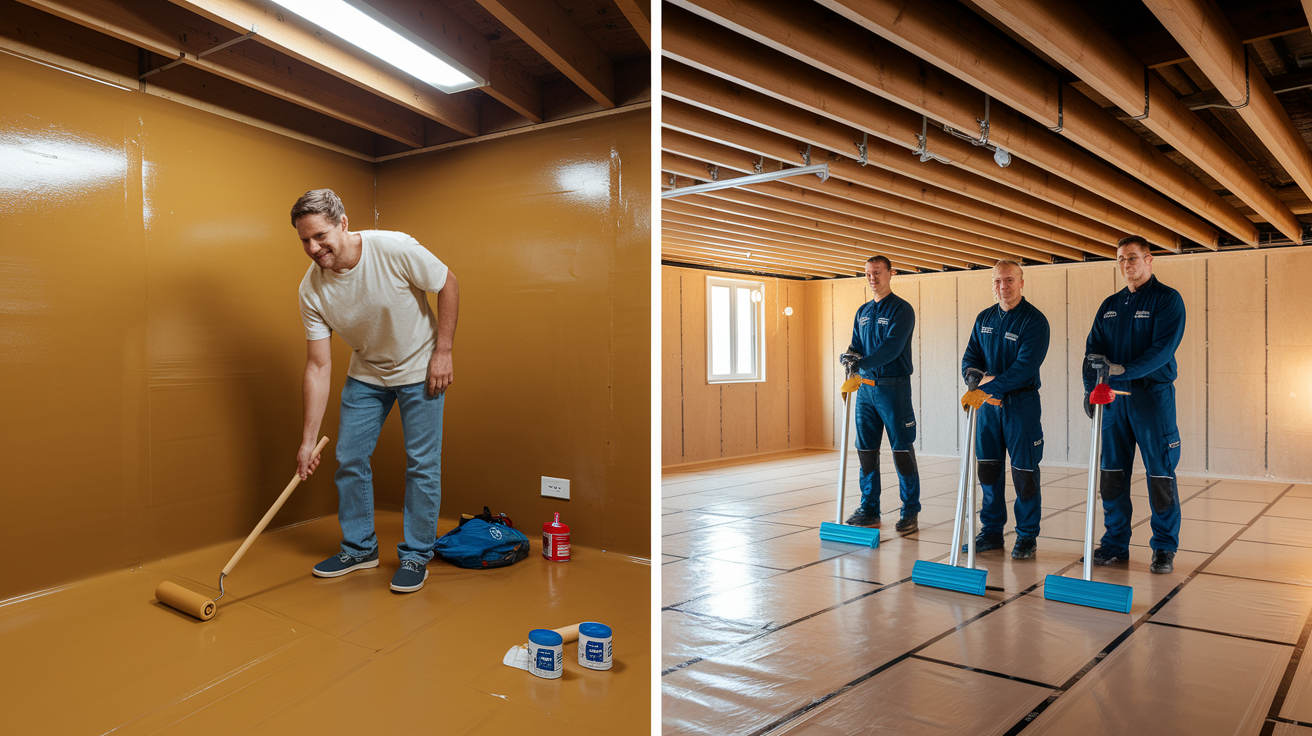
Liquid membrane coatings are DIY friendly since application is comparable to painting with a brush or roller. If you can paint a room, you can apply liquid waterproofing membrane. The main requirements are thorough surface preparation, following the manufacturer’s coverage rates, and applying multiple coats as specified to build adequate thickness.
Sheet membrane installation requires more skill including proper adhesive application, seam sealing, and overlapping techniques. The adhesive has a limited working time before it becomes too tacky or starts to set, so you need to work efficiently. Seams must overlap correctly with upper sections over lower sections, then be sealed with detail tape applied firmly without wrinkles or gaps. These skills are learnable but mistakes create potential leak paths that undermine the entire installation.
Projects involving French drain installation and sump pump integration require professional expertise due to concrete cutting and drainage system complexity. Cutting a perimeter trench in a basement floor requires specialized concrete saws, proper dust control, and understanding of the floor structure to avoid damaging foundation footings. The drainage system must slope correctly toward the sump pit. The pit must be properly sized and sealed. The sump pump must be correctly installed with appropriate discharge piping and electrical connections. These aren’t painting level skills.
Building code requirements, permit needs, and warranty coverage that professional installation provides often tip the scale toward hiring contractors for major waterproofing projects. Many jurisdictions require permits for drainage system modifications and sump pump installations, with inspections to verify proper installation. Professional installers carry liability insurance and typically provide warranties covering both materials and workmanship, giving you recourse if problems develop. DIY installation means you’re responsible for correcting any mistakes or addressing any future issues at your own expense.
Common Problems with Interior Basement Membranes

The most common membrane failure modes include adhesion problems where membranes separate from walls, puncture damage that creates leak paths, and coverage issues where moisture finds thin spots or gaps.
Bubbling and peeling issues result from improper surface preparation, trapped moisture, or inadequate adhesive application. When membranes are applied to damp concrete, moisture vapor pressure building behind the membrane eventually overpowers the adhesive bond, creating bubbles that grow over time. Dirty surfaces prevent proper adhesive contact, and the membrane peels starting at the edges. Inadequate adhesive coverage leaves dry spots where the membrane never properly bonded. Once peeling starts, water gets behind the membrane and accelerates the failure.
Puncture damage occurs from sharp objects during or after installation and compromises membrane integrity even when the damage seems minor. A small puncture becomes a leak path under hydrostatic pressure. During construction, dropped tools, ladder legs, or material corners can penetrate membranes. After installation, hanging items on walls or general basement use can cause damage if the membrane isn’t protected by finished walls. Each puncture point allows moisture intrusion that can spread behind the membrane.
Adhesion failure on surfaces with efflorescence or residual moisture represents one of the most frustrating problems because it isn’t immediately obvious. Efflorescence is the white crystalline deposit that forms when water carries mineral salts through concrete. It indicates active moisture movement and creates a powder layer that prevents membrane adhesion. The membrane might appear properly installed initially, but the bond never fully develops and failure occurs within months.
Prevention strategies include ensuring proper surface cleaning and drying with concrete moisture levels verified by moisture meter readings. Address efflorescence before membrane application by removing deposits with wire brushing and acidic cleaners, then identify and fix the moisture source. Use appropriate primers recommended by membrane manufacturers to improve adhesion on challenging surfaces. Avoid installation during high humidity periods when concrete surfaces may be damp even if they appear dry. Protect membranes during construction activities with temporary covering or by installing wall framing promptly to shield the membrane from contact.
Moisture Control Beyond Membrane Installation
Interior membranes work best when combined with humidity control measures that address airborne moisture independent of groundwater intrusion through walls.
Use a dehumidifier to maintain basement relative humidity below 50%. This prevents condensation on cooler surfaces like concrete walls, cold water pipes, and air conditioning ducts. When warm humid air meets these cooler surfaces, water droplets form just like they do on a cold drink glass in summer. This condensation isn’t coming through the foundation. It’s forming from humidity already in the basement air. Running a dehumidifier removes that airborne moisture before it can condense.
Ventilation needs involve introducing air circulation and reducing moisture accumulation in stagnant areas. Simple air movement from fans helps even out temperature and humidity levels. In warmer months, basement windows can provide ventilation when exterior humidity is lower than interior levels. Avoid bringing humid exterior air into cool basements during summer. This increases condensation problems rather than solving them.
Mold prevention through combined membrane protection and humidity management protects organic materials like wood framing, drywall, and stored items from moisture damage. Mold needs three things: moisture, organic material to feed on, and temperatures above 40°F. Your basement has the temperature and building materials covered. Controlling moisture is the factor you can change. The membrane stops bulk water intrusion through walls. Humidity control prevents condensation moisture, creating conditions where mold can’t establish and spread.
Maintenance and Long Term Performance of Interior Membranes
Interior membranes require minimal but important ongoing maintenance to maintain effectiveness. Unlike exterior waterproofing that deteriorates from soil movement and freeze thaw cycles, interior membranes exist in a relatively stable environment protected from weather extremes.
Visual inspection for bubbling or peeling every 6 months is important. Look for any areas where the membrane is separating from the wall. Check seams and transitions for separation, particularly where membranes meet floor surfaces or around penetrations. Monitor basement humidity levels with an inexpensive hygrometer to confirm they remain below 50% consistently.
Examine drainage system function if present by pouring water into floor drains or directly into the sump pit to verify proper pump operation. Document any new cracks in foundation walls that appear after membrane installation, as these may indicate ongoing structural movement requiring evaluation.
Signs of membrane degradation or failure warrant immediate attention. These include visible moisture or damp spots on basement walls or floors appearing where none existed before. Musty odors indicate mold growth behind or around the membrane. Bubbling or peeling that continues to spread rather than remaining stable is a problem. Increased humidity levels despite dehumidifier operation suggest the membrane is no longer providing effective moisture protection and needs repair or replacement.
Expected lifespan variations by membrane type range from 5 to 10 years for synthetic membranes in warm climate installations, 15 to 25 years for rubber membranes properly installed in any climate, and 20 or more years for polyurethane membranes maintained in good condition. Replacement becomes necessary when deterioration is widespread rather than isolated, when repairs no longer hold, or when the membrane has reached its expected service life and shows multiple failure points. At that point, removing and replacing the membrane is more cost effective than continuing to patch failing sections.
Complementary Exterior Solutions for Basement Protection
Interior membranes perform better when exterior water management reduces hydrostatic pressure against foundation walls. The less water accumulating around your foundation, the less work your interior waterproofing system has to do.
Proper grading ensures ground slopes away from the foundation at a minimum of 6 inches of drop over the first 10 feet of distance. This grade directs surface water away from the house rather than allowing it to pool against foundation walls where it infiltrates down to the footing level. The soil immediately against your foundation settles over time, creating depressions that trap water. Adding soil to restore proper grade prevents this water accumulation. Check grade after heavy rains to identify areas where water pools.
Gutter and downspout systems direct water from the roof at least 6 feet from the foundation, ideally 10 feet or more. A 1,000 square foot roof section collects about 600 gallons of water from just one inch of rainfall. Without gutters, that water falls directly at the foundation. With gutters but short downspouts, it dumps in concentrated areas creating localized flooding and infiltration. Extended downspouts or buried drain lines carry roof water far enough away that it can’t contribute to basement moisture problems.
Exterior improvements include regrading soil away from foundation to restore proper slope, typically requiring 1 to 2 yards of soil for a typical house. Install or repair gutters to capture all roof water, with properly sized gutters for roof area and regional rainfall. Extend downspouts at least 6 feet from foundation using flexible extensions or bury solid pipe that carries water to suitable discharge areas.
Add window well covers and drainage to prevent window wells from filling with water and leaking at window seals. Maintain exterior drainage systems by keeping them clear of debris, vegetation, and sediment accumulation. Periodic landscape inspection catches settling that creates new drainage problems or erosion that exposes foundation walls.
Final Words
Interior membranes handle moisture from the inside, but they work best when you also control what’s happening outside and in the air.
Fix grading issues. Keep gutters clear. Run a dehumidifier if humidity stays high.
Check seams and transitions twice a year, especially after heavy rain. If you see bubbling, peeling, or new cracks, don’t wait.
A basement waterproofing membrane interior is only as good as the prep work underneath it and the drainage system behind it. Get both right, and you’ve got a dry basement that stays that way.
FAQ
Can you waterproof the inside of a basement?
You can waterproof the inside of a basement using interior membranes, sealants, and drainage systems that manage moisture from within the living space. This approach works best for minor to moderate seepage, condensation issues, and situations where exterior access is limited by landscaping or finished yards.
Does interior basement waterproofing work?
Interior basement waterproofing works effectively for managing condensation, capillary action, and low to moderate hydrostatic pressure when properly installed with appropriate drainage systems. It addresses water after it enters foundation walls rather than stopping it at the source, making it a practical solution when exterior waterproofing isn’t feasible.
What is best for waterproofing interior basement walls?
The best waterproofing for interior basement walls depends on your specific moisture problem: liquid polyurethane membranes for DIY-friendly application, rubber sheet membranes for superior longevity in all climates, or dimpled drainage membranes when you need air gaps to channel water downward to floor drains.
Which waterproofing is best for interior walls?
Rubber membranes are best for interior walls in most situations because they last longer than synthetic options, remain effective in all climates unlike synthetic membranes that fail below 60°F, and offer better cost-effectiveness despite higher upfront material expense compared to polyethylene or synthetic alternatives.
How long do interior basement membranes last?
Interior basement membranes last between 5 and 25 years depending on type, installation quality, and moisture conditions. Rubber membranes typically outlast synthetic and polyurethane options, while proper surface preparation and ongoing humidity control significantly extend membrane lifespan regardless of material type.
Do I need a drainage system with interior waterproofing membranes?
You need a drainage system with interior waterproofing membranes when addressing moderate to high moisture levels or hydrostatic pressure issues. Membranes alone manage condensation and minor seepage, but French drains and sump pumps are essential for removing water that accumulates beneath basement floors.
Can I install interior waterproofing membrane over painted walls?
You cannot install interior waterproofing membrane over painted walls without proper preparation because paint prevents adhesion and traps moisture between membrane and concrete. Remove loose paint, clean surfaces thoroughly, address efflorescence, and apply appropriate primer before membrane installation to ensure effective bonding.
What temperature is needed to apply basement waterproofing membranes?
Basement waterproofing membranes require temperatures above 50°F for proper application and curing, with synthetic membranes losing water-sealing properties below 60°F entirely. Rubber and polyurethane membranes tolerate broader temperature ranges but still need minimum temperatures specified by manufacturers for adhesive activation and proper curing.
How do you prepare concrete for waterproofing membrane?
You prepare concrete for waterproofing membrane by inspecting for damage, cleaning to remove dirt and efflorescence, identifying and filling cracks with hydraulic cement or epoxy, smoothing rough areas, and allowing adequate drying time before application. Skip any step and the membrane won’t bond properly or seal effectively.
Should interior membranes go behind finished basement walls?
Interior membranes should go behind finished basement walls, applied directly to concrete foundation before installing wall studs, insulation, and drywall. This sequencing allows membranes to channel moisture downward to drainage systems while remaining concealed and protected behind the finished wall assembly.