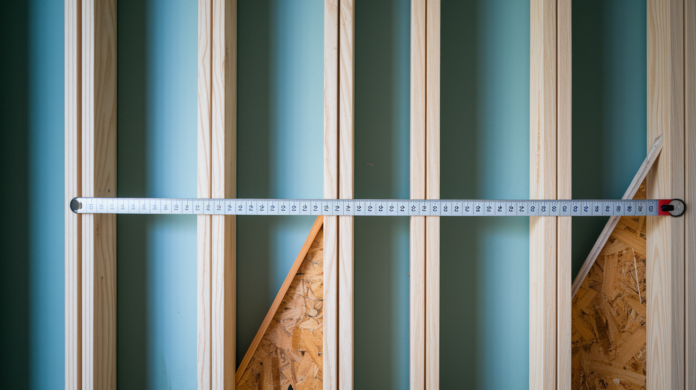

Most cabinet installers discover the hard way that kitchen cabinets rip straight off walls when blocking wasn’t installed during framing. Standard blocking heights are 54 inches for upper cabinets and 34.5 inches for base cabinets, measured from the subfloor before finish materials go down. This horizontal wood installed between wall studs creates solid screw attachment points across the entire cabinet run instead of forcing installers to hunt for individual studs or gamble on wall anchors. Get the blocking heights wrong or skip it entirely, and you’ll be opening finished walls later to fix what should have been handled during rough framing.
Standard Cabinet Blocking Heights and Measurements
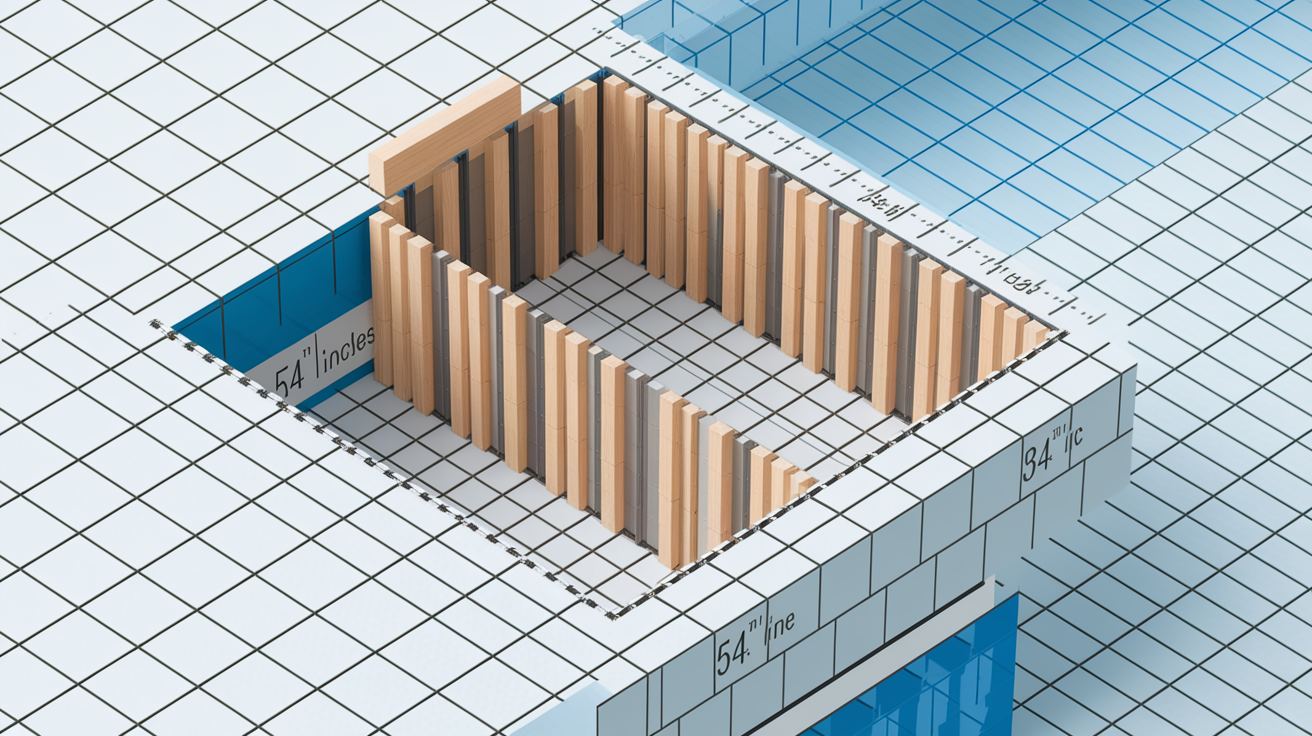
The blocking height for kitchen cabinets puts lower upper cabinet blocking at 54 inches from the floor and base cabinet blocking at 34.5 inches from the floor. Cabinet blocking is solid wood horizontal supports installed between wall studs before drywall goes up, creating secure attachment points where cabinet installers can drive screws directly into substantial wood instead of hunting for studs or relying on wall anchors.
| Cabinet Type | Blocking Location | Height from Floor | Purpose | Vertical Spacing Notes |
|---|---|---|---|---|
| Base Cabinet | Top edge | 34.5 inches | Secure top cabinet rail to wall | Single row sufficient for standard base cabinets |
| Upper Cabinet | Bottom/First Row | 54 inches | Support lower cabinet rail attachment | 18 inches above base cabinet top |
| Upper Cabinet | Middle/Second Row | 72 inches | Additional support for cabinet back | 18 inches above first blocking row |
| Upper Cabinet (36″ tall) | Top/Third Row | 108 inches | Secure top cabinet rail | 36 inches above second row |
| Upper Cabinet (42″ tall) | Top/Third Row | 114 inches | Secure top cabinet rail | 42 inches above second row |
Upper cabinets need multiple blocking rows for proper support across their height. First row at 54 inches catches the bottom cabinet rail. Second row sits 18 inches above the first, landing at 72 inches from the floor. The third row centers at the top of the cabinet. That’s 36 inches above the second row for standard 36 inch tall upper cabinets, reaching 108 inches from the floor. Installing 30 inch tall upper cabinets? You’ll adjust the top blocking down. For 42 inch tall cabinets that stretch closer to the ceiling, top blocking sits at 114 inches.
These measurements tie directly to the standard 18 inch clearance between countertops and upper cabinets. This workspace height accommodates small appliances, provides prep space, and allows tile backsplash installation without interference. Check your cabinet manufacturer specs before cutting blocking, especially for non-standard cabinet heights. European style cabinets or custom units may need adjusted blocking locations that don’t follow these standard measurements.
Blocking Material Requirements and Selection

Dimensional lumber for cabinet blocking starts at 2×6 minimum. But 2×8 or larger delivers better support and more screw holding capacity. The extra width gives cabinet installers a bigger target when driving mounting screws and reduces the chance of screws pulling out under cabinet weight. Scrap framing lumber left over from wall stud installation works fine for blocking as long as pieces are long enough to span between studs and aren’t twisted or split. This approach minimizes material waste while maintaining structural integrity.
The plywood strip method uses 3/4 inch plywood ripped into 6 inch wide strips that fit between wall studs. Plywood blocking splits less than solid lumber when screws go in near the edges, and the thinner profile leaves more cavity space for wall insulation. Cut strips to fit snugly between studs. They should be tight enough that you need to tap them into place but not so tight they bow the studs. The consistent thickness of plywood also makes it easier to keep blocking flush with stud faces compared to dimensional lumber that can vary in thickness.
Some builders install full plywood sheets across entire cabinet wall sections instead of individual blocking strips. A 1/2 inch or 3/4 inch plywood sheet runs from floor to ceiling (or ceiling to countertop height) across the studs where cabinets will hang, creating completely solid backing. Cabinet installers can then place screws anywhere without worrying about hitting blocking or studs. This method uses more material but eliminates any chance of missing blocking during cabinet installation.
Metal stud walls accept the same wood blocking materials with blocking installed horizontally between the metal studs. Wood provides vastly superior screw holding capacity compared to metal studs alone. Secure wood blocking to metal studs using self drilling screws rated for steel framing, or pre drill holes and use structural screws. The wood blocking creates the solid attachment points cabinets need while the metal studs provide the vertical wall structure.
Wall Stud Coordination and Blocking Placement

Blocking runs horizontally between vertical wall studs, creating continuous attachment lines that span the entire length of the cabinet run. This horizontal placement means installers don’t need to hunt for individual studs or worry about cabinet attachment points falling in stud bays.
Cut blocking pieces to fit snugly between studs and install them flush with the stud faces. If blocking sits proud of the stud faces, drywall won’t lay flat and you’ll have humps in the finished wall. If blocking sits recessed behind stud faces, cabinet screws won’t engage properly and support strength drops.
Strategic blocking placement means you don’t necessarily need continuous blocking runs if your cabinet layout aligns well with existing studs. Some installers only add blocking sections where cabinets won’t have at least two studs behind them. This approach saves material and labor while maintaining adequate support, but it requires careful planning against final cabinet dimensions.
Metal stud framing follows the same principles with wood blocking installed horizontally between the metal studs. The wood blocking delivers the screw holding capacity metal studs can’t provide. Cabinet mounting screws hold poorly in thin gauge metal and tend to strip out or pull through under load.
Installation Methods: Pocket Hole Screws and Securing Techniques

Pocket hole screws create strong blocking connections without visible fasteners on the blocking face where drywall will cover them. The angled screw path pulls blocking tight against studs while the screw head sits in a recessed pocket that doesn’t interfere with drywall installation.
- Measure and cut blocking material to fit between studs with a snug fit
- Use pocket hole jig to drill angled holes at both ends of each blocking piece, positioning jig on the blocking edge that will face away from the room
- Position blocking at marked height with the face flush to stud faces, not proud or recessed
- Drive pocket hole screws through angled holes into studs, pulling blocking tight
- Verify blocking is secure and check level before moving to next piece
Alternative fastening methods include face nailing 16d nails through the blocking face into studs. This works but leaves nail heads that can telegraph through drywall over time. Toe screwing structural screws at angles through blocking edges into studs works well but requires more precise drilling to avoid splitting the blocking ends. Face screwing through blocking into studs with construction screws delivers solid attachment but leaves visible screw heads on the blocking face. Pick the method that matches your tools and comfort level, but pocket hole screws generally deliver the cleanest result for drywall finish.
Rough In Stage Timing and Construction Phase Coordination
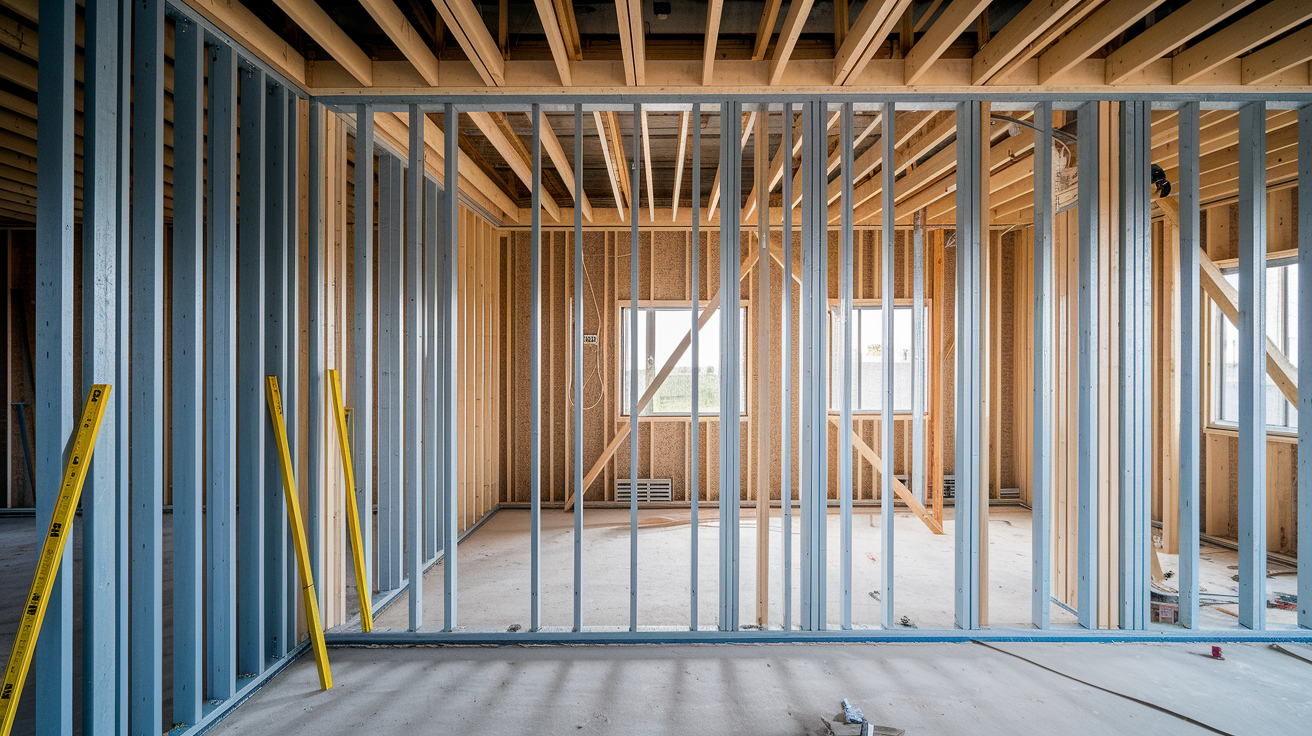
Blocking installation happens during the rough framing stage after wall studs stand but before drywall, electrical work, and plumbing get finalized. This timing puts blocking in the rough carpentry phase, typically completed before the building inspector approves the framing for closeup. Mark blocking locations on the floor or on wall plates before installation so you don’t lose the layout reference as work progresses.
Blocking placement requires coordination with electricians and plumbers. Upper cabinet blocking at 54 inches often conflicts with standard outlet height at 42 inches above finished floor, so plan blocking around outlet boxes. Plumbing supply lines and drain vents run through walls where cabinets mount, and blocking needs to avoid these runs or include proper nail plate protection. Walk the job with the electrical and plumbing contractors before installing blocking to identify conflicts and adjust blocking placement.
Adding blocking to existing finished walls means cutting out drywall sections, installing blocking between exposed studs, then patching and refinishing drywall. Plan on texture matching difficulty and paint touch ups that rarely disappear completely. The retrofit process costs three to five times more in labor than proper rough in installation, and the finished result still shows cut lines if you look closely. If you’re planning a kitchen remodel with new cabinet locations, open the walls completely rather than trying to preserve drywall and add blocking through small access holes.
Safety Requirements: Nail Plate Installation Over Utilities
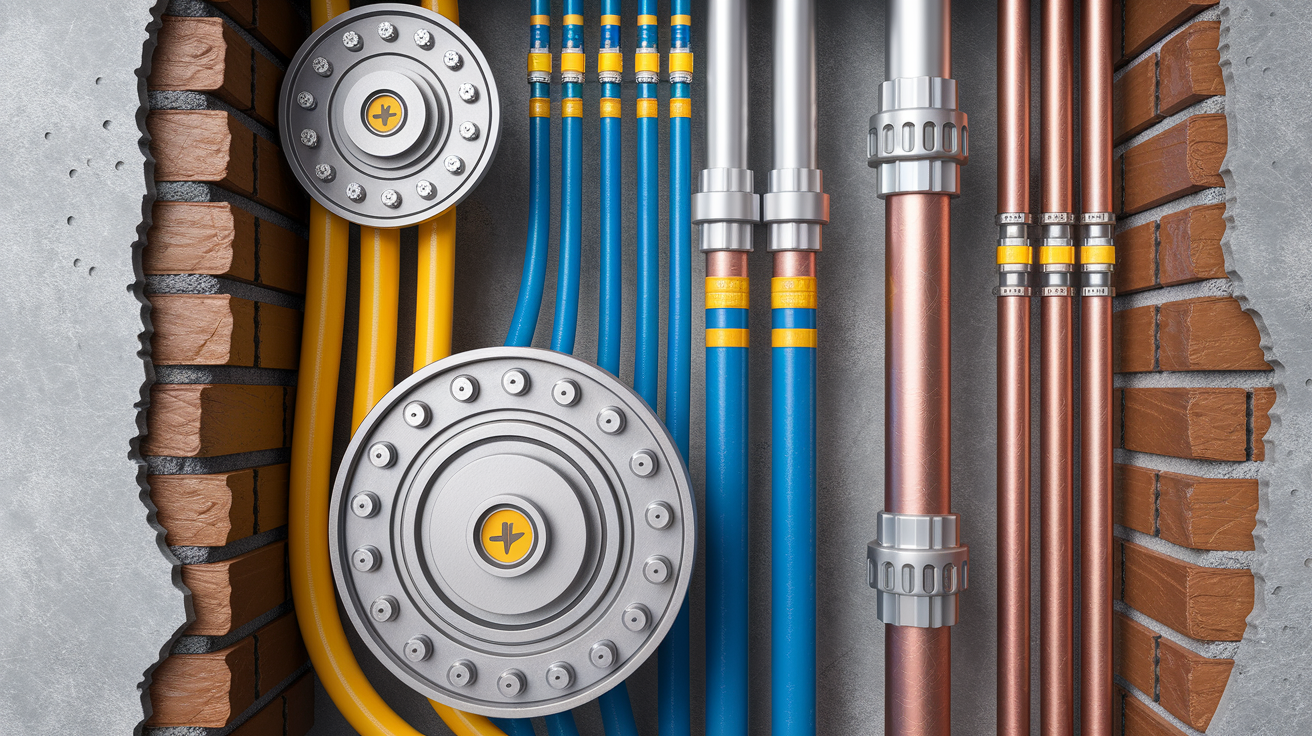
Cabinet installation screws easily penetrate through blocking and continue several inches into the wall cavity where electrical wiring and plumbing pipes run. A 3 inch cabinet mounting screw driven through 3/4 inch drywall and 1 1/2 inches of blocking still has 3/4 inch of penetration into the wall cavity. Enough to pierce copper supply lines or nick electrical cable insulation.
- Install metal nail plates over all electrical wiring that passes behind blocking locations, covering wire runs completely
- Place nail plates over plumbing pipes running behind cabinet areas, particularly supply lines that hold water pressure
- Ensure nail plates extend beyond blocking width to protect utilities from screws that miss the blocking center
- Mark blocking locations where nail plates are installed so cabinet installers know to use caution with screw depth in those areas
Nail plate installation is required by building codes wherever plumbing or wiring runs within 1 1/4 inches of a stud or framing member face. Building inspectors specifically check for nail plates during framing inspection before approving wall closeup. Missing nail plates can result in failed inspection and required wall opening to retrofit protection. More importantly, nail plates protect homeowners from electrical shock if a cabinet screw contacts energized wiring, and prevent water damage from punctured supply lines that can dump gallons into wall cavities before anyone notices the leak.
Height Customization for User Needs and Kitchen Design
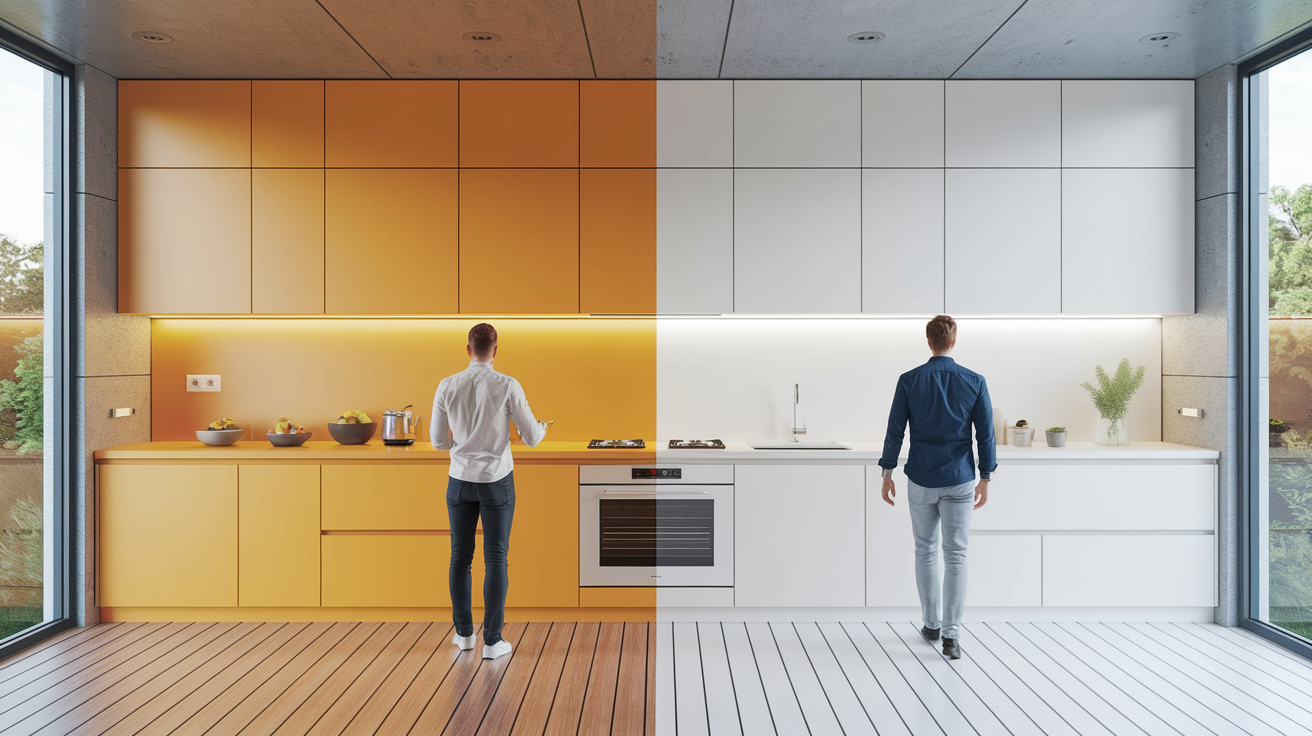
The 54 inch standard for upper cabinet blocking works for most installations, but customization based on who uses the kitchen and how the space looks improves daily function and visual appeal. Blocking adjustment decisions happen during the planning phase since moving blocking after drywall installation requires wall demolition.
Taller users benefit from raising upper cabinet blocking by 2 to 4 inches, which reduces awkward bending and reaching into upper cabinet storage. If primary users are over 6 feet tall, blocking at 56 or 58 inches from the floor positions cabinet contents at a more comfortable reach height. This adjustment works particularly well when combined with taller upper cabinets that extend closer to the ceiling.
Shorter users or accessibility requirements sometimes call for lowering upper cabinets by 2 to 3 inches to improve reach without stepladders. Blocking at 51 or 52 inches still maintains adequate workspace between countertop and cabinet bottom. You need at least 15 inches of clearance for most prep work and small appliances. Test the planned height with a temporary mock up before finalizing blocking installation to confirm comfortable reach.
Modern and open concept kitchens often push upper cabinets higher to create streamlined, uninterrupted vertical lines and maximize storage. Installing 42 inch tall upper cabinets with blocking adjusted upward makes kitchens feel larger and eliminates the dust catching gap between cabinet tops and ceiling. This approach works best with ceiling heights of 9 feet or more where the additional upper cabinet height doesn’t overwhelm the space.
Traditional kitchen designs feature shorter upper cabinets with decorative space or soffit above the cabinet tops, creating a cozier aesthetic. These layouts use standard blocking height but pair it with 30 inch tall upper cabinets. Account for under cabinet microwaves that need 18 inches of clearance above the countertop and 15 to 18 inches of interior height for standard dinner plates. Range hoods require 24 to 30 inches of clearance above cooktops and drive blocking placement decisions for cabinets flanking the hood location.
Measuring Techniques and Layout Planning for Blocking
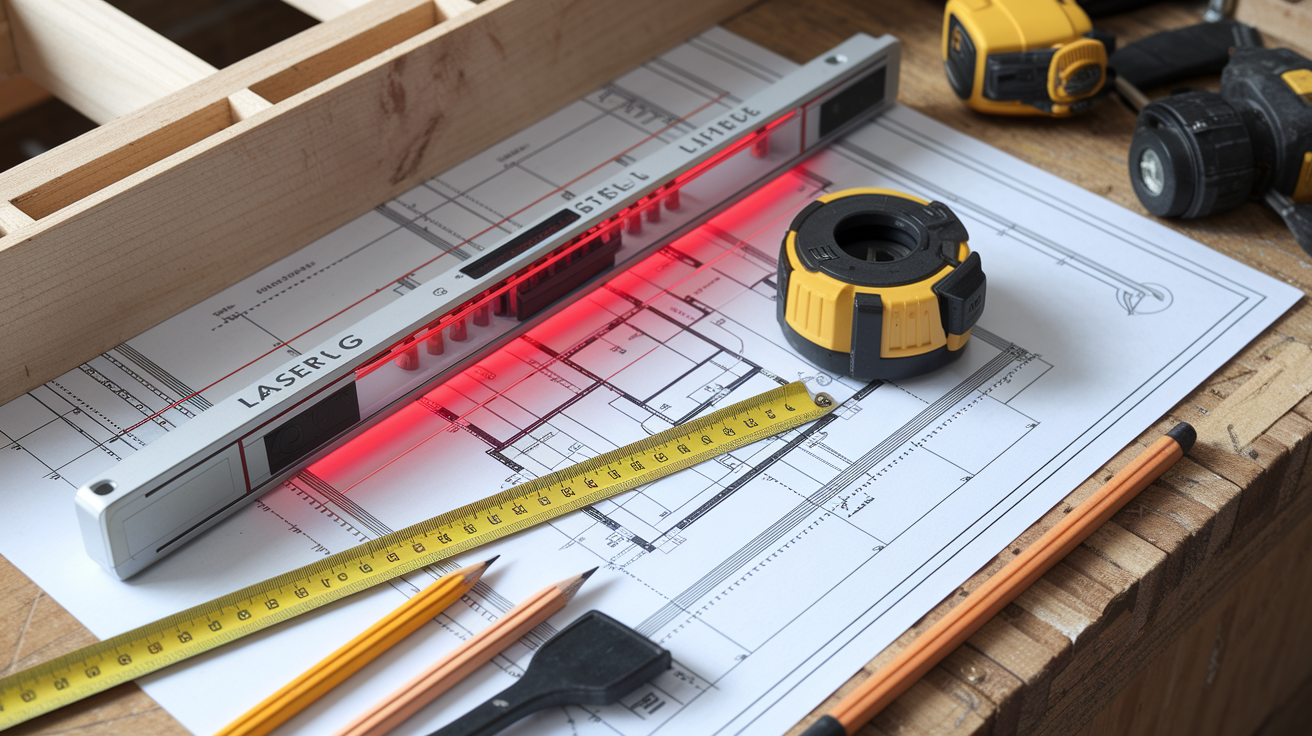
Create a detailed blocking layout plan before cutting materials, working from cabinet specifications, floor plans, and finished floor height measurements. Cabinet specs tell you exact heights and depths. Floor plans show cabinet runs and corner locations. Finished floor height accounts for underlayment, tile, or hardwood that will be installed after framing and drywall but before cabinet installation.
- Establish finished floor height reference point by measuring up from subfloor and adding all flooring layers. Tile, underlayment, or hardwood thickness.
- Mark base cabinet top height at 34.5 inches from the finished floor reference point on multiple studs across the cabinet wall
- Mark lower upper cabinet blocking height at 54 inches from finished floor on the same studs
- Calculate and mark additional upper cabinet blocking rows based on cabinet height specifications. Second row 18 inches above first row, third row at cabinet top height.
- Use level and chalk line to snap continuous lines across all studs in the cabinet wall run, transferring marks from individual studs to create installation guides
- Verify all measurements before cutting blocking materials. Check that measurements match cabinet specifications and that finished floor height accounts for all flooring materials.
Floor level variations matter more than most framers expect. Measure finished floor height at multiple points along the cabinet wall, especially in older homes or additions where floor joists may sag. If the floor slopes more than 1/2 inch across the cabinet run, consider whether to follow the slope with blocking or level the blocking and accept that base cabinets will need scribing and shimming during installation. Confirm finished floor height with the flooring contractor before establishing blocking heights. If flooring installation is months away and the flooring type isn’t finalized, you’re guessing at finished floor height and may need to adjust cabinet installation to compensate for errors.
Common Cabinet Blocking Mistakes and Troubleshooting
Blocking installation mistakes create problems that show up months later when cabinet installers arrive on site, and some errors compromise structural support or create safety hazards that don’t become obvious until cabinets fail.
- Measuring from subfloor instead of finished floor causes blocking to sit too low by the thickness of all flooring materials. 1/2 inch for hardwood, 3/4 inch for tile over cement board.
- Installing blocking proud of stud faces creates humps in drywall that show as waves in the finished wall and make cabinet backs sit off the wall
- Failing to account for drywall thickness, especially double layer applications, throws off cabinet positioning by 1/2 inch per layer
- Using undersized blocking material like 2×4 instead of 2×6 minimum doesn’t provide adequate edge distance for screws and increases risk of splitting
- Omitting blocking in corner areas where cabinet runs meet leaves critical attachment points unsupported
- Installing blocking at inconsistent heights across the wall run causes cabinet alignment problems that require extensive shimming
- Forgetting to install nail plates over utilities before closing walls creates electrical shock or water damage risks during cabinet installation
These mistakes result in cabinets that don’t hang level, inadequate support causing sagging under dish weight, or visible gaps between cabinet backs and walls. Undersized blocking splits when multiple screws go into the same area. Missing corner blocking leaves heavy cabinets supported only at the ends of the cabinet run with the middle section floating. Height inconsistencies force cabinet installers to shim excessively, and extreme cases require removing cabinets and resetting blocking before continuing.
Prevention starts with careful planning and doubles down on measurement verification. Mark all blocking locations on studs using level and straightedge before cutting materials. Check measurements against actual cabinet specifications, not assumed standard dimensions. Use proper blocking material dimensions. Don’t try to save money with undersized lumber. Conduct a pre drywall walk through with the cabinet installer or homeowner to verify blocking placement matches the cabinet layout plan, and check that nail plates cover all utility runs.
Blocking for Special Cabinet Types and Applications
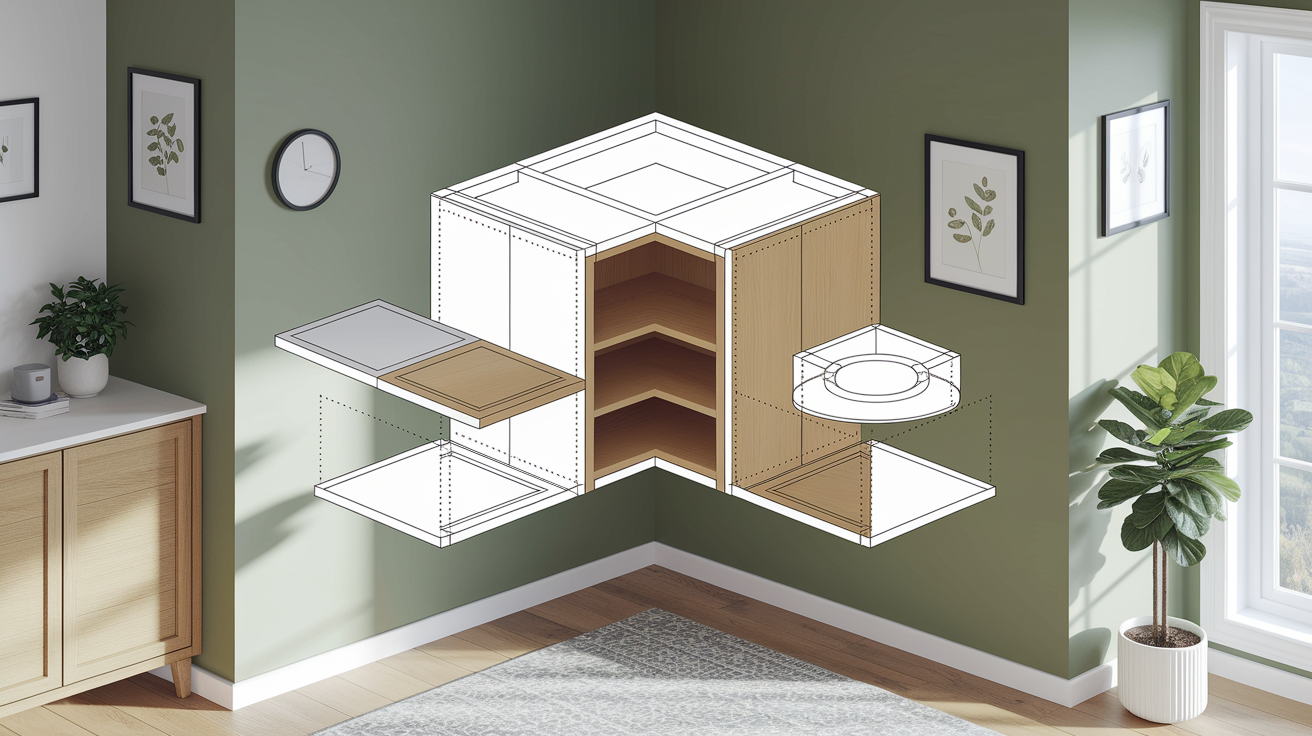
Corner cabinets, lazy susan units, and blind corner installations require modified blocking approaches since cabinets wrap around corners and standard linear blocking doesn’t support corner turning cabinet sections. Install blocking on both walls that form the corner, positioning blocking at the same heights so corner cabinet attachment points align properly. Blind corner cabinets that have a cabinet box on one wall and an extended return panel on the adjacent wall need blocking on both walls even though only one wall gets a full cabinet box.
Peninsula and island cabinets create different blocking needs depending on their attachment method. Free standing islands that sit entirely away from walls don’t need wall blocking. They’re secured to the floor through the cabinet base. Peninsula cabinets that connect to walls need blocking at the attachment points following standard height specifications. If the peninsula has an upper cabinet section, install the same multiple row blocking pattern used for standard wall mounted upper cabinets.
Non kitchen cabinet applications adapt the same blocking principles to different heights and purposes. Bathroom vanities typically stand 30 inches tall and need blocking at that height rather than the 34.5 inch kitchen standard. Office built ins and desk units use blocking at the desk top height, commonly 29 to 30 inches. Laundry room cabinets often mount high above washers and dryers and require blocking at 70 to 80 inches above the floor. Garage storage cabinets may need blocking at multiple heights depending on the cabinet configuration and whether they extend floor to ceiling.
Blocking principles extend beyond cabinets to any wall mounted heavy items. Bracket mounted televisions need blocking at the bracket height, typically 50 to 65 inches for living room viewing. Heavy artwork and mirrors benefit from blocking that lets you place attachment hardware anywhere across the back. Stair handrails require blocking at 34 to 38 inches above stair nosing. Chair rails install at 32 to 36 inches above floor, and blocking behind chair rail locations prevents finish nail pop through and gives better trim attachment. Crown molding at the ceiling line holds better with backing at the wall ceiling intersection. Planning comprehensive blocking locations during framing saves retrofit headaches across multiple home construction needs.
Building Code Requirements and Professional Standards for Cabinet Blocking
Building codes don’t typically mandate cabinet blocking installation as a specific requirement, but codes do require adequate structural support for mounted fixtures and safe clearances between fasteners and electrical or plumbing systems. The International Residential Code requires protection for utilities within 1 1/4 inches of framing member faces, which covers nail plate requirements when blocking sits near wiring or pipes.
Framing inspectors verify that blocking is properly secured to wall studs and doesn’t interfere with utilities during the rough framing inspection before walls close up. Inspectors check that appropriate nail plates protect utility runs, that blocking provides adequate load bearing capacity for intended use, and that blocking installation doesn’t compromise wall structural integrity. Inspection failures for missing or inadequate blocking are rare, but missing nail plates over utilities will fail inspection every time. Blocking installed proud of stud faces sometimes gets flagged if the inspector thinks it will interfere with drywall installation.
Professional standards and best practices exceed minimum code requirements through recommendations from cabinet manufacturers, professional installer associations, and carpentry trade standards. The National Kitchen and Bath Association suggests minimum 2×6 blocking installed at top and bottom of upper cabinets for adequate long term support. Cabinet manufacturers include blocking specifications in installation instructions that become part of warranty requirements. Using inadequate blocking can void product warranties if cabinets fail. Professional carpenter associations recommend blocking at 16 inch vertical spacing maximum for continuous support across cabinet backs, which exceeds the basic three row blocking approach for standard 36 inch upper cabinets. These professional standards reflect decades of field experience with cabinet performance and failure analysis, providing guidance that ensures installations last through years of daily use and heavy dish loads.
Final Words
Proper blocking height for kitchen cabinets starts with two critical measurements: 54 inches from finished floor for upper cabinet lower blocking and 34.5 inches for base cabinet support.
Get these numbers right during rough framing, and cabinet installation goes smooth. Miss them, and you’re cutting into finished walls later.
Use solid blocking material, protect utilities with nail plates, and double-check measurements before the drywall crew shows up.
The hour you spend measuring and installing blocking now prevents a day of patching and rework when cabinets don’t line up.
FAQ
What height should blocking be for kitchen cabinets?
Blocking height for kitchen cabinets should be at 54 inches from the finished floor for the lower upper cabinet blocking, with base cabinet blocking placed at 34.5 inches. Additional upper cabinet blocking rows are spaced 18 inches apart vertically to support the full cabinet height.
What is the 1 3 rule for cabinets?
The 1 3 rule for cabinets isn’t a standard industry term in cabinet blocking installation. Standard practice uses three horizontal blocking rows for upper cabinets: first at 54 inches, second at 72 inches, and third positioned based on cabinet height, typically 36 inches above the second row.
Do I need blocking for cabinets?
You need blocking for cabinets to provide solid attachment points across the entire cabinet run, especially where cabinets don’t align with wall studs. Blocking prevents cabinets from pulling away from walls and distributes weight evenly, reducing sagging and ensuring long-term stability.
Can you use 2×4 for cabinet blocking?
You can use 2×4 for cabinet blocking, but 2×6 is the recommended minimum, with 2×8 or larger preferred. Larger blocking provides better screw-holding capacity and reduces the risk of screws breaking through the blocking face, especially when installing heavy loaded cabinets.
How do you measure blocking height from finished floor versus subfloor?
You measure blocking height from the finished floor level, not the subfloor, accounting for the thickness of flooring materials that will be installed. Measuring from subfloor creates incorrect blocking placement that results in cabinets hanging too high or too low after final flooring installation.
When should cabinet blocking be installed during construction?
Cabinet blocking should be installed during the rough framing stage after wall studs are erected but before drywall installation. Installing blocking at this phase prevents the costly process of cutting out finished drywall, adding blocking, and patching walls later.
What materials work best for cabinet blocking installation?
Materials that work best for cabinet blocking include 2×6 or larger dimensional lumber, or 3/4-inch plywood cut into 6-inch strips. Plywood strips reduce splitting compared to solid lumber and allow more room for wall insulation while providing equivalent screw-holding strength.
How do you install blocking in metal stud walls?
You install blocking in metal stud walls using the same wood blocking materials and heights as standard wood framing. Wood blocking provides superior screw-holding capacity compared to metal studs alone and is secured to metal studs using appropriate fasteners before drywall application.
Why do you need nail plates over blocking?
You need nail plates over blocking where electrical wiring or plumbing runs behind the blocking to prevent cabinet installation screws from penetrating utilities. Nail plates create a protective barrier that deflects screws, preventing electrical shock hazards and water leaks from punctured pipes.
Should blocking be flush with stud faces?
Blocking should be flush with stud faces so drywall lays flat against both studs and blocking without bulges or gaps. Blocking installed proud of studs creates drywall bumps, while recessed blocking leaves unsupported drywall areas that can crack or compress during cabinet installation.
How do you adjust blocking height for taller or shorter users?
You adjust blocking height for taller users by raising upper cabinet blocking 2 to 4 inches above the standard 54-inch height, reducing awkward bending. For shorter users, lower blocking by 2 to 3 inches to improve reach while maintaining adequate workspace between countertops and cabinets.
What blocking is needed for corner cabinets?
Blocking needed for corner cabinets requires modified placement since cabinets wrap around corners and don’t align with standard linear blocking runs. Install blocking on both walls that form the corner, extending blocking far enough to support cabinet attachment points on each wall section.