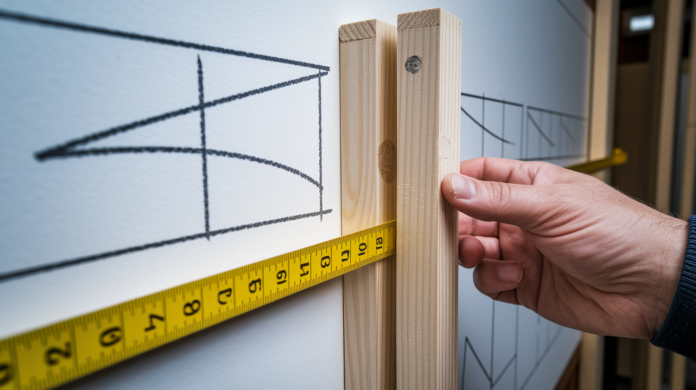

Most cabinet installers don’t think about blocking until they’re already screwing cabinets into drywall. By then it’s too late. The missing nailers mean you’re relying on hollow wall anchors to hold hundreds of pounds of dishes and cookware, or you’re scrambling to sister studs and patch holes. Install blocking during framing and you get a solid mounting surface exactly where the cabinet rails need it. Skip this step and you’ll either deal with sagging cabinets or tear into finished walls later to add the structure you should have built in from the start.
Standard Cabinet Blocking Height Measurements
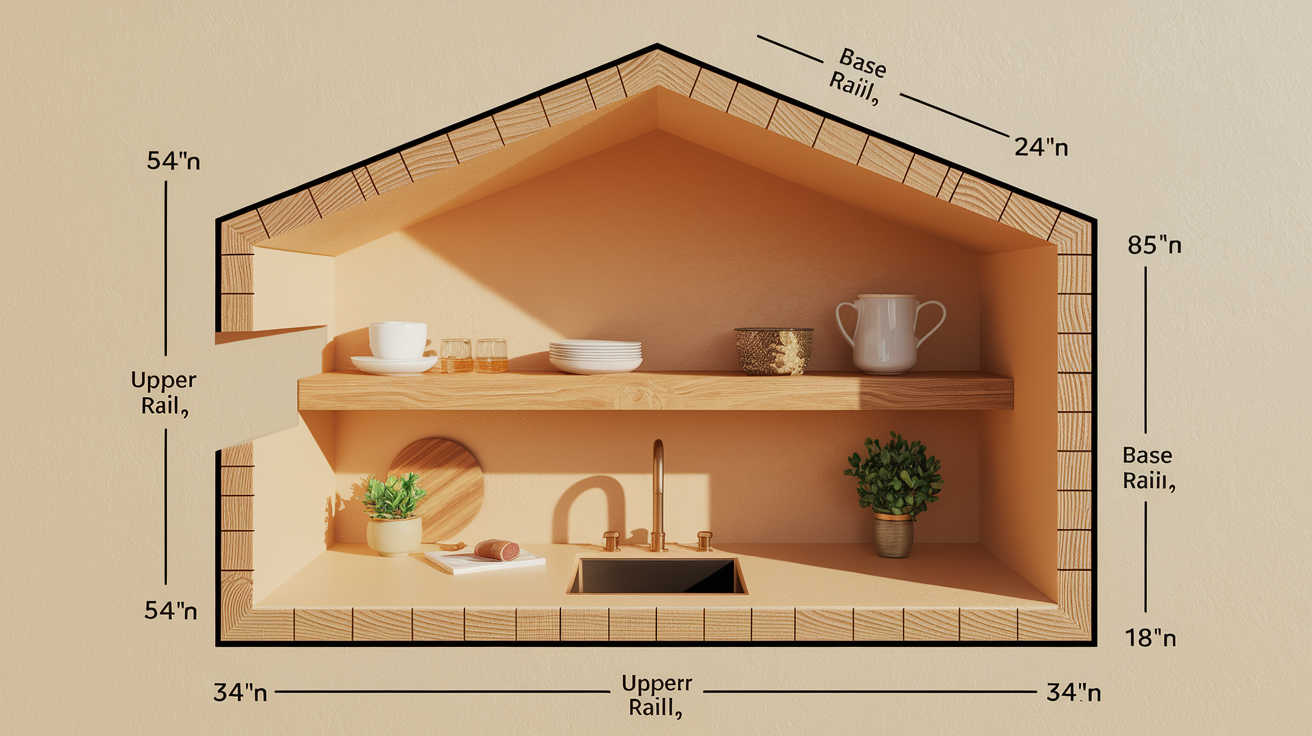
Cabinet blocking consists of horizontal wood nailers installed between wall studs to create a solid mounting surface for securing cabinets to the wall. These structural supports are critical for safe, long lasting cabinet installations that won’t sag or pull away from the wall over time.
| Cabinet Type | Blocking Height From Floor | Final Installation Height |
|---|---|---|
| Upper Cabinet Blocking | 54 inches | 54 inches (cabinet bottom) |
| Base Cabinet Blocking | 34.5 inches | 36 inches (with countertop) |
Upper cabinet blocking installs at 54 inches from the finished floor. This measurement accommodates a standard 4 inch backsplash and creates the standard 18 inch workspace between the countertop and the bottom of the upper cabinets. The 18 inch gap gives you room to work without hitting your head on the cabinets and provides clearance for small appliances like coffee makers or stand mixers. In kitchens with higher ceilings or taller users, blocking can be placed higher, with spacing between countertop and upper cabinets increased to 20 or 22 inches.
Base cabinet blocking typically goes at 34.5 inches from the finished floor. When you add a countertop, usually 1.5 inches thick for standard laminate or stone, the final working surface height reaches 36 inches. This aligns with average hip level for comfortable food prep work. If you’re installing thicker countertops like butcher block (often 2 to 3 inches thick) or concrete slabs, you’ll need to adjust the blocking height down to keep that final 36 inch work surface. For taller users who prefer higher counters, you can raise the blocking to 35.5 or 36.5 inches and increase the toe kick height to 7 inches, bringing the final counter height to 39 inches.
Comprehensive Upper Cabinet Blocking Installation Guide

Calculating blocking height for upper cabinets starts with your desired cabinet bottom elevation (typically 54 inches) and works backward based on ceiling height and cabinet size. You need to know the total height of your cabinets and how much clearance will remain between the cabinet top and the ceiling before you install blocking.
For 30 inch tall cabinets with the bottom at 54 inches, the top reaches 84 inches. In a standard 8 foot room (96 inches), this leaves 12 inches of clearance. Enough space for basic crown molding or to leave the area open. For 36 inch tall cabinets starting at 54 inches, the top hits 90 inches, leaving just 6 inches to the ceiling in an 8 foot room. This tighter clearance works when you’re adding crown molding that extends down from the ceiling to meet the cabinet top, creating a built in look. For 42 inch tall cabinets with the bottom at 54 inches, the top reaches 96 inches, meaning the cabinets extend all the way to the ceiling with no gap. This floor to ceiling approach maximizes storage and eliminates dust collecting space above the cabinets.
Taller cabinets, anything over 30 inches, need multiple blocking runs to distribute weight properly and prevent the cabinet from pulling away from the wall at the bottom. Install one blocking run at the standard 54 inch height where the cabinet hanging rail will attach, then add a second run about 12 to 18 inches lower for the bottom cabinet rail or additional mounting screws. If you’re installing cabinets that extend to the ceiling in a room with soffits (the boxed in area above cabinets), you’ll need blocking at both the bottom cabinet edge and where the cabinet meets the soffit structure. In kitchens with 9 foot ceilings, you can increase the spacing between the countertop and upper cabinets to 20 or 22 inches while still using 36 inch or 42 inch tall cabinets, which creates a more open feel and gives you better access to the counter workspace. Cabinet rail systems (the metal tracks some cabinets hang from) attach directly to the blocking with screws driven into the solid wood nailer.
| Cabinet Height | Ceiling Height | Blocking Height From Floor | Top Cabinet Height | Clearance to Ceiling | Multiple Blocking Runs Needed |
|---|---|---|---|---|---|
| 30 inches | 8 feet (96 inches) | 54 inches | 84 inches | 12 inches | No |
| 36 inches | 8 feet (96 inches) | 54 inches | 90 inches | 6 inches | Yes |
| 42 inches | 8 feet (96 inches) | 54 inches | 96 inches | 0 inches | Yes |
| 30 inches | 9 feet (108 inches) | 54 inches | 84 inches | 24 inches | No |
| 36 inches | 9 feet (108 inches) | 54 inches | 90 inches | 18 inches | Yes |
| 42 inches | 9 feet (108 inches) | 54 inches | 96 inches | 12 inches | Yes |
Base Cabinet Blocking and Countertop Height Considerations
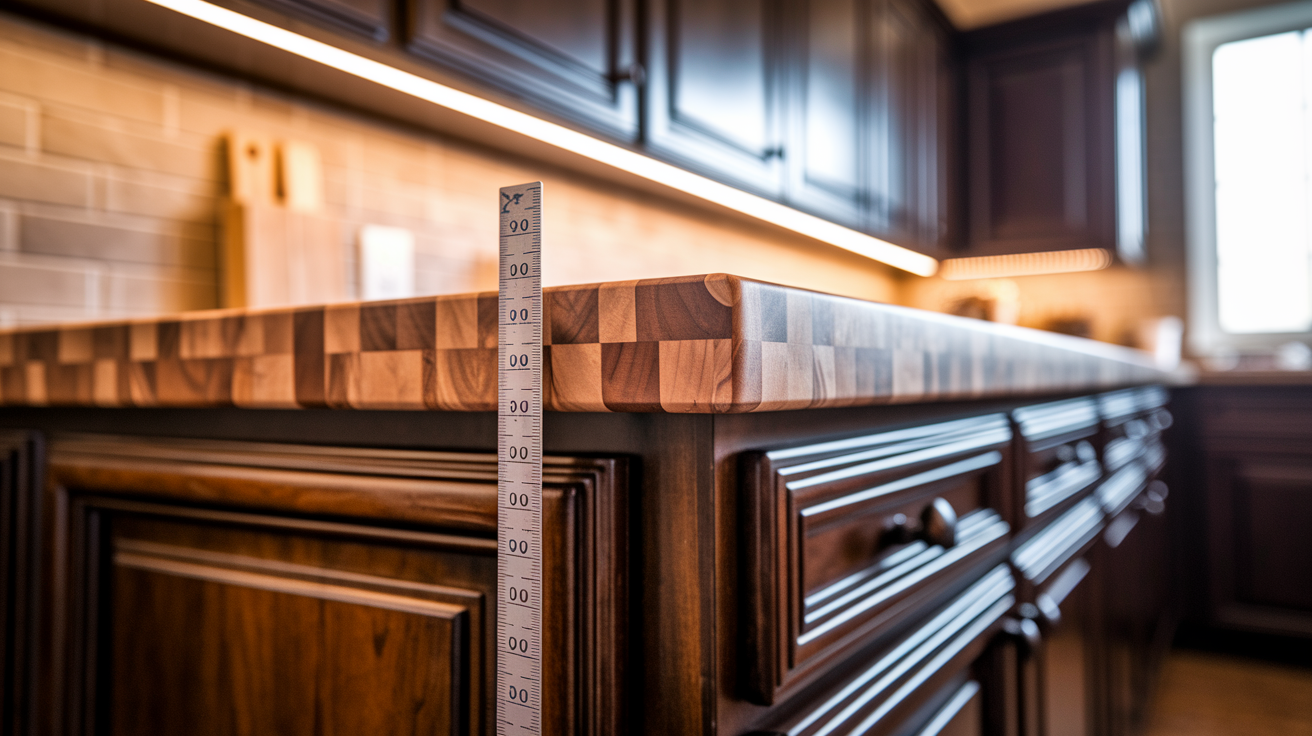
Standard base cabinet blocking goes at 34.5 inches from the finished floor, which creates a 36 inch work surface once you add the countertop material. This height assumes a countertop thickness of about 1.5 inches, which covers most laminate, quartz, and granite installations with standard edge profiles. Quartz and stone slabs come in 1 centimeter (roughly 0.4 inches), 2 centimeter (0.75 inches), or 3 centimeter (1.2 inches) thicknesses, but fabricators usually build up the edge with additional material or a mitered edge piece to create the appearance of a thicker slab. If you’re installing a true full thickness material like 2 inch butcher block or a 3 inch concrete countertop, you’ll need to drop your blocking height to 33 or 32 inches to keep the working surface at a comfortable 36 inches.
The 36 inch standard comes from ergonomic research on comfortable working heights for food preparation. To find the right height for your situation, stand straight, bend your arms at 90 degrees like you’re chopping vegetables, then lower your hands 4 to 5 inches. That’s your ideal work surface height. For most people, this lands between 34 and 38 inches. If you’re taller than 6 feet, raising the counters to 38 or 39 inches reduces back strain during meal prep. For accessible design, kitchens that accommodate wheelchair users or people with mobility limitations, countertop height can vary more dramatically. Sometimes going as low as 32 inches or as high as 48 inches depending on specific needs.
Kitchen islands used for dining need different blocking heights than standard base cabinets. If you’re planning to tuck barstools under the island overhang, install blocking at 40.5 inches from the floor. With a 1.5 inch countertop, this creates the standard 42 inch bar height that pairs with 30 inch barstools. The higher work surface isn’t ideal for food prep tasks like chopping and rolling dough, so most kitchen designers use 42 inch height only on the dining side of an island while keeping the working side at standard 36 inch height.
Measuring and Marking Blocking Location on Wall Studs
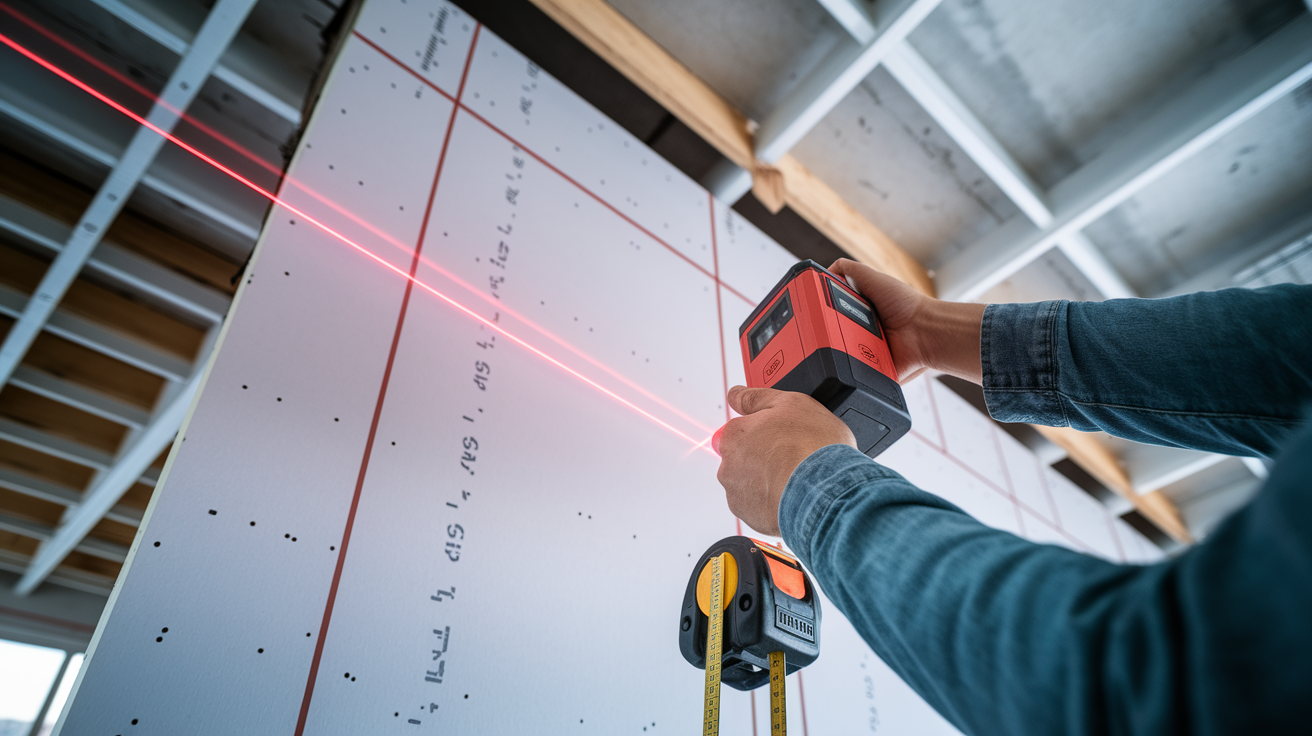
Accurate measuring and marking prevents the frustration of installing blocking at the wrong height and having to tear it out. All measurements must come from the finished floor, not the subfloor. If you’re working during construction before the finished floor goes down, you’ll need to add the floor thickness to your measurements. For hardwood flooring that’s 0.75 inches thick, measure 54.75 inches from the subfloor to get a finished blocking height of 54 inches.
Locate the finished floor elevation in the kitchen and make a reference mark at a convenient height on the wall. Waist level works well for easy measuring. Measure up from the finished floor to 54 inches and make a clear pencil mark on the wall where upper cabinet blocking will be installed. Measure up from the finished floor to 34.5 inches and mark the base cabinet blocking height location. Use a laser level to project a level line across all walls where cabinets will be installed, extending the 54 inch and 34.5 inch marks to create continuous reference lines. Run a stud finder along each reference line to locate wall studs, then mark the center of each stud with a vertical pencil line that crosses the blocking height reference line. Measure between your marks to verify correct stud spacing, typically 16 or 24 inches on center, and double check all measurements before cutting any blocking material.
A laser level saves time and reduces errors when you’re marking multiple walls. Set it up once at the correct height and it creates a level reference line around the entire room. If you don’t have a laser level, use a standard 4 foot level and a long straightedge to transfer the height marks from wall to wall, checking level as you go. Mark stud locations at the blocking height instead of at random spots on the wall. This puts your layout marks exactly where you need them during installation.
Before you start cutting and installing blocking, walk through the kitchen with your measurements and mentally place each cabinet. Check that your blocking height will work with the specific cabinets you’re installing, accounting for any rail systems or hanging hardware that might require blocking at slightly different heights. Catching measurement errors now is easy. Fixing them after the blocking is installed and the drywall is patched takes real work.
Complete Blocking Installation Process: Materials and Technique

Standard 2×4 lumber works for most upper cabinet blocking installations. The 1.5 inch actual thickness (2x4s are dimensional lumber, not actual dimensions) provides enough material for screws to bite without going completely through, and the 3.5 inch width gives you a target that’s easy to hit when you’re installing cabinets. For base cabinets or upper cabinets that will hold heavy loads, think cabinets full of cast iron cookware, stoneware dishes, or small appliances, step up to 2×6 blocking. The extra width, 5.5 inches actual, distributes weight across more area and gives you more room for mounting screws if you need to adjust cabinet placement during installation. A fully loaded upper cabinet with dishes and canned goods can weigh 200 pounds or more, so the blocking needs to handle that weight plus a safety margin.
Wall studs in most homes are spaced either 16 inches on center or 24 inches on center. For 16 inch spacing, cut your blocking pieces to 14.5 inches long so they fit snugly between studs. For 24 inch spacing, cut pieces to 22.5 inches. The blocking should fit tight enough that you need to tap it into place with a hammer, but not so tight that it bows the studs or requires heavy pounding. Continuous blocking across multiple stud bays creates the strongest mounting surface because it ties the studs together and distributes cabinet weight across a wider section of the wall. Don’t leave gaps between blocking pieces or rely on blocking that only spans two studs under a three foot cabinet.
Drive minimum two 3 inch structural screws (not drywall screws) through the face of each blocking piece into the wall studs. Position one screw about 1 inch from the top edge and another about 1 inch from the bottom edge. The screws need to penetrate at least 1.5 inches into the stud for solid attachment. If you’re installing blocking on an exterior wall with 2×6 studs, you can use 3.5 inch screws for extra holding power. Predrill holes through the blocking to prevent splitting, especially if you’re working near the ends of the boards. Make sure each blocking piece stays level as you drive the screws. It’s easy for the far end to drop or rise as you tighten the fasteners.
Use a 4 foot level across multiple blocking pieces as you install them to maintain consistent height throughout the kitchen. If one piece of blocking is 1/4 inch high and the next piece is 1/4 inch low, that half inch variation shows up as cabinets that don’t line up properly. Weight distribution matters more than many DIYers think. Blocking that’s securely fastened to every stud creates a mounting system where the cabinet load transfers to the strongest parts of the wall framing. Blocking that’s only attached at a couple of points concentrates all the weight in one area, which can lead to screws pulling out or drywall cracking.
In new construction, install blocking before the drywall goes up. You can see the studs, verify their spacing, and adjust blocking placement without cutting anything. For retrofit installation in an existing kitchen, you’ll need to cut horizontal slots in the drywall at the blocking height, install the blocking, then patch and finish the drywall before cabinet installation. Cut the drywall about 4 inches tall at the blocking height. Enough to get the blocking in and drive your fasteners, but not so large that patching becomes a major project. An alternative for retrofit work is to cut out drywall between studs in the entire cabinet area and install full width plywood backing, 1/2 inch or 3/4 inch, across multiple stud bays. This gives you continuous backing where you can place cabinet screws anywhere, not just at blocking locations.
Cabinet Rail Systems and Ledger Board Blocking Methods
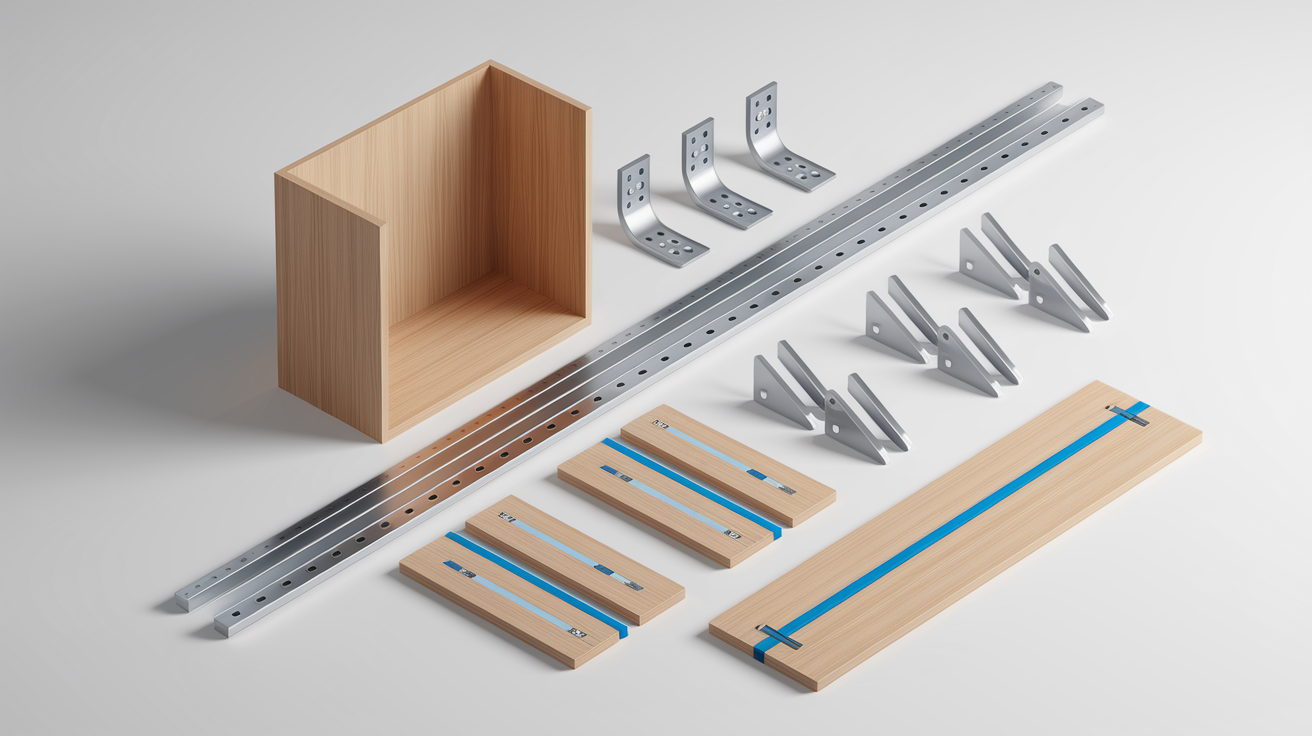
Cabinet rail systems use a metal track mounted to the wall and corresponding brackets attached to the cabinet back panel. The blocking requirements for rail systems differ from traditional screw through the back mounting because the rails need continuous support along their entire length. Install blocking at the exact height specified by the rail manufacturer, usually at the top edge of where the cabinet will hang. The rail screws into the blocking every 16 inches, and the weight of the cabinet transfers to the blocking through the rail instead of through individual screws.
A ledger board is a horizontal piece of dimensional lumber temporarily or permanently attached to the wall at the bottom edge of where upper cabinets will hang. For standard installation with cabinets starting at 54 inches, install a 1×4 ledger board with its top edge at 53.5 to 54 inches from the floor. The ledger provides a shelf to rest the cabinets on during installation, which frees up your hands and makes it easier to get cabinets level and aligned before driving mounting screws. The ledger board needs blocking behind it for support, or it needs to be screwed directly into studs at every stud location. Some installers leave the ledger in place permanently as additional support, while others remove it after the cabinet mounting screws are installed. If you’re planning to remove the ledger, use screws instead of nails so you don’t jar the cabinets when you pull the board off.
French cleat systems use matching angled pieces, usually cut at 45 degrees, mounted to both the wall and the cabinet. One cleat attaches to the wall with the angle pointing up, and the matching piece mounts to the cabinet back with the angle pointing down. When you hang the cabinet, the two pieces lock together. French cleats require blocking because the angled mounting puts shear force, sideways and downward pressure, on the fasteners. Install blocking at the height where the wall cleat will mount, usually near the top of the cabinet. The blocking needs to be at least 3/4 inch thick and securely fastened to studs to handle the shear load.
Direct screw mounting requires blocking at cabinet hanging rail locations, typically near the top and middle of taller cabinets, with screws driven through cabinet backs into blocking. Cabinet rail and bracket systems need continuous blocking at the rail mounting height, which provides support for the entire rail length and allows brackets to lock into place. Ledger board support methods use blocking behind the ledger or rely on ledger screws driven into every stud, creating a temporary or permanent shelf at cabinet bottom. French cleat installations need substantial blocking at the cleat mounting height to resist shear forces from the angled load transfer between wall and cabinet. Combination systems use both a ledger board at the bottom for support during installation and blocking at the top for permanent mounting screws, giving maximum stability.
Blocking Placement for Specialized Cabinet Installations
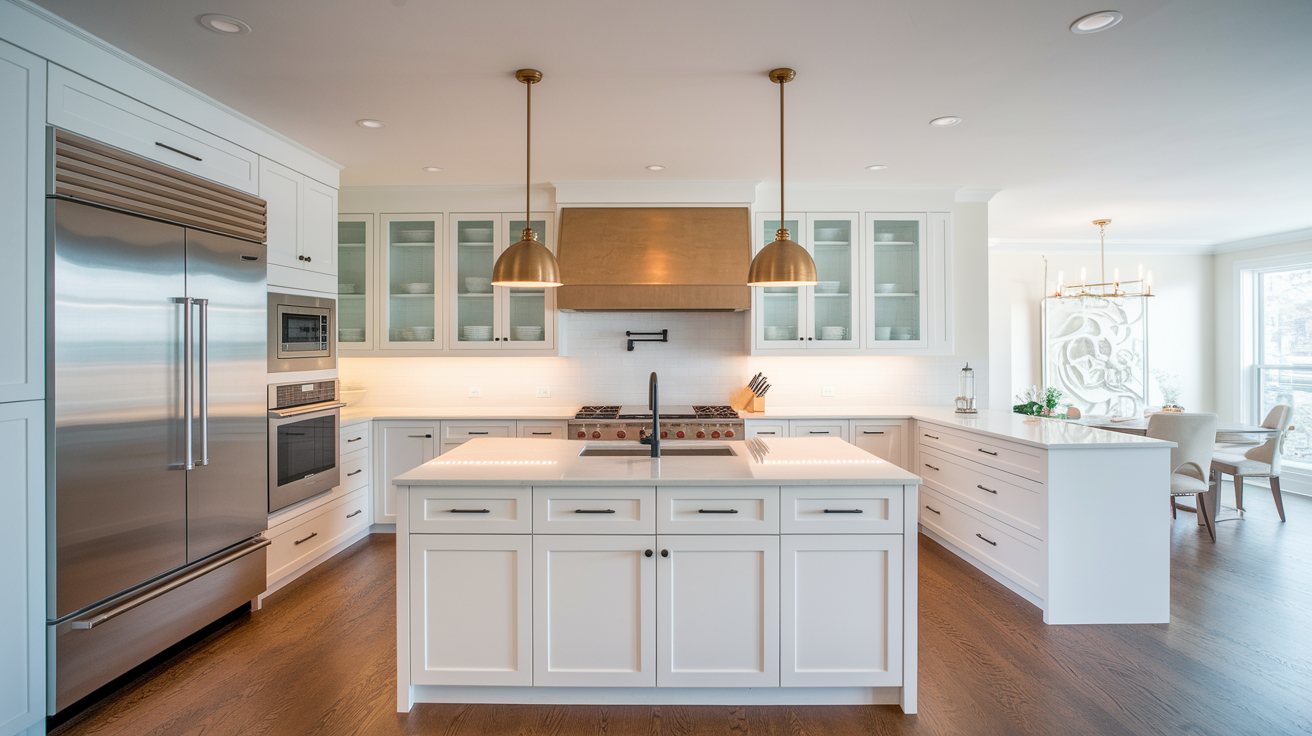
Cabinets mounted above refrigerators typically have reduced depth, 12 inches instead of the standard 24 inch depth of regular upper cabinets. The shallower cabinets keep the doors from hitting the refrigerator when opened and maintain clearance for the refrigerator to be pulled out for cleaning or service. Install blocking at the standard 54 inch height for these cabinets, but account for the fact that the cabinet won’t extend as far down the wall. The reduced depth means these cabinets are lighter, but they still need solid blocking attachment since they often store less frequently used items that might be heavy. Roasting pans, specialty appliances, seasonal dishes.
Range hood cabinets and microwave cabinets often mount at non-standard heights based on the appliance beneath them. A microwave designed to mount under a cabinet typically needs the cabinet bottom at 66 inches from the floor to provide adequate clearance above a 36 inch tall countertop. Install blocking at 66 inches for microwave cabinets, or follow the microwave manufacturer’s specifications if they call for different clearances. Range hood cabinets mount based on the hood’s requirements, usually 18 to 30 inches above the cooktop depending on the hood style. For a cooktop on a 36 inch counter, this puts the hood cabinet blocking anywhere from 54 to 66 inches from the floor. When installing cabinets above dishwashers, make sure there’s at least 2 inches of clearance between the dishwasher top and the cabinet bottom for air circulation and to allow the dishwasher to be removed for service without taking apart cabinets.
Corner cabinets require blocking that spans perpendicular walls to provide mounting support on both sides of the corner. Install blocking on both walls at the standard 54 inch height, running the blocking far enough along each wall to support the full width of the corner cabinet. Blind corner cabinets, where one side of the cabinet isn’t visible and just provides access to the corner space, need blocking at least 12 inches past the corner on the visible wall and 24 inches or more on the blind wall to support the deep cabinet box.
Peninsula cabinets and island cabinets with upper sections create unique blocking challenges because they don’t have a wall for support. If the upper peninsula cabinets tie into a soffit or cabinet above, install blocking within the soffit structure where the cabinet will mount. For true free standing island upper cabinets in an open floor plan, you’ll need to build a support structure down from the ceiling joists. Essentially creating a post inside the cabinet or beside it that carries the weight up to the structure above. This isn’t typical blocking work and usually requires framing a support box and finishing it to look like part of the cabinet or ceiling design.
Building Codes and Professional Installation Guidelines for Cabinet Blocking
The International Residential Code (IRC), which most U.S. jurisdictions use as the basis for local building codes, doesn’t contain extensive specific requirements for cabinet blocking, but it does require that cabinets be “adequately fastened” to the building structure. This general language means the blocking and mounting system need to safely support the weight of the cabinets plus their contents with a reasonable safety factor. Code officials interpret this to mean that cabinets should be attached to wall framing or to blocking that is itself securely fastened to wall framing, not just to drywall with hollow wall anchors. Local codes may specify minimum fastener sizes and spacing, or require that certain types of installations, like cabinets mounted over work areas where people stand, meet specific load ratings.
Cabinet manufacturers provide installation specifications that often exceed minimum code requirements. These specifications typically call for mounting screws into solid wood backing at specific intervals, commonly every 16 inches, and may require certain screw sizes and penetration depths into the blocking. Following manufacturer specifications matters for warranty coverage. If cabinets fail due to improper mounting and you didn’t follow the installation instructions, the warranty may not cover the damage. Industry associations like the Kitchen Cabinet Manufacturers Association (KCMA) publish certification standards that include mounting requirements, and cabinets that carry KCMA certification are tested to verify they can handle specified loads when installed according to their instructions. Professional installers follow these standards because they know that proper blocking prevents callbacks and warranty claims.
New construction cabinet installation rarely requires a separate permit because it’s covered under the general building permit for the house. The building inspector will check framing and may look at cabinet blocking if inspections happen at that stage, though many jurisdictions only inspect cabinets as part of the final walkthrough. Kitchen remodeling projects that include cabinet installation may or may not require a permit depending on local rules and the scope of work. If you’re moving plumbing or electrical service for the new cabinet layout, you’ll definitely need permits for those trades. If you’re just removing old cabinets and installing new ones in the same locations with existing blocking, many areas don’t require a permit. Check with your local building department before starting work. Improper blocking that leads to cabinet failure can create liability issues even in unpermitted work, and insurance may not cover damage from work that should have been permitted but wasn’t.
Verifying Proper Blocking Installation Before Cabinet Mounting
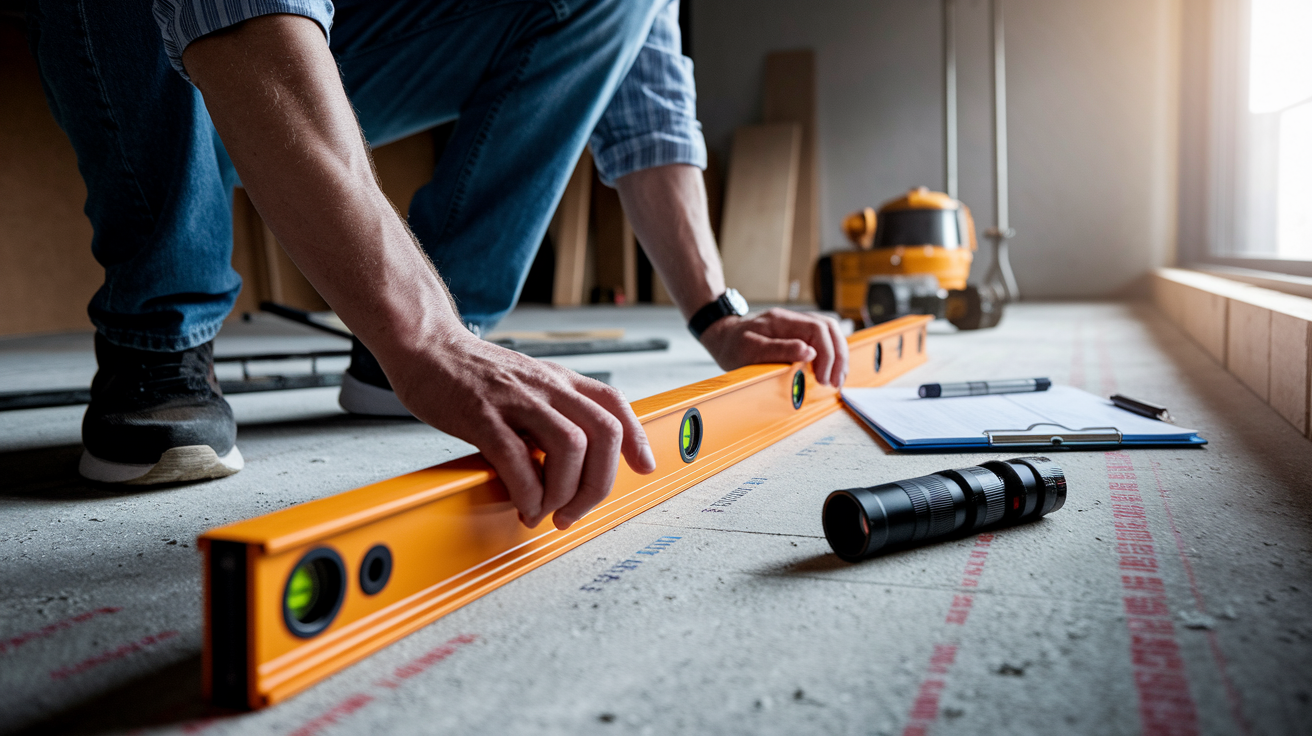
Checking blocking before you hang cabinets prevents problems that are expensive to fix later. Once cabinets are up, accessing the blocking means removing cabinets, which is time consuming and can damage both the cabinets and the wall finish. A systematic verification catches errors while you still have easy access to make corrections.
If you find blocking that’s off level, out of position, or not securely fastened, fix it now. For blocking that’s slightly low in one section, you can shim it up by removing the blocking, adding a wood strip or composite shim material to the stud face, then reinstalling the blocking at the correct height. Blocking that’s too high needs to come out and be reinstalled lower. If the blocking is loose because the screws didn’t get good bite into the studs, remove the screws, fill the old holes with wood filler or glue soaked wood slivers, then drive new screws in slightly different locations where you’ll get solid wood. For blocking that protrudes past the drywall surface, you’ll need to remove it, chisel or grind down the back side to reduce thickness, then reinstall it flush.
Confirm blocking height measurements from finished floor using a tape measure at multiple points along each blocking run. Check at both ends and in the middle to catch any variation. Verify level across entire blocking run by placing a 4 foot level on top of the blocking and checking for gaps under the level, which indicate high or low spots. Check secure fastening at each stud location by grabbing the blocking and trying to move it. It shouldn’t flex, pull away from the wall, or make creaking sounds. Ensure blocking is flush with or slightly recessed from drywall surface by running your hand along the wall where blocking is installed, feeling for any protruding wood that would prevent cabinets from sitting tight against the wall. Verify blocking is continuous with no gaps by visual inspection along the entire run. Gaps between blocking pieces create weak spots where cabinets have no support. Confirm blocking width is adequate for mounting hardware by checking that the blocking is at least 3.5 inches wide, standard 2×4, giving you room to place cabinet screws without missing the blocking. Test blocking stability under pressure by pushing firmly on the blocking at several points along its length. It should feel solid without deflection or movement.
Final Words
Your blocking heights determine whether your kitchen cabinets hang straight and stay secure for decades. Get the 54-inch upper cabinet blocking and 34.5-inch base cabinet blocking right the first time, and the rest of the installation follows smoothly.
Measure from finished floor, cut blocking to fit tight between studs, and fasten with structural screws. Check level across the entire run before you hang anything.
If the blocking is solid and placed correctly, your cabinets will mount clean and carry weight without sagging or pulling loose.
FAQ
What height should blocking be for kitchen cabinets?
Standard blocking for kitchen cabinets should be installed at 54 inches from the floor for upper cabinets and 34.5 inches from the floor for base cabinets. This 54-inch measurement positions upper cabinets 18 inches above standard 36-inch countertops, allowing proper clearance for backsplashes and comfortable workspace access.
Do I need blocking for cabinets?
You need blocking for cabinets when wall studs don’t line up with cabinet mounting rails or when you’re installing cabinets on walls without solid backing. Blocking creates a continuous horizontal mounting surface between studs, distributing cabinet weight properly and preventing cabinets from pulling away from the wall under load.
What is the standard height for upper cabinet blocking in different ceiling configurations?
Upper cabinet blocking height varies based on cabinet size and ceiling clearance requirements. For 30-inch cabinets, blocking at 54 inches places cabinet tops at 84 inches, leaving 12 inches to an 8-foot ceiling. Taller 36-inch cabinets reach 90 inches, requiring 6 inches for crown molding, while 42-inch cabinets extend to 96 inches.
How does countertop thickness affect base cabinet blocking placement?
Base cabinet blocking at 34.5 inches accounts for countertop material thickness to reach the standard 36-inch working height. Stone and quartz countertops add 1 to 3 centimeters, while butcher block and concrete countertops run thicker, requiring blocking height adjustments to maintain ergonomic workspace elevation.
What lumber dimensions are recommended for cabinet blocking installation?
Cabinet blocking typically uses 2×4 lumber for standard installations, providing adequate strength for most upper and base cabinets. Use 2×6 blocking for heavy-duty applications where cabinets will hold significant weight from dishes, cookware, or pantry storage, ensuring proper load distribution across wall studs.
How do you measure blocking location on walls accurately?
Measure blocking location from the finished floor, not the subfloor, using a laser level to establish continuous reference lines at 54 inches for uppers and 34.5 inches for base cabinets. Mark stud locations along these lines with a stud finder before cutting blocking to fit between studs.
What fastening technique secures blocking to wall studs properly?
Secure blocking by driving minimum two 3-inch structural screws through each end into adjacent wall studs. Cut blocking precisely to fit snugly between studs at 14.5 inches for 16-inch-on-center framing or 22.5 inches for 24-inch spacing, maintaining level across multiple bays for consistent cabinet support.
Do cabinet rail systems require different blocking configurations?
Cabinet rail systems require blocking installed at specific heights where mounting brackets attach to the wall. Rails mount to blocking and accept adjustable cabinet brackets, distributing weight differently than direct-screw mounting. Ledger boards installed at 53.5 to 54 inches provide temporary support during installation.
What blocking placement is needed for cabinets over appliances?
Cabinets over refrigerators need blocking positioned for reduced-depth installations, typically 12 inches deep instead of standard 24 inches. Dishwasher cabinet blocking requires a 2-inch clearance gap for air circulation, while range hood cabinets need blocking at varying heights based on appliance specifications and ventilation requirements.
Are permits required for installing cabinet blocking?
Permit requirements for cabinet blocking vary by jurisdiction and project scope. New construction typically requires permits and inspections before drywall installation covers blocking. Remodeling projects may not need permits for simple blocking installation, but check local building codes since improper blocking can void cabinet warranties.
How do you verify blocking is installed correctly before mounting cabinets?
Verify blocking by confirming height measurements from finished floor, checking level across the entire run, and testing security by applying pressure at each stud location. Ensure blocking sits flush with or slightly recessed from drywall and forms a continuous surface with no gaps between stud bays.
What blocking method works best for corner cabinet installations?
Corner cabinet blocking must span from both perpendicular walls to provide adequate support where cabinets meet at inside or outside corners. Install blocking on each wall at matching heights, ensuring continuous support across the corner transition for proper cabinet alignment and weight distribution.