

Most contractors still slap regular drywall in bathrooms and basements, then act surprised when mold shows up two years later. Quarter-inch mold resistant panels solve that problem by ditching the paper facing mold feeds on and loading the gypsum core with antimicrobial compounds that shut down fungal growth. They’re lighter than standard sheets, bend easier for curved work, and cost 20 to 40% more upfront, which saves you thousands in mold remediation down the road. This guide breaks down specs, real-world applications, and which brands actually deliver protection versus marketing hype.
Product Specifications and Availability of Quarter-Inch Mold Resistant Drywall
Quarter-inch mold resistant drywall is the thinnest gypsum board you’ll find for construction and remodeling. These panels ditch the traditional paper facing that mold loves to colonize. Instead, they use paperless construction with a fiberglass mat facing. The gypsum core gets loaded with antimicrobial additives and silicone compounds that push back against moisture absorption and shut down fungal growth. That makes them way more resistant to mold than regular drywall when things get wet or humid.
The lightweight build makes quarter-inch panels easier to wrangle during install compared to thicker stuff. Standard size is 4 feet wide by 8 feet long, though you can grab 10 and 12 foot lengths through most suppliers. A typical 4′ x 8′ sheet of 1/4″ mold resistant drywall weighs somewhere around 38 to 44 pounds. That’s roughly 30 to 40% lighter than 1/2″ drywall. This weight difference makes ceiling work less of a workout and simplifies curved surfaces where the thinner profile bends easier without snapping the gypsum core.
| Specification | Detail |
|---|---|
| Thickness | 1/4 inch (6.35mm) |
| Standard Width | 4 feet (48 inches) |
| Standard Lengths | 8, 10, or 12 feet |
| Approximate Weight | 38-44 lbs per 4′ x 8′ sheet |
| Core Material | Gypsum with antimicrobial additives |
| Facing Material | Fiberglass mat or paperless coating |
The antimicrobial protection gets mixed directly into the gypsum core during manufacturing. You’re looking at fungicides, silicone water repellents, sometimes borate compounds that create a hostile environment for mold spores. The fiberglass mat facing adds another layer of defense since there’s zero organic material for mold to feed on. Moisture resistance varies by manufacturer but these panels typically handle intermittent high humidity without growing mold. They’re not waterproof though. Direct water contact or flooding will still damage them.
Where to Buy and Availability
Big box stores like Home Depot and Lowe’s stock quarter-inch mold resistant drywall, though selection runs thinner compared to contractor supply yards. Specialty building materials suppliers typically offer 31 or more mold resistant variations across different thicknesses, lengths, and brands. Contractor suppliers like 84 Lumber, ABC Supply, and regional drywall distributors keep larger inventories and can handle bulk orders for commercial jobs or multi-room residential renovations.
Products get identified through part number systems that change by supplier. Common designations include “12M” prefixes for half-inch products and “58M” for five-eighths inch, with suffix codes like “C” for 12 foot lengths or “N” for standard sizes. Quarter-inch products might use different coding, so confirm thickness specs rather than trusting part numbers alone. Lightweight faced options show up with “LWFC” or “LWFCM” designations in some systems.
For projects needing 10 or more sheets, call suppliers directly about contractor pricing and delivery. Bulk orders often qualify for 10 to 20% discounts, and many suppliers deliver to the jobsite for orders above minimum thresholds. Lead times vary from same day pickup to 3 to 5 business days for special orders, so plan accordingly when scheduling installation. Local availability shifts based on regional demand. Coastal and high humidity markets typically stock deeper inventories of mold resistant options than dry climate regions.
Pricing, Coverage, and Cost Factors for Quarter-Inch Mold Resistant Drywall

Expect to pay 20 to 40% more for mold resistant drywall compared to standard paper faced panels of the same thickness. Quarter-inch mold resistant sheets typically run $12 to $18 per 4′ x 8′ panel at big box retailers. Contractor pricing through specialty suppliers drops to $9 to $14 per sheet for bulk orders. Price swings depend on brand, local market, supplier markup, order size, and whether you’re buying lightweight versus standard density panels. Regional availability affects pricing hard. High demand coastal markets sometimes charge premium prices during busy construction seasons.
A single 4′ x 8′ sheet covers 32 square feet of wall or ceiling. To estimate sheets needed, calculate total square footage, divide by 32, then add 10 to 15% for waste from cuts, damaged panels, and miscellaneous errors. For curved surfaces needing the flexibility of quarter-inch material, waste factors can hit 20% due to trial and error on compound curves.
Major manufacturers include Georgia-Pacific’s DensArmor Plus, National Gypsum’s Purple XP, USG Sheetrock Brand Mold Tough, and CertainTeed’s AirRenew. DensArmor Plus uses fiberglass mat facing with moisture resistant gypsum core and consistently ranks as premium with higher mold resistance scores in independent testing. National Gypsum’s Purple line offers solid performance at mid range pricing. Generic or house brand options from regional manufacturers can save 15 to 25% but might use less robust antimicrobial treatments or thinner fiberglass facings that compromise long term durability in wet environments.
Value goes beyond upfront cost. Preventing a single mold remediation event that costs $2,000 to $10,000 justifies the material premium across multiple rooms. Long term durability matters in moisture prone areas like basements where cheap materials fail within 5 to 10 years while quality mold resistant panels last 20 to 30 years with proper ventilation. Budget $15 to $20 per sheet for reliable mid tier brands, allocate 10 to 15% of material cost for fasteners and joint compound, and remember that proper installation matters more than brand names when it comes to actual mold prevention.
Comparing Purple Board, Green Board, and Paperless Drywall Options
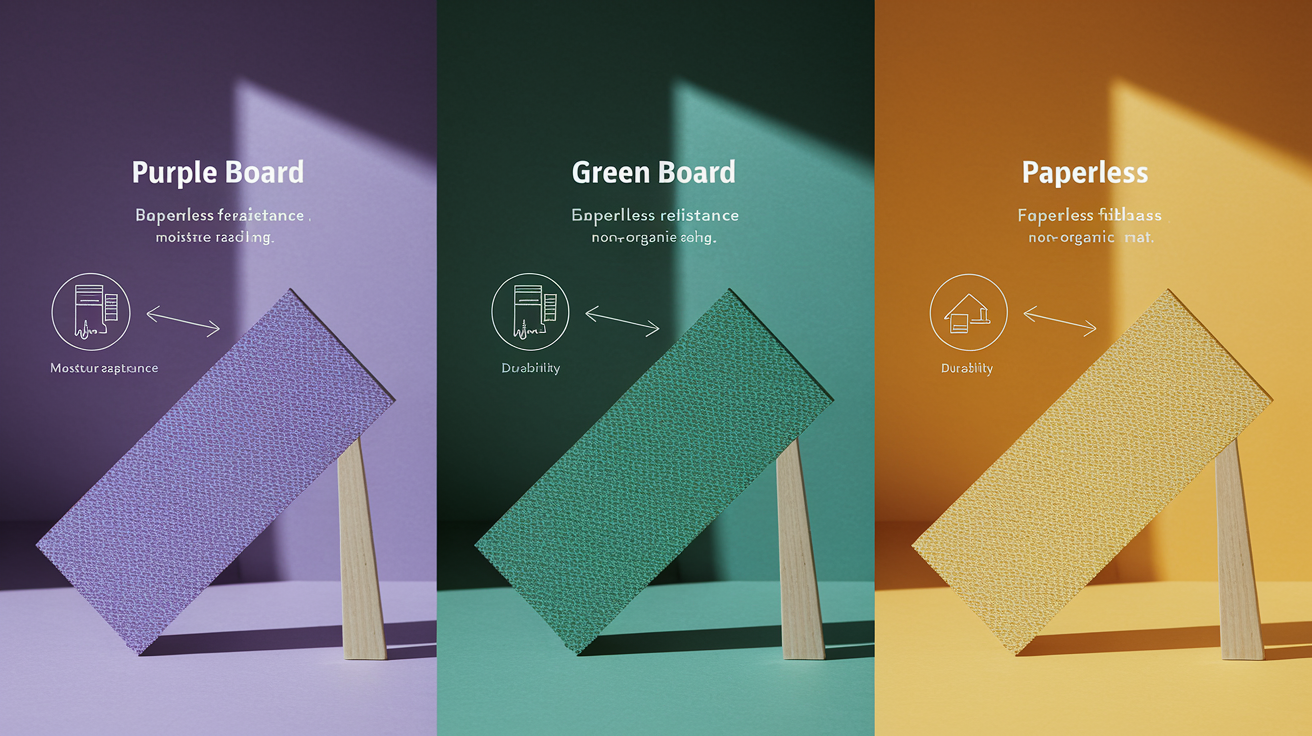
Not all moisture resistant drywall delivers the same mold protection. Understanding the differences prevents choosing the wrong product for wet areas.
Purple Board Characteristics
Purple board represents the current standard for high performance mold resistance in residential and light commercial construction. The purple paper facing makes it easy to spot on the jobsite. The gypsum core gets treated with silicone moisture repellents that block water absorption, while antimicrobial additives actively inhibit mold and mildew growth even when the panel gets damp. Purple board performs well in bathrooms, laundry rooms, basements, and other consistently humid spaces. It maintains structural integrity and mold resistance during intermittent moisture exposure that would compromise standard or green drywall within months.
Green Board Limitations
Green board features moisture resistant additives in the gypsum core but still uses paper facing on both sides. The paper facing stays vulnerable to mold growth when it stays damp for extended periods. That makes green board a compromised choice for bathrooms, shower surrounds, or basement walls subject to condensation. Building codes increasingly restrict green board use in wet areas. Many municipalities no longer permit it within 6 inches of tubs or showers. Green board still works fine for areas with occasional humidity spikes like kitchens or upper level bedrooms in humid climates. But paperless options deliver better long term performance for minimal additional cost. The technology is outdated, kept around mainly for contractors familiar with the product who haven’t switched to purple or paperless alternatives.
Paperless Fiberglass Mat Options
Paperless drywall eliminates the organic paper layer completely, replacing it with fiberglass mat facing that provides zero food source for mold spores. This design delivers the most complete mold resistance available in standard gypsum board products. The fiberglass mat runs slightly harder to sand than paper facings but accepts joint compound, texture, and paint just like conventional drywall once properly primed. Paperless options maintain structural integrity even after getting wet and drying out. Paper faced products often delaminate or develop soft spots after similar moisture exposure. The durability advantage justifies paperless construction for any install where moisture intrusion is possible. That includes above grade bathroom walls, basement finishing, and commercial kitchen adjacent areas.
| Drywall Type | Facing Material | Moisture Resistance | Best Use |
|---|---|---|---|
| Purple Board | Purple moisture-resistant paper | High – silicone-treated core with antimicrobials | Bathrooms, basements, high-humidity areas |
| Green Board | Green paper facing | Moderate – vulnerable paper facing | Kitchens, upper bedrooms in humid climates |
| Paperless Fiberglass | Fiberglass mat | Highest – no organic material for mold | Shower surrounds, basement walls, commercial wet areas |
Best Applications and High-Moisture Installation Areas for Quarter-Inch Mold Resistant Panels
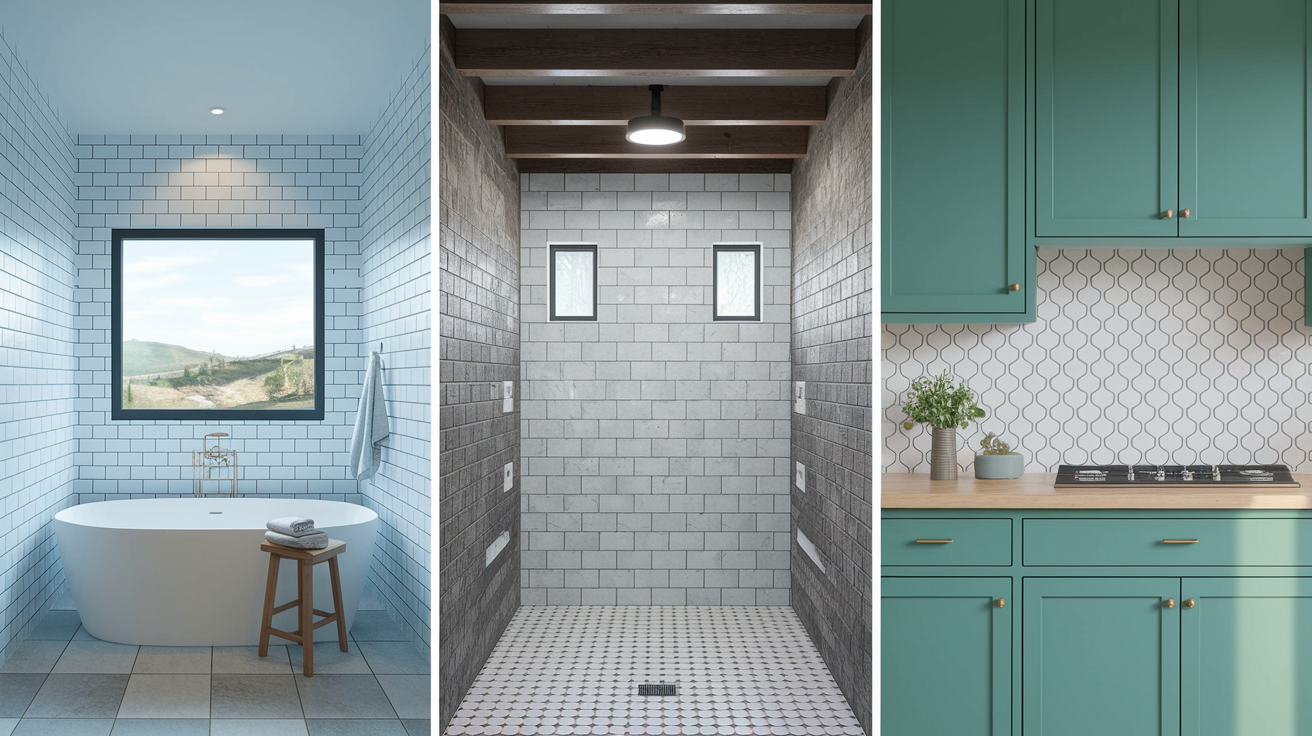
Quarter-inch mold resistant drywall works well in bathroom walls, basement finishing, kitchen backsplash areas, laundry rooms, and any high humidity space where condensation or occasional moisture threatens standard drywall. The antimicrobial additives and moisture resistant core slow mold colonization when surfaces stay damp. That buys time for ventilation and dehumidification to dry things out before permanent damage happens. “Mold resistant” means the material inhibits mold growth under conditions that would support it on regular drywall. It doesn’t mean mold can never occur if you flood the wall or kill all air movement. These panels work as part of a moisture management system, not as a substitute for proper ventilation, waterproofing, and drainage. Think of them as insurance that reduces risk, while proper building practices prevent the claim from ever getting filed.
Specific use cases where quarter-inch thickness delivers advantages include:
- Curved surfaces and archways where the thin profile bends more easily without breaking the gypsum core
- Ceiling overlays to cover popcorn texture or repair damaged ceilings without losing significant height
- Damaged wall repairs where matching existing wall thickness requires building up from the stud face
- Texture base layers applied over existing walls to provide a fresh surface for knockdown or orange peel finishes
- High humidity areas like enclosed porches or three season rooms where climate control runs inconsistent
- Renovation over existing surfaces where adding thickness would mess with trim, outlets, or door frames
The flexibility advantage matters most on curved wall applications like rounded shower entries, barrel ceilings, or decorative archways. Thicker panels crack during bending. Quarter-inch panels can form curves down to 36 to 48 inch radius when wetted slightly and attached to closely spaced framing. Half-inch requires larger radius curves or expensive flexible specialty boards. The thin profile works perfectly for overlay projects where maintaining room dimensions matters. You’re adding only 1/4 inch compared to 1/2 inch or 5/8 inch for standard replacement. That means less rework on electrical boxes, door jambs, and window trim.
Moisture management requires mechanical ventilation working with mold resistant materials to maintain dry conditions. Install exhaust fans in bathrooms and laundries that move at least 50 CFM (cubic feet per minute). Run them during and for 20 to 30 minutes after shower use or laundry cycles. Air circulation prevents condensation from accumulating on cool surfaces where it creates perfect mold growing conditions. Consider vapor barriers on the warm side of exterior walls in cold climates to prevent humid interior air from condensing inside wall cavities, though code requirements vary by climate zone. Most importantly, address moisture intrusion sources before installing finish materials. Roof leaks, plumbing drips, foundation seepage, and high exterior grade all undermine even the best mold resistant drywall if water reaches the wall cavity from behind.
Installation Requirements and Techniques for Thin Mold Resistant Drywall

Quarter-inch drywall can be installed directly over studs spaced 16 inches on center or applied over existing wall surfaces as an overlay. For direct stud application, the substrate must be straight and properly spaced since thin panels follow framing irregularities and won’t bridge gaps like thicker boards. When overlaying existing walls, the surface must be clean, dry, and structurally sound with no loose paint, wallpaper, or soft spots that would telegraph through the thin new layer.
Use 1 inch drywall screws for direct stud attachment or 1 1/4 inch screws when applying over existing drywall. Screws work better than nails for thin panels because they pull the sheet tight without the hammer impact that can crack edges. Space screws 12 inches apart along studs for wall applications. Tighten them just enough to dimple the surface without breaking through the face. On paperless products that means compressing the fiberglass mat too deeply. For ceiling installations, reduce spacing to 8 to 10 inches to prevent sagging, especially in humid areas where moisture adds weight. When installing over 24 inch stud spacing, thicker drywall is required by code in most jurisdictions since quarter-inch lacks the structural span capacity.
Cut quarter-inch panels using a sharp utility knife and a 48 inch T-square or drywall square. Score the face deeply, snap the panel backward along the cut line, then slice through the back facing. The thin profile cuts easier than thicker boards but also breaks more readily if handled roughly. Support both sides of the cut when snapping. A drywall saw handles outlet and switch cutouts, while a keyhole saw works for circular cuts around pipes or light fixtures. The lightweight panels (38 to 44 pounds for 4′ x 8′ sheets) are easier to maneuver than half-inch or five-eighths inch boards, making solo installation possible for many DIYers. Acclimate panels to room temperature for 24 to 48 hours before installation if stored in significantly different conditions. Keep them dry and flat to prevent warping or edge damage.
Quarter-inch thickness is the most DIY friendly drywall option because the lightweight panels are less physically demanding to lift, hold, and fasten compared to standard half-inch boards. The reduced weight makes ceiling work manageable without special lifts or multiple helpers. Cutting and fitting takes less muscle and generates less fatigue over a full day of installation. Finishing requires the same skills as thicker drywall. Proper mud application, taping technique, and sanding. So realistic expectations matter. First timers should expect visible seams, uneven texture, and multiple sanding passes before achieving paintable results. Time investment runs 3 to 5 times longer for beginners compared to experienced tapers, and rework is common. The learning curve for quality finishing is steep, so practice on closets or utility spaces before tackling visible areas.
Hire a professional for these situations:
- Large areas exceeding 500 square feet where finishing time and material waste will offset labor cost
- Curved installations requiring specialized framing and precise panel forming techniques
- Commercial projects where code compliance, fire ratings, and inspection standards demand documented experience
- Applications like fire rated assemblies or moisture barrier installations with warranty requirements
- Lack of finishing experience when smooth walls matter and you don’t want to spend weeks learning to tape and sand
Measure rooms carefully and plan sheet layout to minimize waste and avoid small pieces that are hard to finish cleanly. Full sheets cover areas faster and create fewer seams to tape. Strategic layout places seams away from focal points like above doorways or centered on walls. Maintain proper moisture management during installation by ensuring exhaust fans are operational, dehumidifiers are running in damp basements, and any moisture intrusion sources are addressed before closing walls. Local building codes often require inspections before covering framing, especially for plumbing, electrical, and insulation. Schedule accordingly to avoid delays or rework.
Finishing, Taping, and Repair Process for Quarter-Inch Mold Resistant Gypsum Board
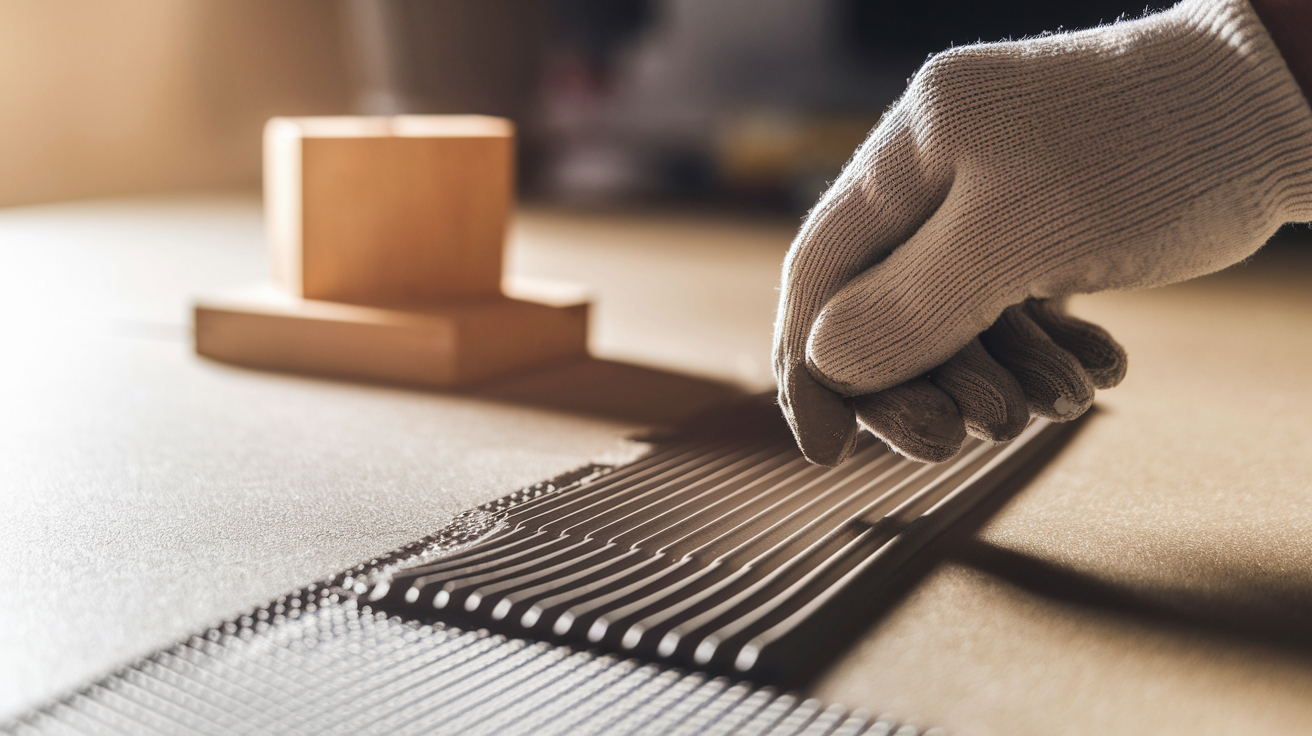
Standard all-purpose or lightweight joint compound works on mold resistant drywall without compatibility issues. The fiberglass mat facing on paperless products accepts compound just like paper once you apply the first coat, which seals the surface and provides tooth for subsequent layers. Taping follows conventional methods using either paper tape embedded in a base coat of compound or self-adhesive fiberglass mesh tape applied directly to the seam before coating. Paper tape creates stronger joints less prone to cracking but requires more skill to embed without bubbles. Mesh tape is more forgiving for beginners though slightly weaker structurally. Apply a base coat covering the tape, let it dry completely (typically 12 to 24 hours), then add a second coat feathering 6 to 8 inches beyond the base coat. Finish with a third coat extending 10 to 12 inches for smooth transitions. Each coat must dry fully before sanding and adding the next layer.
Sanding becomes critical on thin overlay applications where any ridge or bump shows clearly under paint. Use 120 grit sandpaper on a pole sander for broad surfaces and hand sanding blocks for detail work around corners and edges. Wear a dust mask because dried joint compound creates fine particulate that lingers in the air. Corner bead installation on outside corners uses metal or plastic beads attached with screws or crimped in place, then covered with three coats of compound feathered 6 to 8 inches onto the adjacent wall. Inside corners use paper tape folded down the center crease and embedded in compound, creating a flexible joint that resists cracking. Smooth transitions matter especially on overlay work where the quarter-inch step at sheet edges is obvious if poorly feathered. Extend your final coats wide and sand carefully to blend the transition invisibly.
Prime mold resistant surfaces with quality PVA drywall primer or stain blocking primer if covering existing paint, texture, or repairs. The primer seals the porous gypsum and joint compound, creating uniform absorption so topcoat paint doesn’t flash or show dull and shiny patches. Paperless products sometimes need two primer coats to fully seal the fiberglass facing, especially if the topcoat is dark or has low hiding power. Paint compatibility is standard once primed. Latex, acrylic, or oil based paints all work fine. Texture application follows normal procedures whether you’re using trowel knockdown, orange peel spray, or hand-applied skip trowel techniques. The thin panels accept texture weight without sagging if properly fastened, though heavy textures on ceilings might benefit from additional fastener support.
Repairs and patches require cutting out damaged sections back to solid material, installing backing support if needed, then securing a patch piece using compatible mold resistant drywall. Use paperless mold resistant material for patches in moisture prone areas to maintain consistent performance. You don’t want to create a vulnerable spot where regular drywall would support mold growth while surrounding areas resist it. Maintain warranty coverage by following manufacturer guidelines for repairs. Some warranties become void if standard drywall is mixed with mold resistant products in the same assembly. Tape, finish, and blend patches using the same multi coat process as new installations, feathering edges wide to make repairs invisible under paint. If the original surface has texture, match it using practice boards before working on the visible repair to dial in spray pressure, hopper mix, or trowel technique.
Building Codes, Fire Rating, and Compliance for Thin Mold Resistant Drywall

Building codes treat quarter-inch drywall differently than thicker panels regarding structural span ratings and fire resistance. Most codes permit quarter-inch drywall only as an overlay over existing surfaces or over studs spaced 16 inches on center for walls. They require half-inch minimum for ceiling applications or 24 inch stud spacing. Check local amendments since some jurisdictions restrict thin drywall entirely for new construction, allowing it only for repairs or remodeling. Inspectors verify thickness matches approved plans, so don’t substitute quarter-inch hoping to save weight or cost in applications where code requires thicker material. Overlay applications rarely trigger code issues since you’re adding to existing assemblies, not replacing fire rated ones. But confirm with building officials before starting work on commercial projects or multi-family housing where fire ratings are documented.
Fire rating limitations make quarter-inch unsuitable for fire rated wall assemblies. Standard one hour fire rated walls require two layers of half-inch drywall or one layer of five-eighths inch Type X fire rated board. Quarter-inch panels provide minimal fire resistance, measured in minutes not hours. They can’t substitute for rated assemblies required between garages and living spaces, dwelling units in multi-family buildings, or commercial tenant separations. Overlay applications don’t affect existing fire ratings when applied to the room side of already rated walls. The underlying assembly still provides the rated protection. But penetrations for outlets, lights, or HVAC require fire stopping to maintain ratings. Adding layers complicates proper installation of required firestop materials.
Environmental certifications include low VOC (volatile organic compound) options from major manufacturers that meet LEED (Leadership in Energy and Environmental Design) requirements for green building projects. Mold resistant drywall contributes to LEED credits under indoor environmental quality categories by improving indoor air quality and reducing potential for mold growth that releases spores and mycotoxins. Low VOC formulations minimize off-gassing of chemicals that contribute to poor air quality during and after installation. Indoor air quality benefits extend beyond LEED certification. Preventing mold growth protects occupant health by eliminating a major indoor allergen and irritant source. Disposal of mold resistant drywall follows the same procedures as standard gypsum board. Some areas offer recycling programs that grind old panels for agricultural gypsum or raw material for new board manufacturing. Paperless products with fiberglass facing are less commonly recycled than paper faced boards, so check local waste management options before demolition.
Expected lifespan of properly installed mold resistant drywall in suitable applications ranges from 20 to 30 years, matching or exceeding standard drywall in typical residential environments. In high moisture areas like bathrooms and basements, mold resistant products significantly outlast standard drywall that might show mold staining or soft spots within 5 to 10 years. Manufacturer warranties typically cover defects in materials for 5 to 10 years but exclude damage from improper installation, ongoing moisture intrusion, or failure to maintain adequate ventilation. Warranty coverage requires proof of purchase and often installation by licensed contractors, so save receipts and document work with photos showing proper moisture management details. Maintenance preserves mold resistance by keeping exhaust fans operational, cleaning moisture off surfaces after bathing or cooking, and running dehumidifiers in basements or crawlspaces during humid seasons. Signs that moisture management is failing include persistent condensation on walls or ceilings, musty odors suggesting hidden mold growth, peeling paint or bubbling texture, and visible water stains that indicate leaks or chronic dampness requiring immediate attention before mold becomes established.
Final Words
Quarter-inch mold resistant drywall fills a specific role in moisture-smart building: lightweight, flexible, and designed to resist fungal growth where standard paper-faced products fail.
It’s not bulletproof against water, but it buys you time and durability in bathrooms, basements, and curved applications where paper would feed mold within weeks.
Choose your product based on the moisture load, follow proper fastening and ventilation rules, and finish it like any other board.
When the install is right and the moisture management works, 1/4 mold resistant drywall holds up where cheaper options come back to haunt you.
FAQ
Is there a mold-resistant drywall?
Yes, mold-resistant drywall exists in several forms including paperless fiberglass mat panels, purple board with silicone-treated cores, and specialized gypsum boards with antimicrobial additives that prevent fungus and mildew growth in high-moisture areas.
Does 1/4 drywall exist?
Quarter-inch drywall exists and is the thinnest standard drywall option available. It’s commonly used for curved surfaces, ceiling overlays, and applying over existing walls where minimal thickness increase matters for doorways and trim.
Is mold-resistant sheetrock worth it?
Mold-resistant drywall is worth the 20-40% cost premium in bathrooms, basements, kitchens, and other high-humidity areas. It prevents costly mold remediation, protects indoor air quality, and lasts longer than standard drywall in moisture-prone locations.
How thick is mold-resistant drywall?
Mold-resistant drywall comes in standard thicknesses including 1/4-inch, 1/2-inch, and 5/8-inch options. Quarter-inch is the thinnest, typically used for overlays and curved applications, while thicker boards provide fire rating and structural benefits.
Can I install 1/4 mold-resistant drywall myself?
You can install 1/4-inch mold-resistant drywall yourself because lightweight panels are easier to handle and cut than thicker options. However, proper finishing skills, moisture management, and understanding fastener spacing requirements are essential for quality results.
What’s the difference between purple board and green board?
Purple board offers superior mold resistance with silicone-treated cores and performs better in high-moisture areas, while green board has traditional moisture resistance but paper facing that’s vulnerable to mold. Purple board has largely replaced green board in wet areas.
Where should I use 1/4 mold-resistant drywall?
Use 1/4-inch mold-resistant drywall for curved surfaces, archways, ceiling overlays, bathroom walls, basement finishing, and renovation projects over existing surfaces. It works well where flexibility matters and thickness restrictions apply near doors and trim.
Do I need special screws for 1/4 drywall?
You need standard drywall screws for 1/4-inch installations, but spacing requirements differ from thicker boards. Use 8-12 inch spacing on ceilings and 12-16 inch spacing on walls. Screws are preferred over nails for secure fastening.
Can mold grow on mold-resistant drywall?
Mold can still grow on mold-resistant drywall if moisture problems aren’t addressed. Antimicrobial properties slow mold growth on the material itself, but standing water, high humidity without ventilation, or moisture intrusion behind panels will eventually cause problems.
How many square feet does one sheet of 1/4 drywall cover?
One sheet of 1/4-inch drywall measuring 4 feet by 8 feet covers 32 square feet. Calculate your total wall and ceiling area, divide by 32, and add 10-15% extra for cutting waste and mistakes.
Does 1/4 drywall have a fire rating?
Quarter-inch drywall has limited fire rating compared to thicker boards. Building codes often require 1/2-inch or 5/8-inch fire-rated drywall for certain applications. Check local code requirements before using 1/4-inch in fire-critical areas.
What joint compound works with mold-resistant drywall?
Standard joint compound works with mold-resistant drywall for taping and finishing. The taping process follows conventional methods with paper tape or mesh tape, requiring multiple coats for proper finishing before sanding and painting.
How long does mold-resistant drywall last?
Mold-resistant drywall lasts 20-30 years or longer with proper installation and moisture management. Lifespan depends on maintaining adequate ventilation, controlling humidity, preventing water intrusion, and addressing condensation problems promptly.
Can I paint directly on mold-resistant drywall?
You can paint mold-resistant drywall after applying proper primer. Prime the finished surface before painting to ensure good adhesion and consistent coverage. The surface accepts various textures and standard interior paints.